The Photographer Behind the Lens


Embarking on a photography outing is filled with anticipation, decision-making, and a blend of personal passion and professional discipline. Anything can go wrong, but maybe that’s not the right way to put it. Perhaps I should rather say, expect the unexpected and be ready to adapt. As I prepare for each little jaunt, I face a range of choices that shape the outcome of my photographic endeavours.

Selecting the Right Gear:

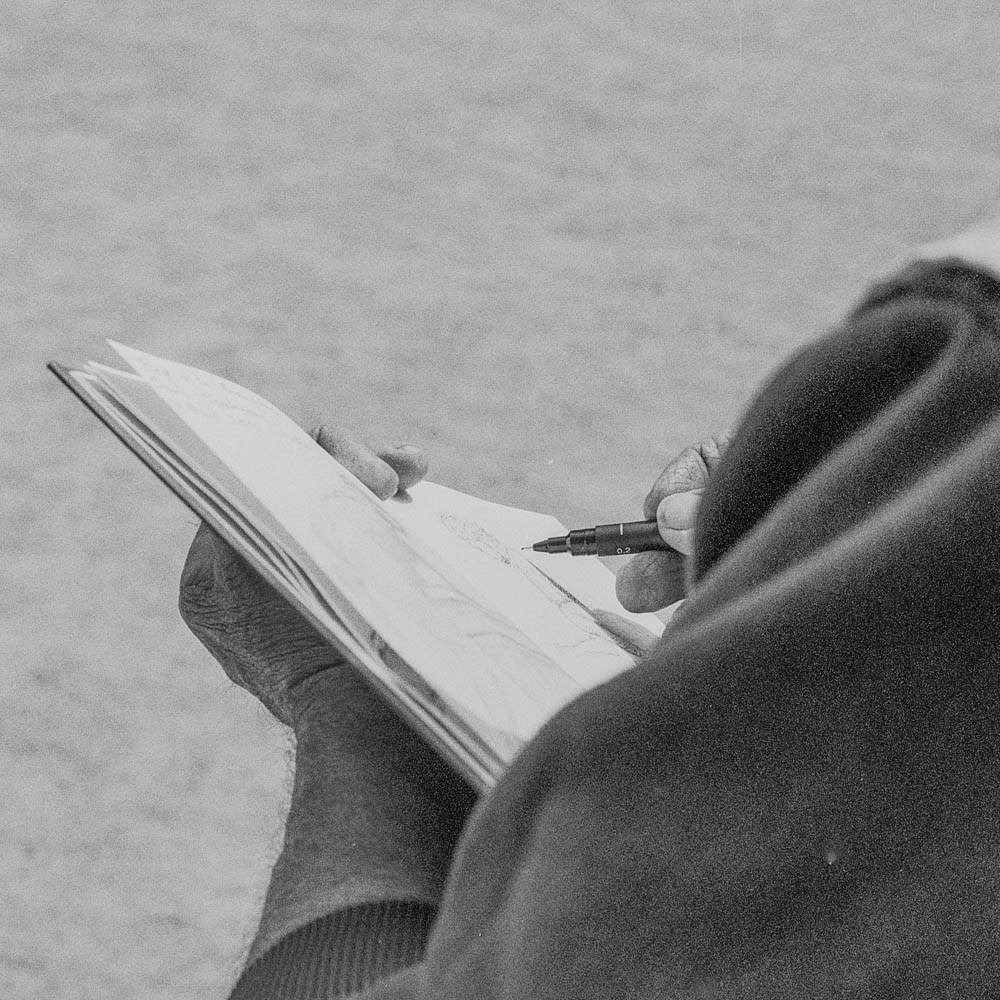
The first step in my preparation involves choosing the right camera for the occasion. Factors such as, “Does it still work?” for my film cameras, or “have I charged enough batteries?” for my digital cameras, enter into consideration. My energy levels and the allure of film versus digital play a crucial role in this decision-making process. For example, “Do I have the energy to develop and scan my negatives, or can I face hours of photo editing?” For me at least, it’s not just about the gear, but about the experience it brings. Those of you who have used film will know exactly what I mean. It is a totally different experience to using digital cameras. The words “faffing” and “about” spring to mind. What is my goal in going out today? Is it just to see what happens, or do I “have” to get results?

Navigating Weather and Mental Health:

Weather forecasts and mental well-being become significant considerations as I plan my outing. I, like most people, have an aversion to being rained upon. Even though I might not melt, I don’t want rain getting into the electronics in modern cameras. The allure of capturing the perfect shot often outweighs the discomfort. Yet, there are moments when self-care takes precedence, telling me to just stay in. Sometimes, staying in and getting my ironing done provides as much satisfaction as going out, allowing me to look so dapper on my next outing. The joy of unlimited cups of tea might just make staying in on a rainy day all the more appealing.

Packing the Essentials:

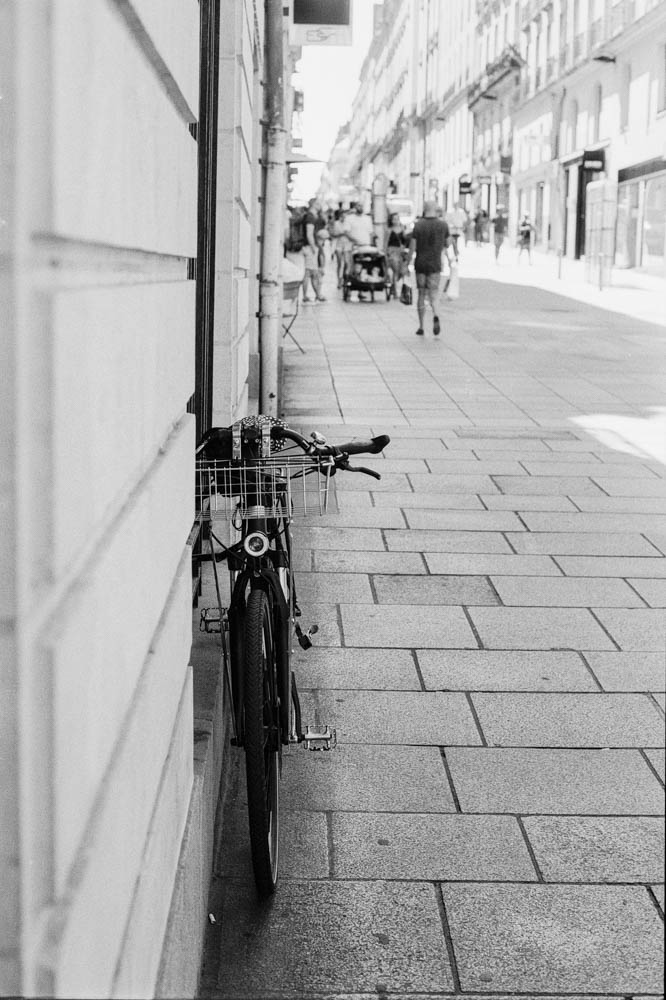
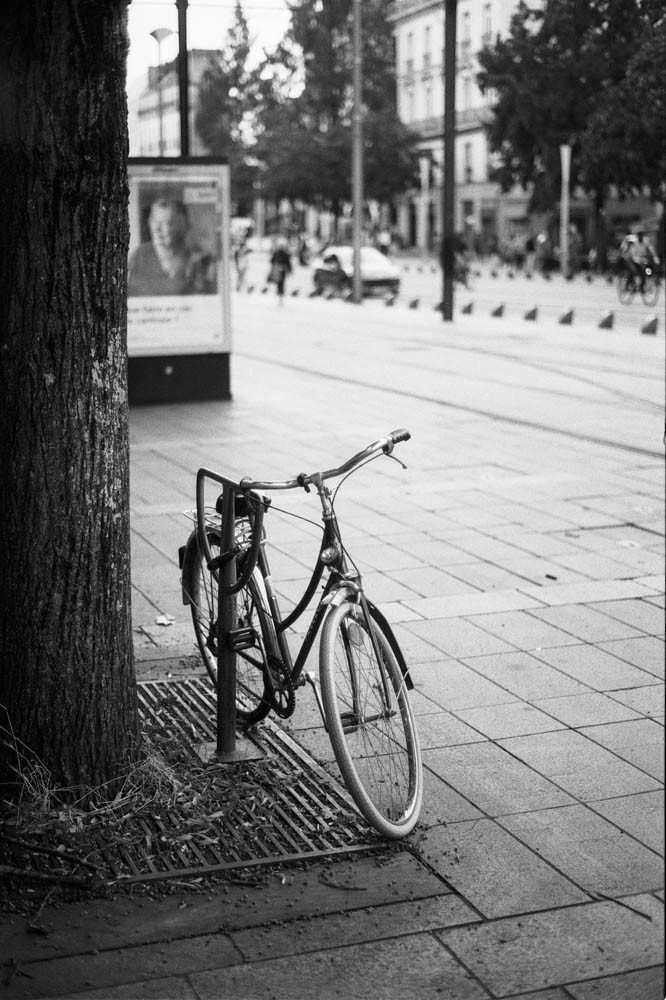
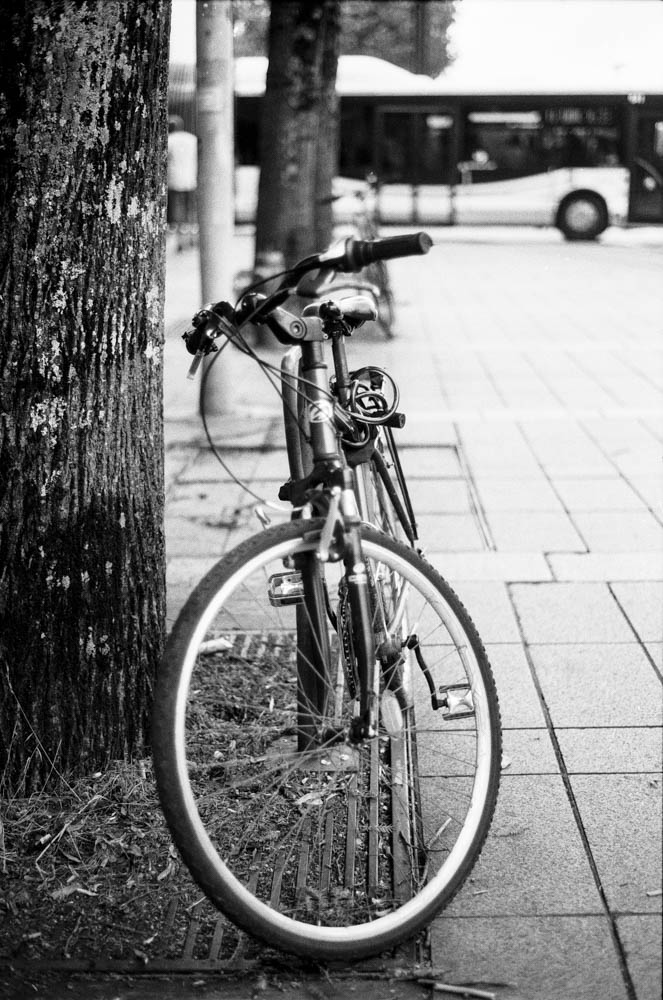
A well-equipped photography bag is essential for any outing. From spare batteries to a flask of tea for comfort, each item serves a purpose in ensuring a successful day of shooting. The contents of my bag reflect not only my photographic needs but also my personal preferences and creature comforts. However, the weight of the equipment is a crucial consideration, especially for street photography where mobility is key. As a more rotund gentleman of 52 years, this has become more and more important. Basically, you can take it with you, but you have to carry it. The X100F and a couple of spare batteries weigh next to nothing, but a Mamiya, or DSLR with a couple of nice zoom lenses suddenly makes you feel less young and daring. Don’t get me started on tripods. Yes, you might need one (in fact, you do) if you want to be doing long exposure photography, but imagine lugging one up a mountain. Okay, don’t. It’s not worth it. So ask yourself what do you really need, and will one of your children carry it for you? And how much will it cost you to make it worth their while?

The Lens Palette:

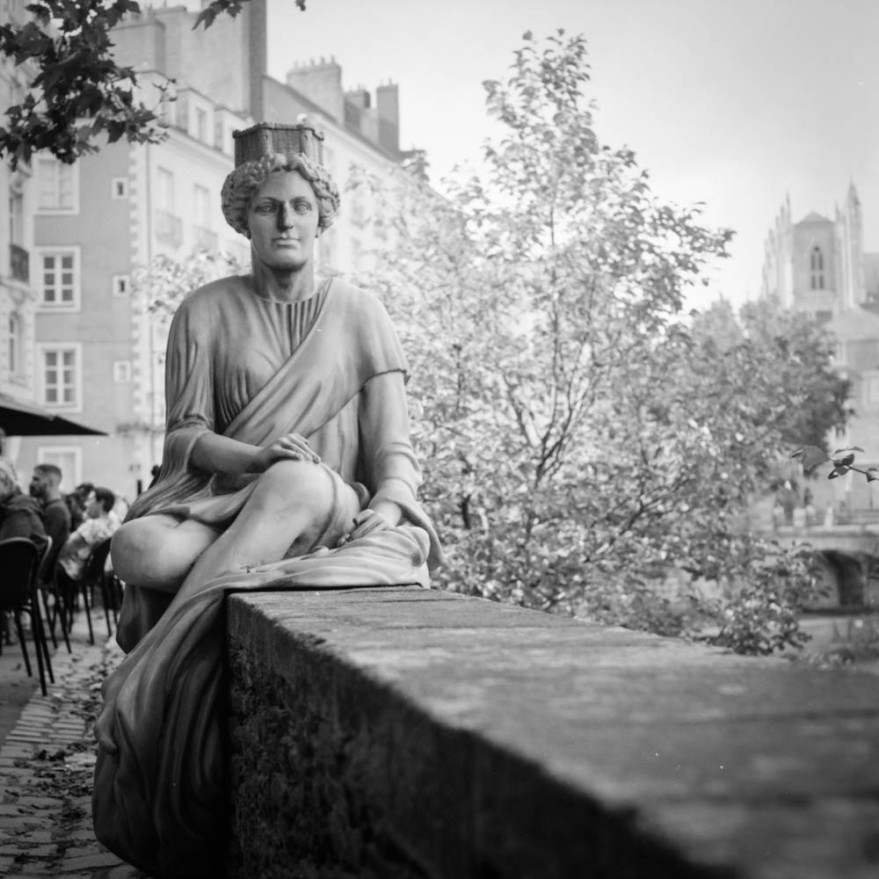
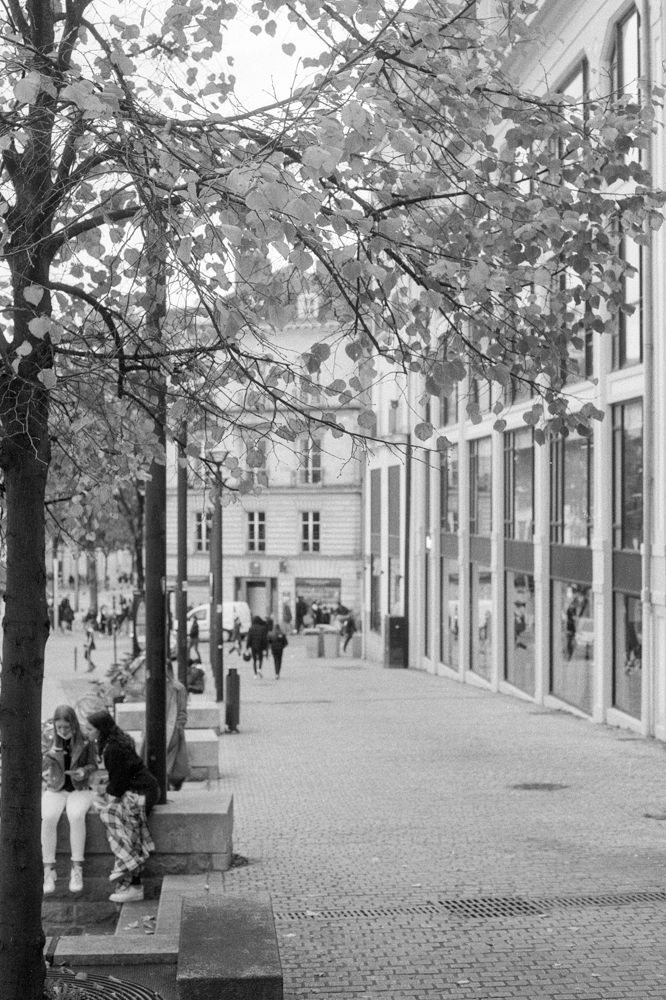
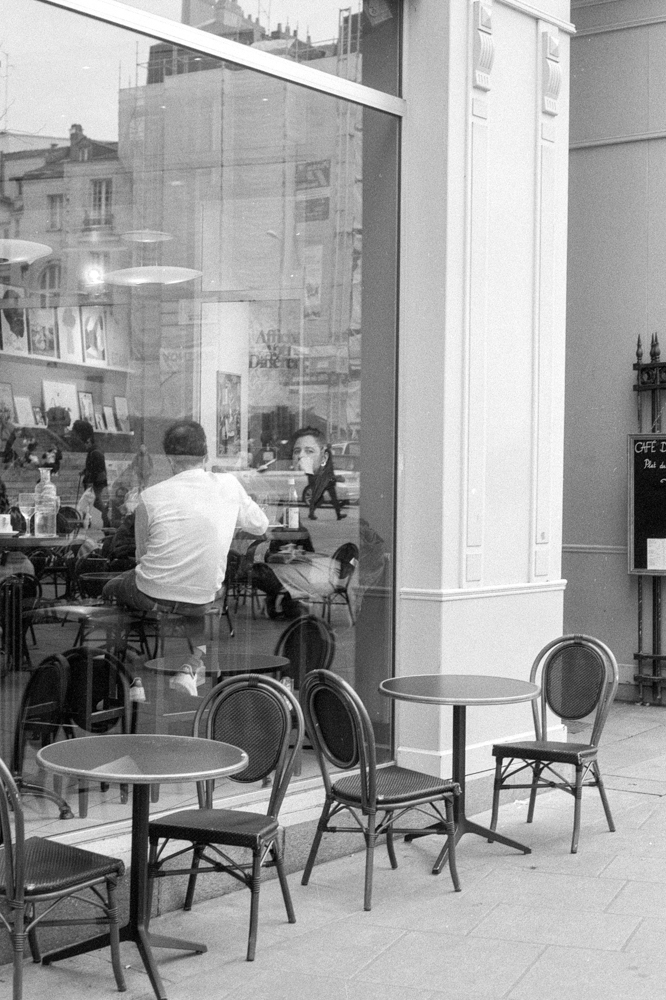
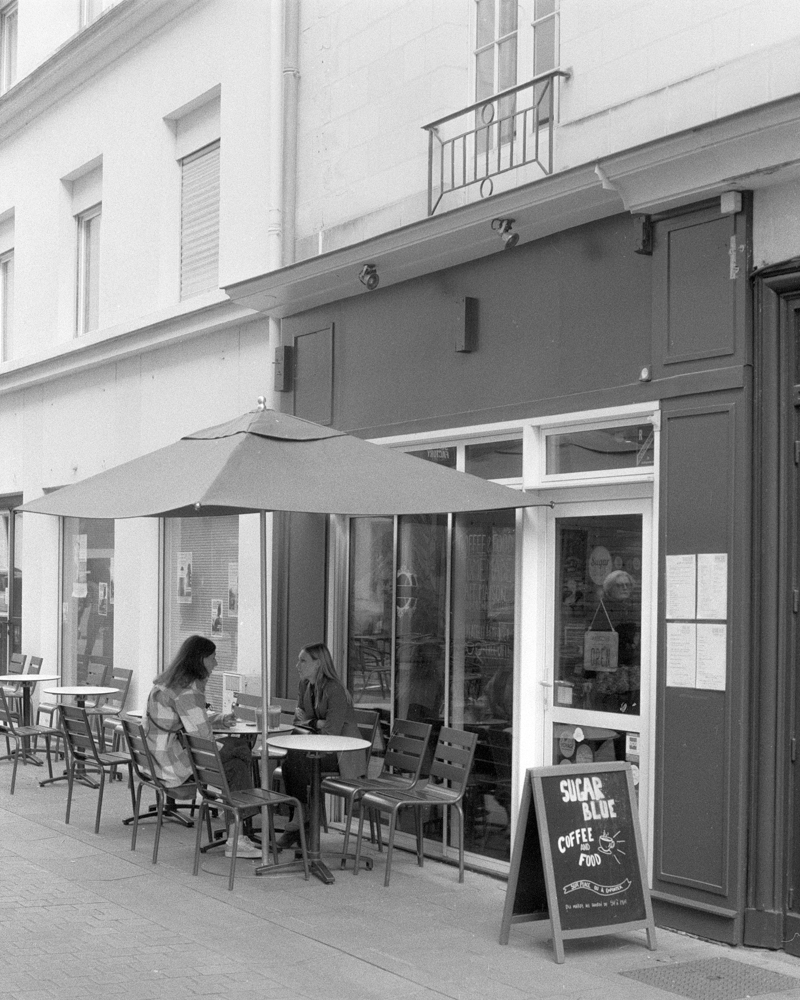
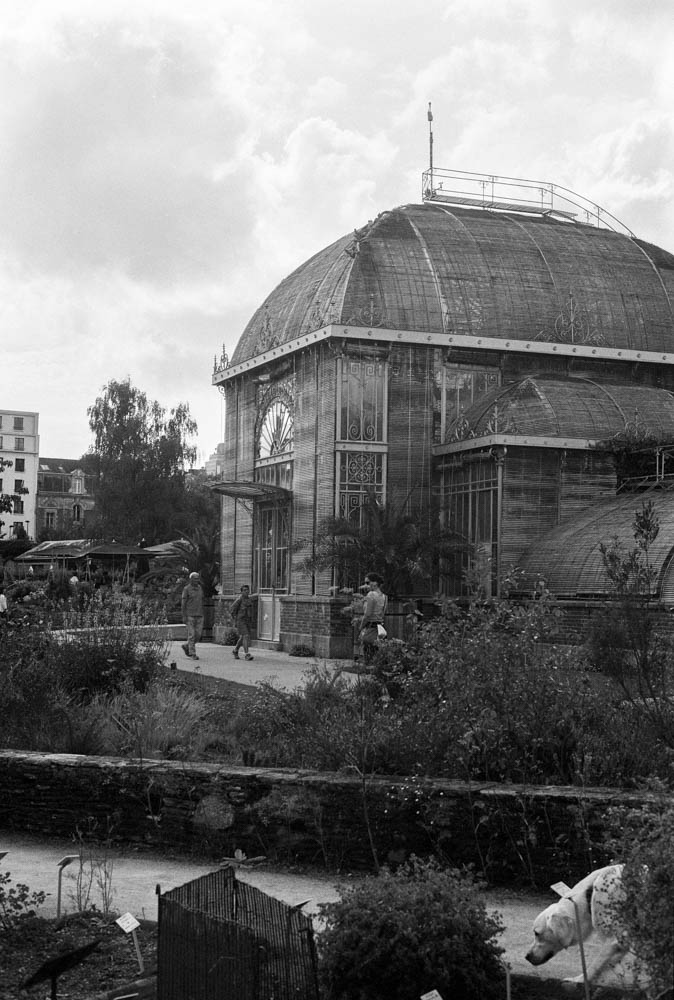
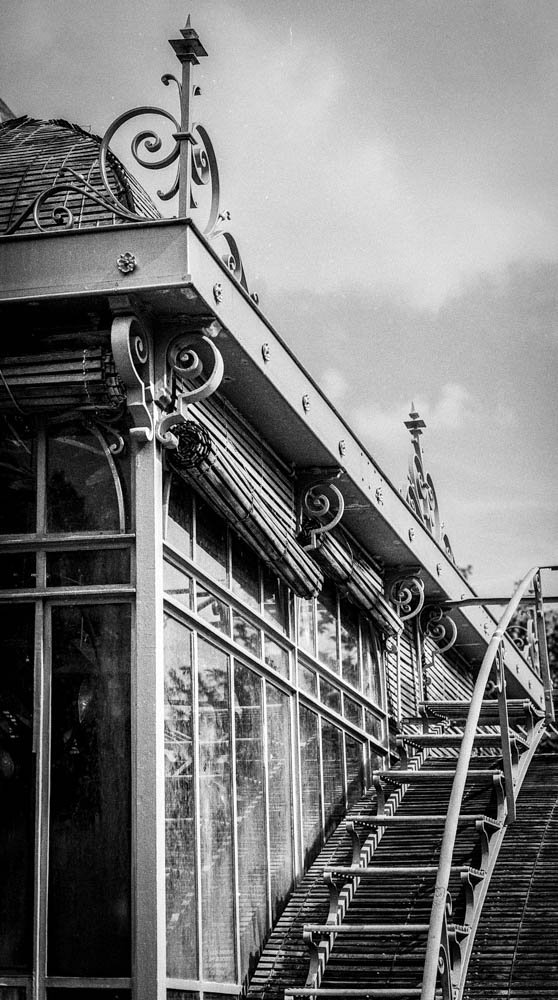
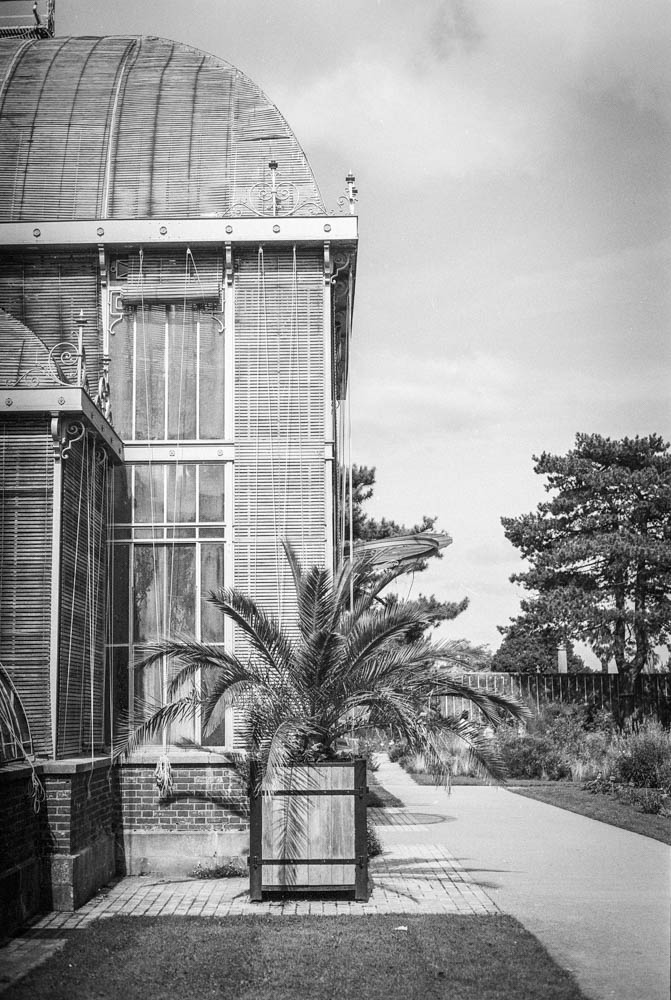
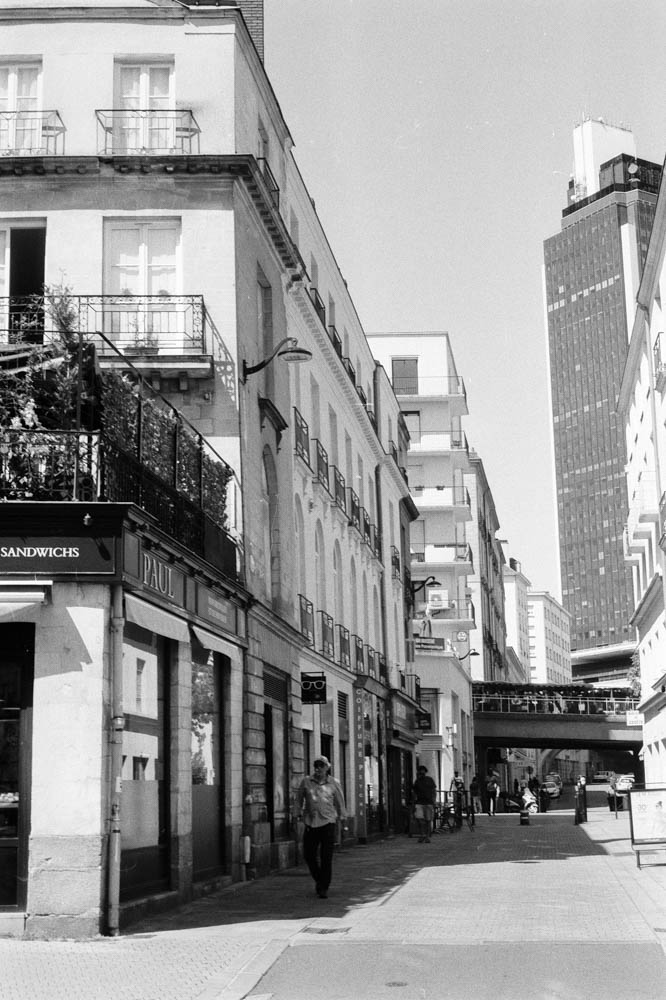
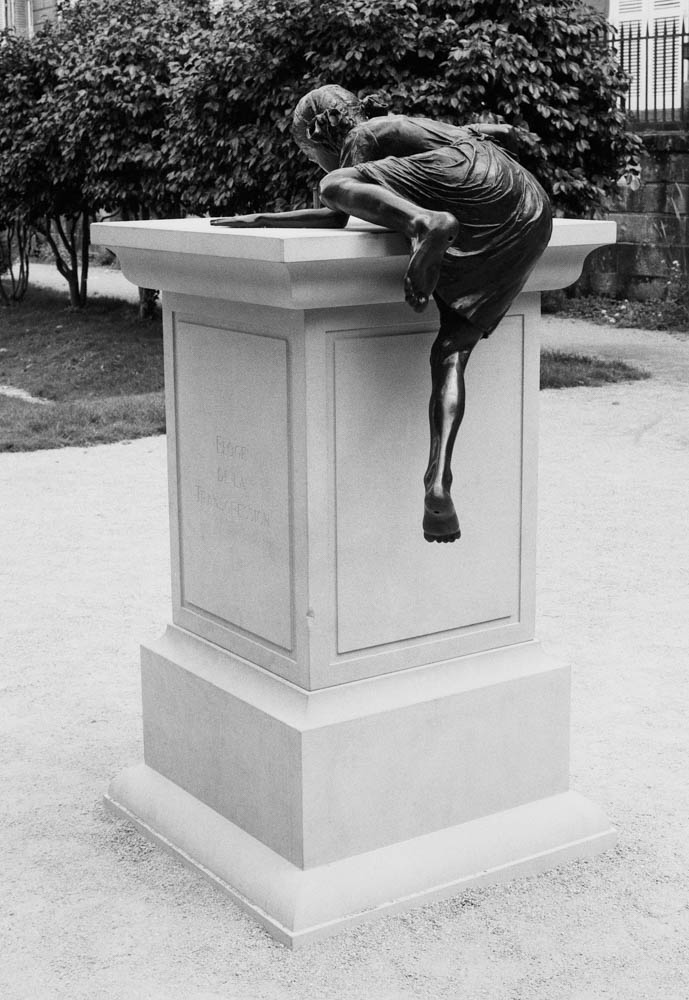
Crafting Perspectives: Different lenses allow me to achieve different results. If I use my 16-35 lens, I will get wide vistas in town and have a certain level of “artistic distortion.” If I use the 24-70, I have quite a good range of focal lengths, and also a macro feature on the lens. If I use my fisheye lens, I can get all “arty farty.” With a 35mm lens, I am perfect for street photography, and it’s the lens I use the most. The nifty fifty allows me to have a more human-eye view of the world.

The Digital Dilemma:

When it comes to the choice between film and digital photography, authenticity often clashes with practicality. While the allure of film photography appeals to my desire for authenticity, and it does look exceptionally cool, and you can enter “smug mode” knowing that you are arguably better than those who only know about digital photography (yes, snob value does exist!), the energy and time required for development and scanning can be daunting. On the other hand, digital photography offers convenience, allowing for instant image transfer and easy post-processing in software like Lightroom. The decision ultimately hinges on the balance between artistic vision and practical considerations, and can I really be bothered? I know, you have just lost respect for me as an artist, but the struggle is real.

Professionalism Meets Passion:

For professional assignments, meticulous preparation is paramount. From checking equipment to selecting the perfect lenses for the job, every detail contributes to achieving the desired outcome. I noticed this during my musical studies when the goal is to get a paying gig and deserving the pay. You have to get results and your reputation depends on those results. But, even in the midst of professional obligations, the passion for photography remains at the heart of every endeavor. Top tip of the the day. Always have a back-up plan. No planning survives initial contact with the enemy. You’re on your own and have to improvise. What can go wrong, will go wrong, so prepare for this.

Mapping Out the Journey:

Finally, planning the route to my destination adds an element of anticipation to the journey. Do I have to drive for miles, and will there be a loo somewhere on the way? How will I be able to acquire snacks? Are there any small producers that might need a client? I mean I don’t always think about food, but when you live in a country known for the quality of its produce, and where it is almost a duty to consume on the good stuff, it kind of is… Anyway, make sure you look at where you’re going on a map. And if you’re visiting a historic site or attraction then check the opening times. It has happened before. You turn up to a place and it’s closed, so I went a saw my plan B… The path ahead is filled with possibilities and opportunities for creative exploration.

In conclusion

The art of preparation is an integral part of the photographer’s journey. Balancing personal passion with professional commitment, each outing offers a chance to immerse yourself in the beauty of the world through the lens of a camera, whether it’s under the open sky or amidst the comforting hum of domesticity.

Choosing the Right Film Format: 35mm vs. Medium Format Photography


Introduction In the world of film photography, the choice of film format can significantly impact the results you achieve. Whether you’re an aspiring street photographer or simply an enthusiast looking to explore the world of analog photography, the decision between 35mm and medium format can be crucial. This article explores the major differences between these two formats, helping you along on your photographic journey. As we dive into this discussion, it’s essential to understand how the choice of format can influence your work.

1. Understanding the Basics Let’s start by establishing a foundation. 35mm photography is the more common format, known for its accessibility, ease of use, and widespread availability. It is the standard format of film. However, medium format photography offers distinct advantages worth exploring.

2. The Key Differences

Image Quality and Resolution: The most noticeable difference between medium format and 35mm photography lies in image quality and resolution. Medium format film, with its significantly larger negative size, captures an significant level of detail and clarity. The larger negatives provide ample room for precise rendering of textures, fine lines, and intricate patterns. This translates to stunningly sharp and highly detailed images, ideal for both professional work and fine art photography. If you’re aiming for prints that capture every nuance, medium format is the way to go.

Aspect Ratio: Another significant difference is the aspect ratio. 35mm film typically yields images with a 3:2 aspect ratio, while medium format cameras typically offer a square 1:1 aspect ratio. The square format can be a creative boon, pushing photographers to rethink composition. It forces a balance between the vertical and horizontal aspects of your subject, a characteristic reminiscent of the iconic street photographer Vivian Maier, who frequently used a TLR camera. The square format encourages unique framing and adds an artistic challenge to your photography.

Depth of Field: Medium format allows for a shallower depth of field compared to 35mm. This means that it’s easier to achieve that sought-after background blur or bokeh, perfect for portrait and street photography. With a well-executed composition, your subject can pop against a beautifully blurred backdrop, making them the focal point of the image.

Size and Weight of Equipment: In terms of portability, 35mm cameras have the upper hand. They are compact, lightweight, and ideal for street photography where you need to be quick on your feet. Medium format cameras, on the other hand, tend to be bulkier and heavier due to the larger film format and the associated optics. This makes them better suited for planned shoots where image quality takes precedence over convenience.

Cost of Film and Development: While 35mm film and development are more budget-friendly, medium format film comes at a higher cost. When using the 6×6 format you will only have 12 images per roll of film. This of course makes every shot count. If you are stressed out about messing up a shot on 35mm film then your anxiety will shoot up to lunar levels with only 12 shots. But remember what I have said earlier, no shot is wasted and every shot is a learning experience. The enhanced image quality, detail, and artistic potential make medium format film worth the investment for those who prioritize the final result over the upfront cost. If you’re planning to produce gallery-worthy prints or pursue a professional career, the expense can be justified.

Flexibility and Convenience: 35mm cameras are known for their flexibility and convenience, making them well-suited for capturing quick shots or candid moments. They’re also readily available, and film processing is more accessible. In contrast, medium format cameras require a more methodical approach, ideal for planned and deliberate photography. The process is slower, encouraging you to carefully consider each shot and compose it meticulously. This added effort can lead to more thoughtful and deliberate photographs.

3. Street Photography with the Pentax ME Super and TLR Influence Vivian Maier, a renowned street photographer, serves as an inspiring example of how camera choice can shape your photographic style. Maier favored the TLR camera, a medium format model known for its distinctive qualities. Her use of the square format and unique perspective have left an indelible mark on street photography.

I want you to think about the fact that a TLR is hanging around your neck at tummy level or even waist level, so the way of looking at your subject will automatically affected too.

If you’re looking to explore street photography with a Pentax ME Super, remember that the compact 35mm format offers its advantages for candid, on-the-go shots. However, Maier’s work reminds us that the choice of equipment is a personal one, and there’s no one-size-fits-all answer.

4. The Mamiya C220 Review: A Medium Format Marvel As we venture further into the world of medium format, the Mamiya C220 beckons. Just as Vivian Maier chose a TLR for her street photography, other photographers have found success with medium format cameras like the Mamiya C220. In my upcoming review, I’ll explore the features, benefits, and considerations of this remarkable medium format camera, guiding you towards your next photography adventure.

The Induction to a Higher Level of Photography When you make the transition from 35mm to medium format, you’re stepping into a higher echelon of photography. If you think that 35mm film is great, you’ll be enthralled when you see your images taken by a medium format camera. The level of detail and depth of field that medium format offers is simply unmatched. It’s like upgrading from a standard screen to 4K resolution for your photography. Every detail comes to life, and the depth of field adds a whole new dimension to your work. It’s a revelation that will leave you wondering why you didn’t make the leap sooner.

The 35mm format photo captured on the Pentax MS Super. The “standard” format of film photography. The one we all know.

The square format common to much medium format photography with a 6×6 format. I’ll let you look at the differences for yourself.

The lenses for each shot was a 50mm lens for the 35mm format film photo, and the 80mm mm lens for the medium format photo. However, both lenses are equivalents.

Conclusion In closing, remember that there’s no definitive answer to the question of 35mm vs. medium format. It’s a matter of personal preference and artistic vision. Both formats have their merits, and your choice should align with your goals and the style of photography you wish to pursue.

Stay tuned for the Mamiya C220 review, where I’ll delve deeper into the world of medium format photography, and consider the impact of the TLR on your creative journey.

The journey of film photography is full of exciting choices, from your film format to your camera model. Vivian Maier’s legacy reminds us that every camera has its unique personality and that your creative vision should be the driving force behind your choices. Whether you decide on 35mm or medium format, your camera is your artistic tool, and the world of film photography is yours to explore.

Photography 101: Mastering the Fundamentals


Why Photography?

Hello, Dear Reader,

I’ve decided to take some advice and start a series of articles focused purely on photography. You may already know how photography has impacted my life, and perhaps you’re hoping to discover something similar for yourself. This isn’t a formal course, and the advice I share comes from my own experiences over the years. My aim here is to offer you a useful reference point as you begin or continue your own photographic journey.

Let’s assume you’re new to photography and want to move beyond using your phone’s camera. You’re ready for a “real” camera. Does that sound about right?

From time to time, people approach me and say, “Ian, what’s the deal with photography? How do I get photos like yours?” That’s when my imposter syndrome likes to make an appearance. But despite that, I’m here to share what I know.

To begin, you’ll need a camera. I know it can feel overwhelming, especially if you’ve glanced at the price of a Leica and wondered if it’s worth selling a kidney. (Pro tip: hold off on that.) Leicas are beautiful, but you don’t need to break the bank to get started.

Any camera within your budget is a good starting point, especially if it allows you to control settings manually. Whether you choose film or digital, the fundamentals remain the same. Do you want the retro charm of a Canon AE1, the compact style of a Fujifilm X100F, or perhaps a more professional DSLR? The choice is yours, but remember: the camera is just a tool. It’s how you use it that matters. I’ve written some camera reviews you can check out, and I plan to add more in the future.

Now, let’s talk about the basics.

Exposure Basics

Photography is essentially about light—how much of it reaches your camera’s sensor (or film) and how it interacts with your subject. Too much light, and your image will be “overexposed” (too bright). Too little light, and it will be “underexposed” (too dark). You can, of course, play with these elements intentionally, using over- or underexposure to highlight specific areas of your shot. Photographers often talk about exposing for the highlights or shadows to get the right balance. In film photography we will expose for the shadows and in digital photography we expose for the highlights.

How do I control the light?

It all comes down to balancing three key elements, often called the “Exposure Triangle”: ISO, shutter speed, and aperture. Adjust one, and you’ll need to compensate with the others. Let’s go through each of these in turn.

Exposure triangle, showing the effects of aperture, shutter speed and ISO

Understanding ISO

ISO controls your camera’s sensitivity to light, crucial for getting the right exposure in your photographs. In film photography, it’s referred to as ASA, but the principle remains the same.

  • Lower ISO Settings (100-400): Ideal for bright conditions, such as sunny days, as they produce images with minimal grain or “noise.” For example, using ISO 100 outdoors on a clear day will give you crisp, clear shots.
  • Moderate ISO Settings (400-800): These settings are suitable for cloudy days or indoor lighting. Using ISO 400 allows you to capture good quality images without excessive grain, but expect some visibility of noise when using ISO 800 in dimmer conditions.
  • Higher ISO Settings (1600 and above): Perfect for low-light situations, such as indoors or nighttime photography. While ISO 1600 can help you capture images without a flash, be prepared for more noticeable grain. ISO 3200 can be used for very low light, but expect significant grain in the final image.

Modern digital cameras handle higher ISO settings much better than older film cameras did, significantly reducing noise even at higher values. The key takeaway is to experiment with different ISO settings to see how they affect your shots. Don’t hesitate to adjust your ISO based on the lighting conditions—higher sensitivity can make a big difference in capturing those special moments.

Shutter Speed

Shutter speed determines how long the sensor (or film) is exposed to light. A fast shutter speed—like 1/500th or 1/2000th of a second—will freeze motion, but it lets in less light, so you may need to increase your ISO to compensate. Slower shutter speeds (1/60th of a second or lower) let in more light but can cause motion blur or camera shake. If you’re handholding the camera, try to stay above 1/60th of a second. If you’re using a longer lens, say 85mm, you may want to use 1/100th of a second or faster to avoid shake.

For stability with slower shutter speeds, a tripod is your friend. Just bear in mind that vintage cameras often have lower maximum shutter speeds, but those quirks deserve their own chapter.


Aperture and depth of field

Aperture controls how wide the lens opens to let light in, and it’s measured in f-stops. A smaller f-stop number (like f/2.0) means a wider aperture, which lets in more light and creates a shallower depth of field—ideal for those portraits with a soft, blurry background. A higher f-stop (like f/16) means a smaller aperture, which lets in less light but keeps more of the scene in focus—perfect for landscapes.

Aperture not only affects the amount of light coming through but also how much of your image appears sharp. The trick is finding the right balance for the look you’re aiming to achieve.

Conclusion

One of the great things about digital cameras is that you can experiment with these settings without worrying about the cost of film. You can see the results immediately and make adjustments on the fly. Most digital cameras offer different modes to help you control the exposure. For example, “Shutter Priority” lets you set the shutter speed while the camera adjusts the other settings. “Aperture Priority” does the same for aperture. If you’re more experienced, you can take full control with manual mode.

This is just the first in a series of articles designed for beginners, but it’s always helpful for even the more seasoned among us to revisit the fundamentals. If you have questions, feel free to leave a comment. No question is too simple, and I’ll do my best to respond.

Until next time, Dear Reader.

Post Scriptum

I’ve noticed many of you arrive at this site through this page (probably from Google), so welcome! This is just the first in a broader series on photography. If you found this article helpful, there’s more where this came from. I also cover topics like composition, gear choices such as the Pentax ME Super, which as its name suggests is rather Super, the differences between 35mm and medium format, and my approach to street photography.

My aim is to demystify photography. It doesn’t have to be complicated. Whether you’re just starting out or already have some experience, I hope you’ll find something useful here. Thanks for reading, and don’t hesitate to ask questions or leave a comment. I look forward to hearing from you.

Canon AE-1 Program – A Classic Film Camera for Timeless Photography


The Canon AE-1 Program is a timeless gem that continues to captivate photographers and film enthusiasts alike. As a classic film camera first introduced in 1981, it effortlessly combines automatic and manual features, making it an excellent choice for both beginners and experienced photographers.

Automatic and Manual Controls

One of the standout features of the Canon AE-1 Program is its versatility in handling exposure. For those new to film photography, the program mode automatically sets both the shutter speed and aperture, allowing them to focus solely on composition and creativity. It takes the technical complexities out of the equation, delivering stunning results with ease.

However, for those who crave creative control, the AE-1 Program offers manual settings as well. With the freedom to adjust shutter speed and aperture manually, photographers can explore their artistic vision and experiment with different effects. The inclusion of shutter priority mode and bulb mode for long exposure photography adds even more possibilities for artistic expression.

Build and Design

The camera’s solid metal body exudes durability and reliability, ensuring that it can withstand the test of time. Its sturdiness makes it a trustworthy companion on any photographic journey. Handling the AE-1 Program instills a sense of nostalgia and craftsmanship that modern digital cameras often struggle to replicate.

The bright and clear viewfinder with a split-image prism aids accurate focusing, enhancing the overall shooting experience. Moreover, the hot shoe for attaching external flashes and the self-timer feature further contribute to the camera’s versatility.

Technical Details

  • 35mm SLR film camera
  • Program mode, shutter priority mode, manual mode
  • Metal body for durability
  • Bright and clear viewfinder with split-image prism
  • Hot shoe for flash attachment
  • Self-timer for group shots and self-portraits
  • ISO range: 12-1600
  • Shutter speeds: 1/1000 to 30 seconds
  • Aperture range: f/1.2 to f/16 (depending on lens)

Pros

  1. User-Friendly Interface: Ideal for beginners and those new to film photography, the AE-1 Program’s program mode takes care of exposure details, allowing photographers to focus on creativity.
  2. Creative Freedom: With manual controls and additional shooting modes, experienced photographers can fully unleash their creativity and experiment with different photographic techniques.
  3. Timeless Design: The camera’s robust metal body exudes a sense of craftsmanship and nostalgia, making it a pleasure to handle and use.
  4. Bright Viewfinder: The clear and bright viewfinder with a split-image prism aids accurate focusing, ensuring sharp and well-composed shots.

Cons

  1. Iconic Status: As one of the most sought-after film cameras, the Canon AE-1 Program may come with a higher price tag due to its iconic status.

The Verdict

The Canon AE-1 Program stands as a testament to timeless design and reliable performance. Whether you’re new to film photography or a seasoned enthusiast, this classic camera offers a perfect balance between automatic convenience and manual creativity. Its sturdy build and user-friendly interface make it a delightful companion for any photography journey.

So, if you’re yearning to experience the charm of film photography or simply want to relive the golden era of analog cameras, the Canon AE-1 Program will undoubtedly leave you inspired and amazed by the magic of capturing moments on film.

Happy shooting!

My Personal Thoughts

Without any hesitation, I wholeheartedly recommend the AE-1 Program to all photography enthusiasts out there. Whether you’re new to the charm of film photography or an experienced shutterbug seeking a trustworthy and adaptable companion, this camera will surely delight you. “Just do it” as a certain shoemaker once said.

I’ve had the pleasure of using the AE-1 Program for quite some time now, and I must say it’s been an absolute joy. Not only does it beautifully capture those precious everyday moments, but it also allows for endless creative possibilities. One feature that I particularly appreciate is its seamless transition between automatic and manual controls, empowering me to effortlessly tailor my shooting experience.

The idea here is to give you a raw image from the film scans and show you what you can get with a minimum of fuss in Lightroom with some very basic edits. What do you think?

And here we go with a small selection of pictures from the last roll I developed, which are from 2022 and taken in the streets of Nantes. There will be more to come as I head back into the magical world of film photography!

A Peaceful Stroll Through Jardin de Plantes


In the heart of Nantes, a city bustling with life and movement, lies a haven of tranquilly—the Jardin de Plantes. With my trusty Pentax ME Super in hand and a roll of Kentmere 100 film, I embarked on a photo walk with my niece, weaving together the threads of modernity and nostalgia.

As the sun cast its gentle rays on the vibrant petals and verdant foliage, my niece and I strolled through the garden, our spirits lifted by the scent of blooming flowers and the melody of chirping birds. The Pentax ME Super, a relic of a bygone era, clicked and whirred, capturing the essence of the ambiance around us.

In the heart of this botanical wonderland, a delightful surprise awaited us – artworks from the Voyage à Nantes, seamlessly integrated into the landscape. Sculptures and installations whispered tales of creativity, adding an artistic flair to the already enchanting scenery. With each click of the shutter, the Kentmere 100 film immortalised these moments, creating a bridge between the past and the present.

Amidst the garden’s serenity, the city’s rhythm seemed to fade into the background. The laughter of children echoed, the fragrance of earth danced in the air, and a sense of peace enveloped us. The bustling streets felt miles away, replaced by the gentle rustle of leaves and the soothing trickle of fountains. It was a moment to pause, to breathe, and to find solace in the embrace of nature.

As my niece marvelled at the artistic wonders and explored every nook and cranny, I couldn’t help but recall a time when the world seemed simpler, captured through the lens of vintage cameras. The Pentax ME Super, a faithful companion, clicked away, a reminder that while times change, the emotions and memories we capture remain timeless.

In the heart of the garden, as my niece’s wonder met my own nostalgia, I realised that these fleeting moments, captured on film, became whispers of timelessness. The Kentmere 100 film transformed scenes into memories, the Pentax ME Super gave them life, and the Jardin de Plantes offered its serene backdrop.

Our visit came to an end, and the laughter and footsteps of visitors began to fade, leaving behind a quietude that felt like a hidden treasure. With a final click, I knew that I had captured not just images, but fragments of serenity and beauty, framed by the lens of a camera that has witnessed decades.

The Jardin de Plantes, a breath of fresh air in the heart of a bustling city, became a canvas on which moments of joy, peace, and art intertwined. The Kentmere 100 film told their story, the Pentax ME Super etched them onto film, and I, a mere observer, was fortunate to be a part of this beautiful narrative.

In the end, it’s the ability to capture the ephemeral that gives photography its magic. It’s not just about freezing time but about encapsulating emotions that stand the test of time. As I looked at the photographs that adorned my album, I knew that every click was a brushstroke on the canvas of memory— a reminder of the day my niece and I discovered the beauty of the Jardin de Plantes and the timeless charm of classic photography.

Capturing Nantes: A Photowalk Through Urban Charms


In the heart of bustling Nantes, a city teeming with life and stories waiting to be captured, I embarked on a captivating photowalk adventure. Armed with my trusted Pentax ME Super camera and loaded with Rollei RPX 100 and then Fomapan 100 film, I set out to explore the artistic treasures and serene corners of this vibrant urban landscape, and the latest offerings of the Voyage à Nantes. Join me as I take you on a visual journey through the enchanting Place Royale, the charming Place Graslin, and the captivating sculptures that make Nantes truly unique.

Place Royale: A Fountain of Marine Delights

My journey commenced at Place Royale, where the graceful fountain stood adorned with marine sculptures straight out of a storybook. These sculptures, by the Blegian artist Maen Florin, glistened in the sunlight and droplets of falling water. The Pentax ME Super clicked away as I framed each marine figure, capturing the interplay of water and art with the delicate precision of film photography. The Rollei RPX 100 film lent an air of timeless elegance to each shot, turning the bustling square into a tranquil haven through its lens.

Place Graslin: A Meeting of History and Charm

Next on my path was the inviting Place Graslin, a captivating square that exuded elegance and history. Here, the statue of Combronne with his coffee and glass of water, the newer version by Maya Eneva and the Cellule B collectif, welcomed me outside the iconic Cigale café, where I imagined stories of bygone conversations and shared moments. As the Pentax ME Super’s shutter clicked, the Fomapan 100 film brought forth the statue’s enduring presence, immortalising the blend of past and present that this city so effortlessly portrays.

Artistic Wonders of Cours Cambronne

A stroll along Cours Cambronne revealed hidden gems in the form of statues – “homme pressé” by the English sculptor Thomas Houseago and “éloge à la transgression,” by the famous Philippe Ramette both stunning creations from the Voyage à Nantes. These sculptures spoke of bold expressions and the city’s penchant for creative exploration. The Pentax ME Super captured their intricate details, with the Fomapan 100 film adding a touch of mystery to their narrative. In the heart of the city, a feeling of tranquilly pervaded, as I marvelled at the artistic tableau that surrounded me.

Bike Shots: Capturing Urban Rhythm

No Nantes photowalk would be complete without capturing the city’s quintessential “bike shots.” Bicycles, intertwined with daily life, spoke of a rhythm unique to urban living. With each click of the Pentax ME Super, the Rollei RPX 100 film transformed these moments into frames that held a slice of the city’s pulse. It also allows people to keep fit and be very smug about not polluting…

A Spectator of Urban Theatre

As I ambled through the city’s streets, I couldn’t help but feel like a mere spectator in the grand play that Nantes puts on every day. The camera in my hand was not just an instrument but a witness to the stories woven into every corner. With the Pentax ME Super, I was able to capture these narratives, bridging time and space through the magic of film.

Conclusion: Nantes Through a Different Lens

The Pentax ME Super, armed with its classic charm, and the duo of Rollei RPX 100 and Fomapan 100 films, transformed my photowalk through Nantes into a visual tale. From the marine wonders of Place Royale to the historical elegance of Place Graslin and the artistic marvels of Cours Cambronne, each click of the camera immortalised the city’s essence. Through the lens of film photography, Nantes unveiled its soul—a blend of history, art, and an urban rhythm that beats to its own tune.

As I reflect upon the captivating frames that now grace my album, I’m reminded of the vibrant energy and artistic tapestry that Nantes weaves. Just as the city’s sculptures and streets tell their stories, the Pentax ME Super and film quietly tell mine – a narrative of a city that thrives in its own unique rhythm, an urban theatre where I played the role of an enchanted spectator.