Introduction In the world of film photography, the choice of film format can significantly impact the results you achieve. Whether you’re an aspiring street photographer or simply an enthusiast looking to explore the world of analog photography, the decision between 35mm and medium format can be crucial. This article explores the major differences between these two formats, helping you along on your photographic journey. As we dive into this discussion, it’s essential to understand how the choice of format can influence your work.
1. Understanding the Basics Let’s start by establishing a foundation. 35mm photography is the more common format, known for its accessibility, ease of use, and widespread availability. It is the standard format of film. However, medium format photography offers distinct advantages worth exploring.
2. The Key Differences
Image Quality and Resolution: The most noticeable difference between medium format and 35mm photography lies in image quality and resolution. Medium format film, with its significantly larger negative size, captures an significant level of detail and clarity. The larger negatives provide ample room for precise rendering of textures, fine lines, and intricate patterns. This translates to stunningly sharp and highly detailed images, ideal for both professional work and fine art photography. If you’re aiming for prints that capture every nuance, medium format is the way to go.
Aspect Ratio: Another significant difference is the aspect ratio. 35mm film typically yields images with a 3:2 aspect ratio, while medium format cameras typically offer a square 1:1 aspect ratio. The square format can be a creative boon, pushing photographers to rethink composition. It forces a balance between the vertical and horizontal aspects of your subject, a characteristic reminiscent of the iconic street photographer Vivian Maier, who frequently used a TLR camera. The square format encourages unique framing and adds an artistic challenge to your photography.
Depth of Field: Medium format allows for a shallower depth of field compared to 35mm. This means that it’s easier to achieve that sought-after background blur or bokeh, perfect for portrait and street photography. With a well-executed composition, your subject can pop against a beautifully blurred backdrop, making them the focal point of the image.
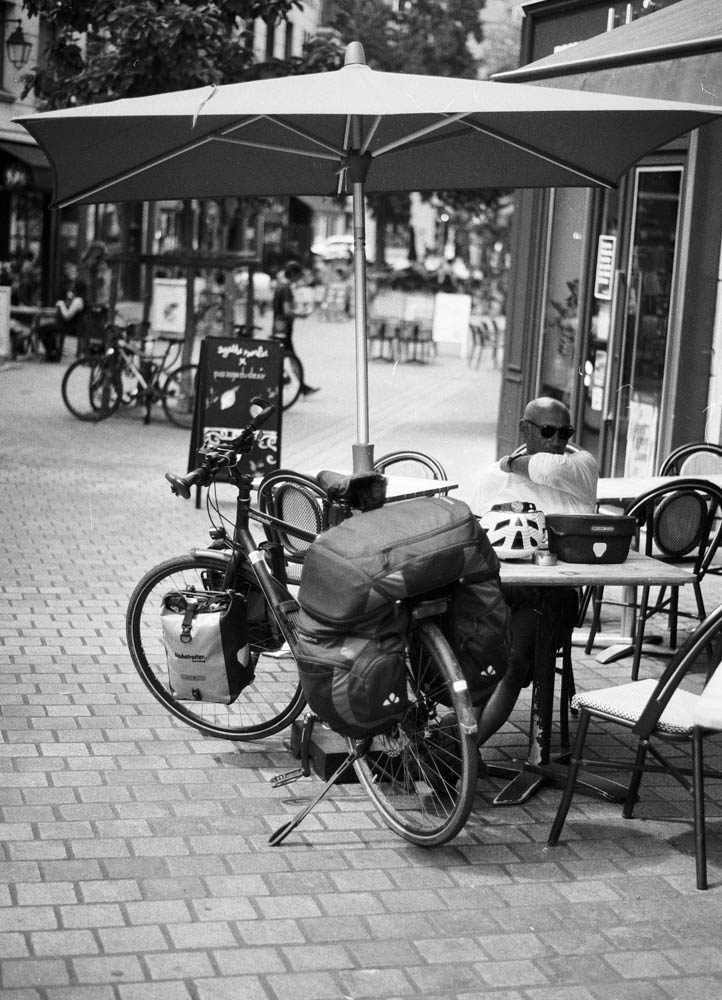
Size and Weight of Equipment: In terms of portability, 35mm cameras have the upper hand. They are compact, lightweight, and ideal for street photography where you need to be quick on your feet. Medium format cameras, on the other hand, tend to be bulkier and heavier due to the larger film format and the associated optics. This makes them better suited for planned shoots where image quality takes precedence over convenience.
Cost of Film and Development: While 35mm film and development are more budget-friendly, medium format film comes at a higher cost. When using the 6×6 format you will only have 12 images per roll of film. This of course makes every shot count. If you are stressed out about messing up a shot on 35mm film then your anxiety will shoot up to lunar levels with only 12 shots. But remember what I have said earlier, no shot is wasted and every shot is a learning experience. The enhanced image quality, detail, and artistic potential make medium format film worth the investment for those who prioritize the final result over the upfront cost. If you’re planning to produce gallery-worthy prints or pursue a professional career, the expense can be justified.
Flexibility and Convenience: 35mm cameras are known for their flexibility and convenience, making them well-suited for capturing quick shots or candid moments. They’re also readily available, and film processing is more accessible. In contrast, medium format cameras require a more methodical approach, ideal for planned and deliberate photography. The process is slower, encouraging you to carefully consider each shot and compose it meticulously. This added effort can lead to more thoughtful and deliberate photographs.
3. Street Photography with the Pentax ME Super and TLR Influence Vivian Maier, a renowned street photographer, serves as an inspiring example of how camera choice can shape your photographic style. Maier favored the TLR camera, a medium format model known for its distinctive qualities. Her use of the square format and unique perspective have left an indelible mark on street photography.
I want you to think about the fact that a TLR is hanging around your neck at tummy level or even waist level, so the way of looking at your subject will automatically affected too.
If you’re looking to explore street photography with a Pentax ME Super, remember that the compact 35mm format offers its advantages for candid, on-the-go shots. However, Maier’s work reminds us that the choice of equipment is a personal one, and there’s no one-size-fits-all answer.
4. The Mamiya C220 Review: A Medium Format Marvel As we venture further into the world of medium format, the Mamiya C220 beckons. Just as Vivian Maier chose a TLR for her street photography, other photographers have found success with medium format cameras like the Mamiya C220. In my upcoming review, I’ll explore the features, benefits, and considerations of this remarkable medium format camera, guiding you towards your next photography adventure.
The Induction to a Higher Level of Photography When you make the transition from 35mm to medium format, you’re stepping into a higher echelon of photography. If you think that 35mm film is great, you’ll be enthralled when you see your images taken by a medium format camera. The level of detail and depth of field that medium format offers is simply unmatched. It’s like upgrading from a standard screen to 4K resolution for your photography. Every detail comes to life, and the depth of field adds a whole new dimension to your work. It’s a revelation that will leave you wondering why you didn’t make the leap sooner.

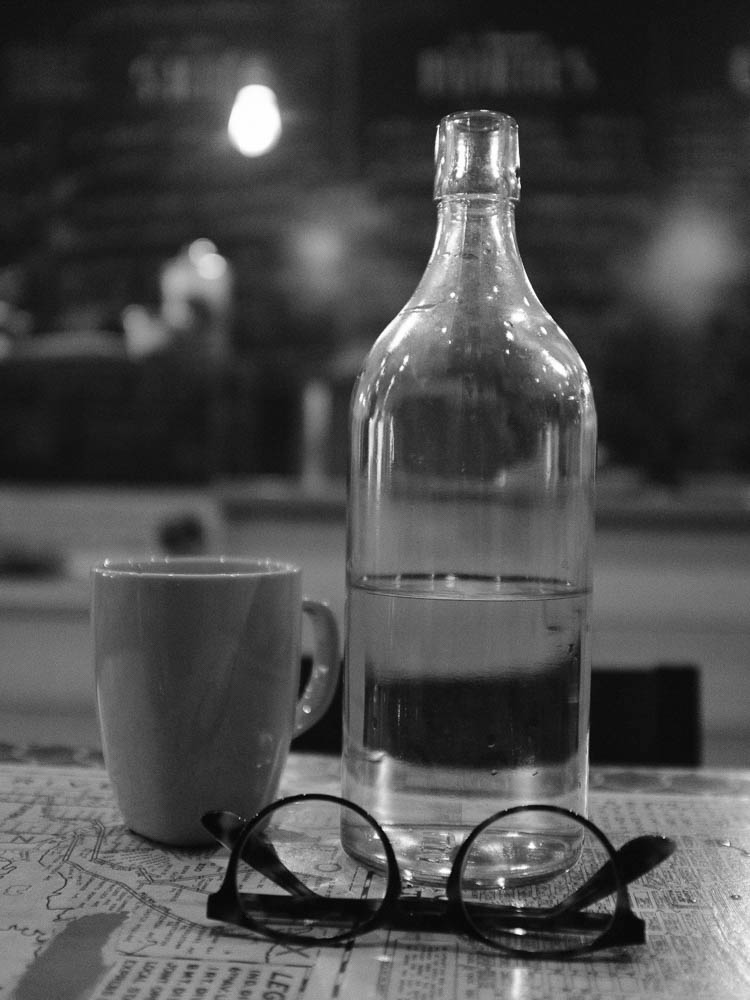
The 35mm format photo captured on the Pentax MS Super. The “standard” format of film photography. The one we all know.
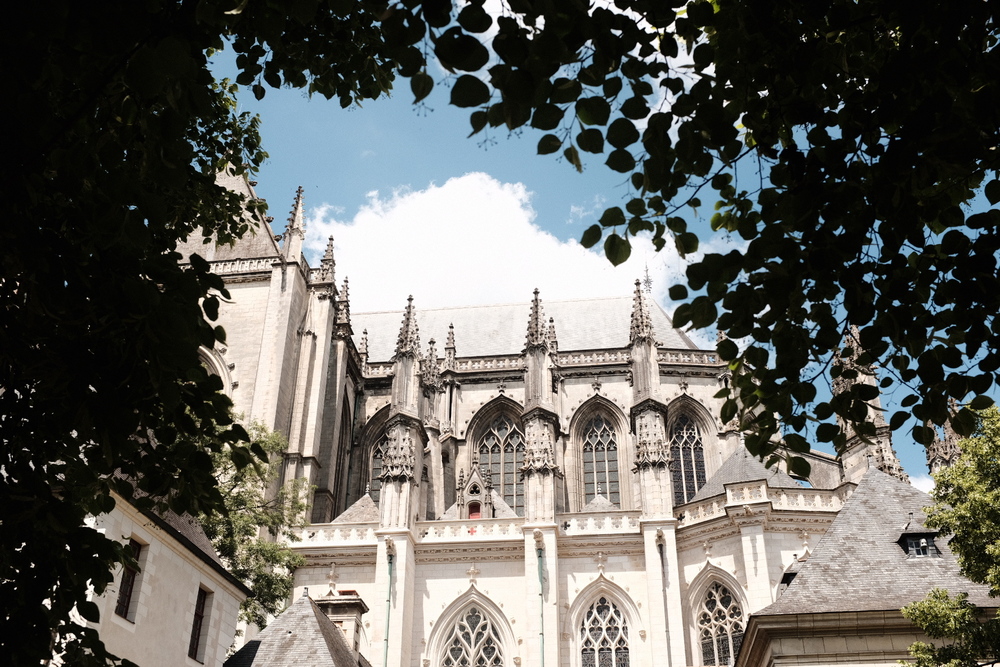
The square format common to much medium format photography with a 6×6 format. I’ll let you look at the differences for yourself.
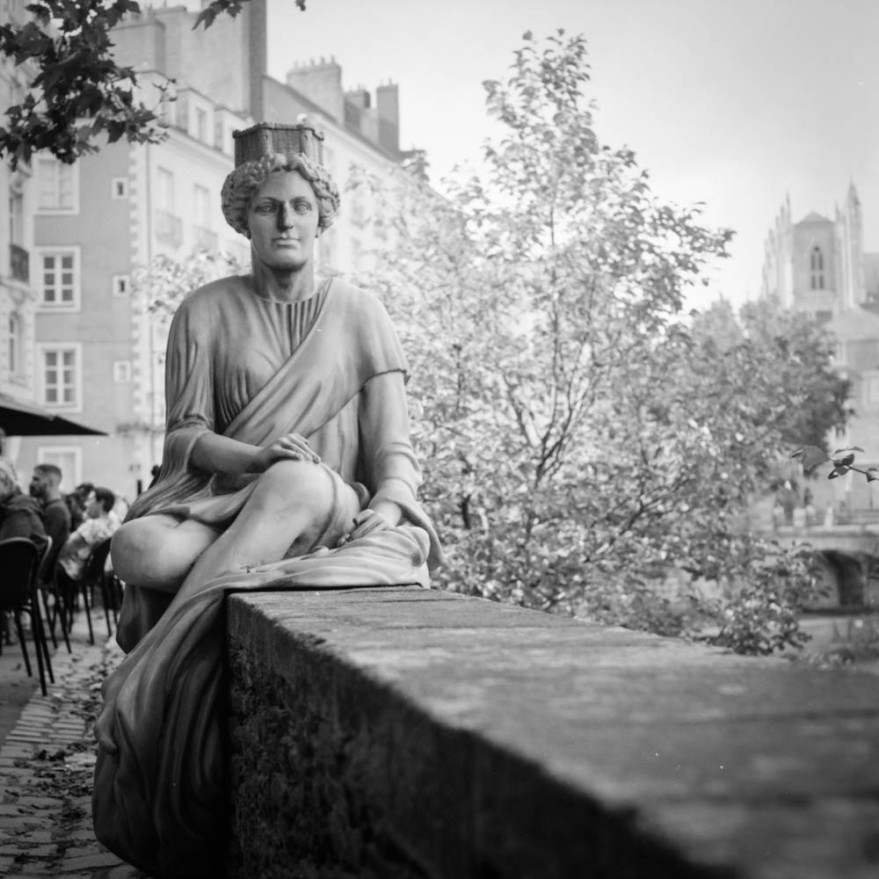
The lenses for each shot was a 50mm lens for the 35mm format film photo, and the 80mm mm lens for the medium format photo. However, both lenses are equivalents.
Conclusion In closing, remember that there’s no definitive answer to the question of 35mm vs. medium format. It’s a matter of personal preference and artistic vision. Both formats have their merits, and your choice should align with your goals and the style of photography you wish to pursue.
Stay tuned for the Mamiya C220 review, where I’ll delve deeper into the world of medium format photography, and consider the impact of the TLR on your creative journey.
The journey of film photography is full of exciting choices, from your film format to your camera model. Vivian Maier’s legacy reminds us that every camera has its unique personality and that your creative vision should be the driving force behind your choices. Whether you decide on 35mm or medium format, your camera is your artistic tool, and the world of film photography is yours to explore.