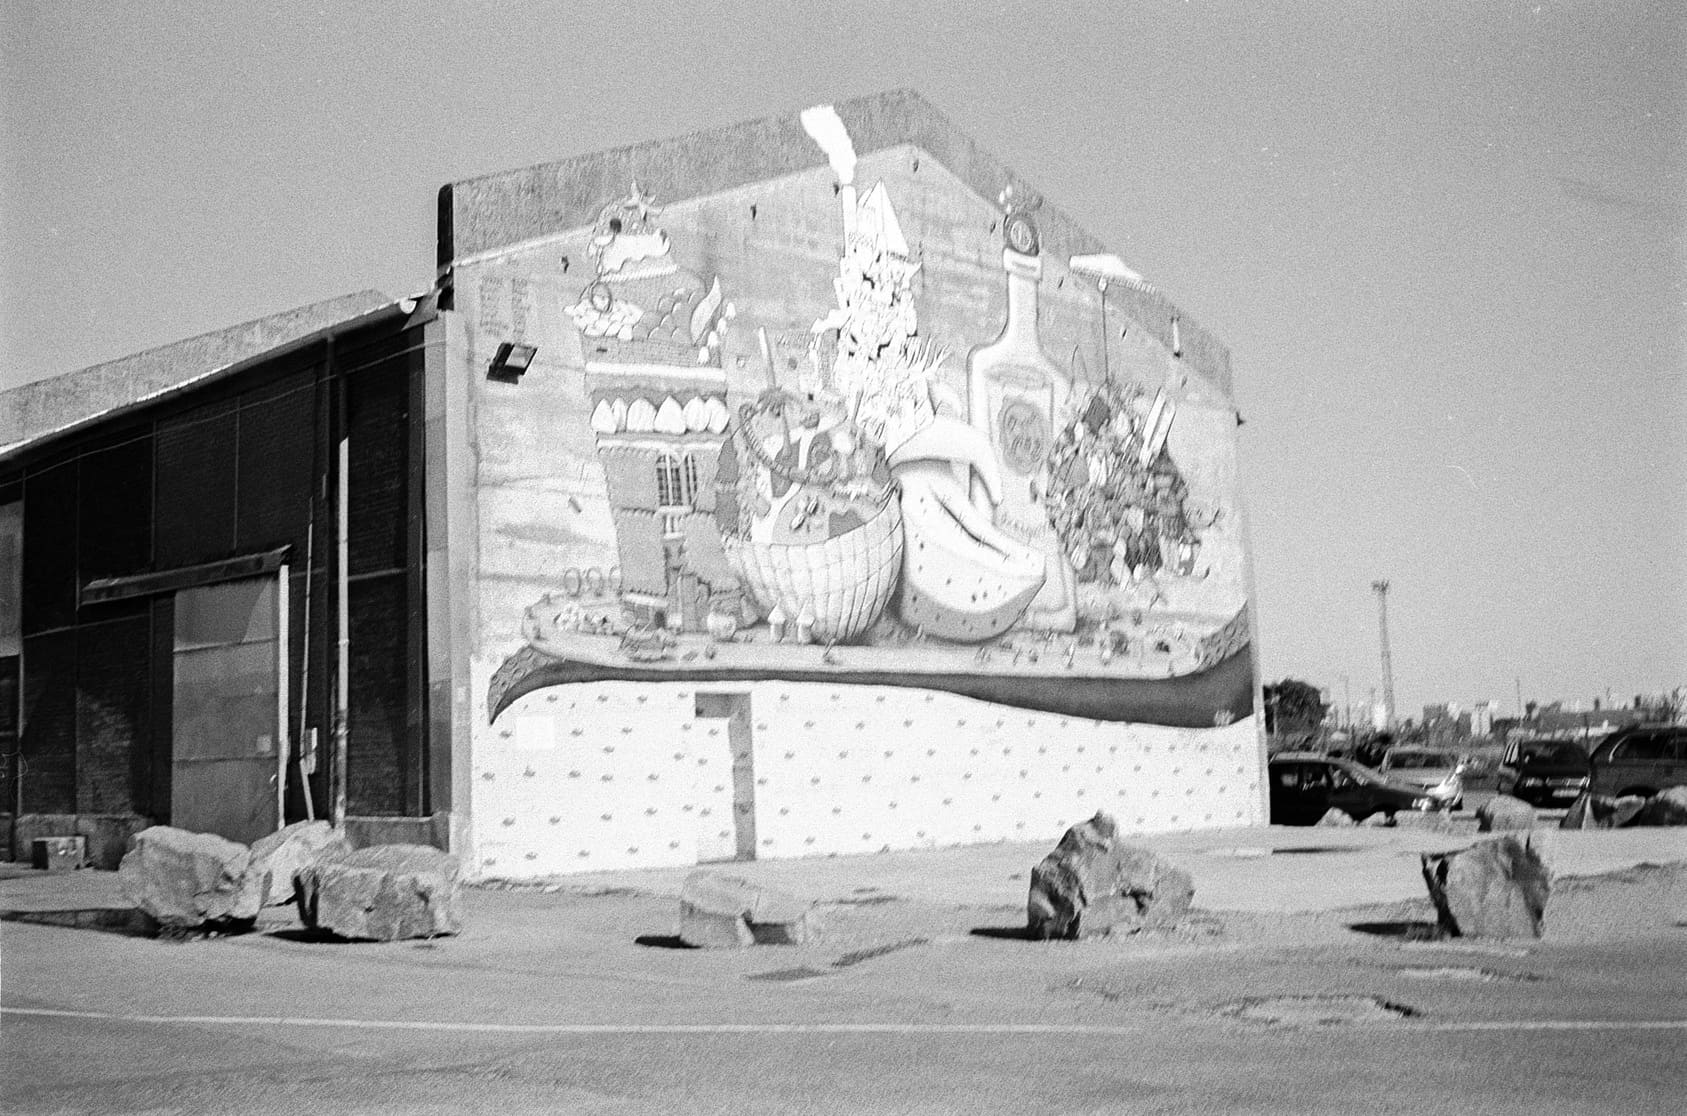
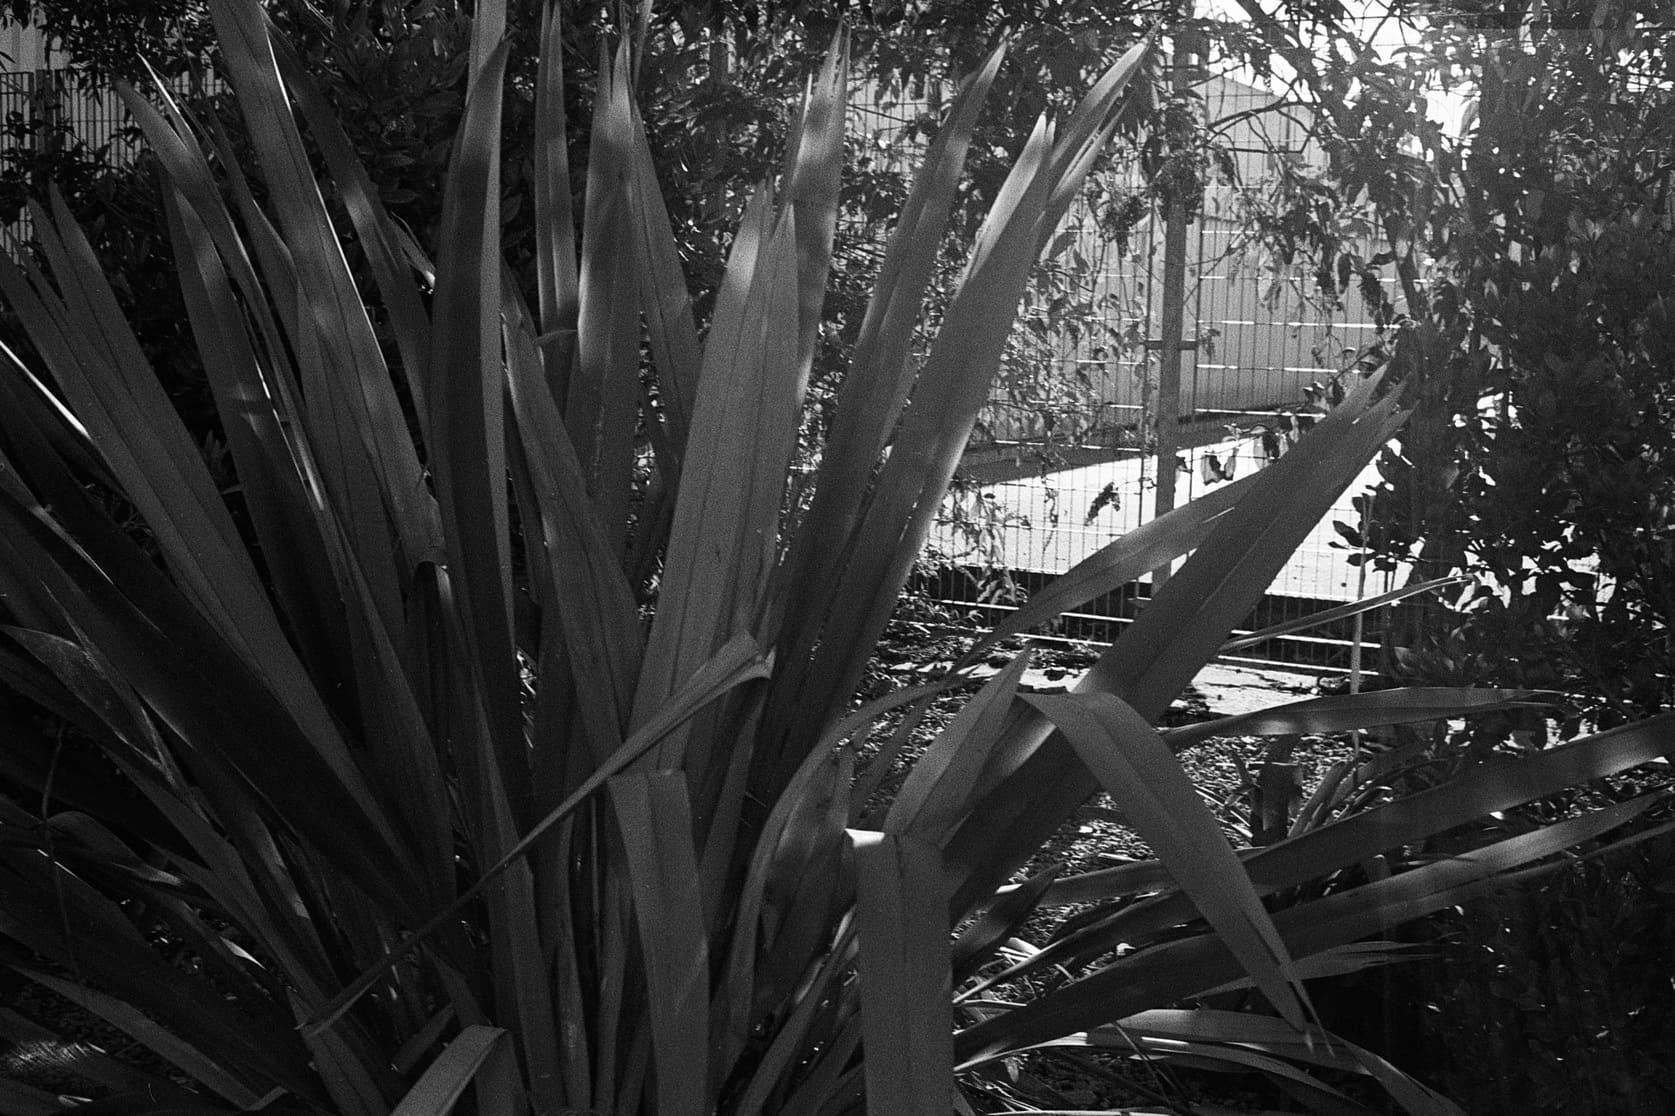
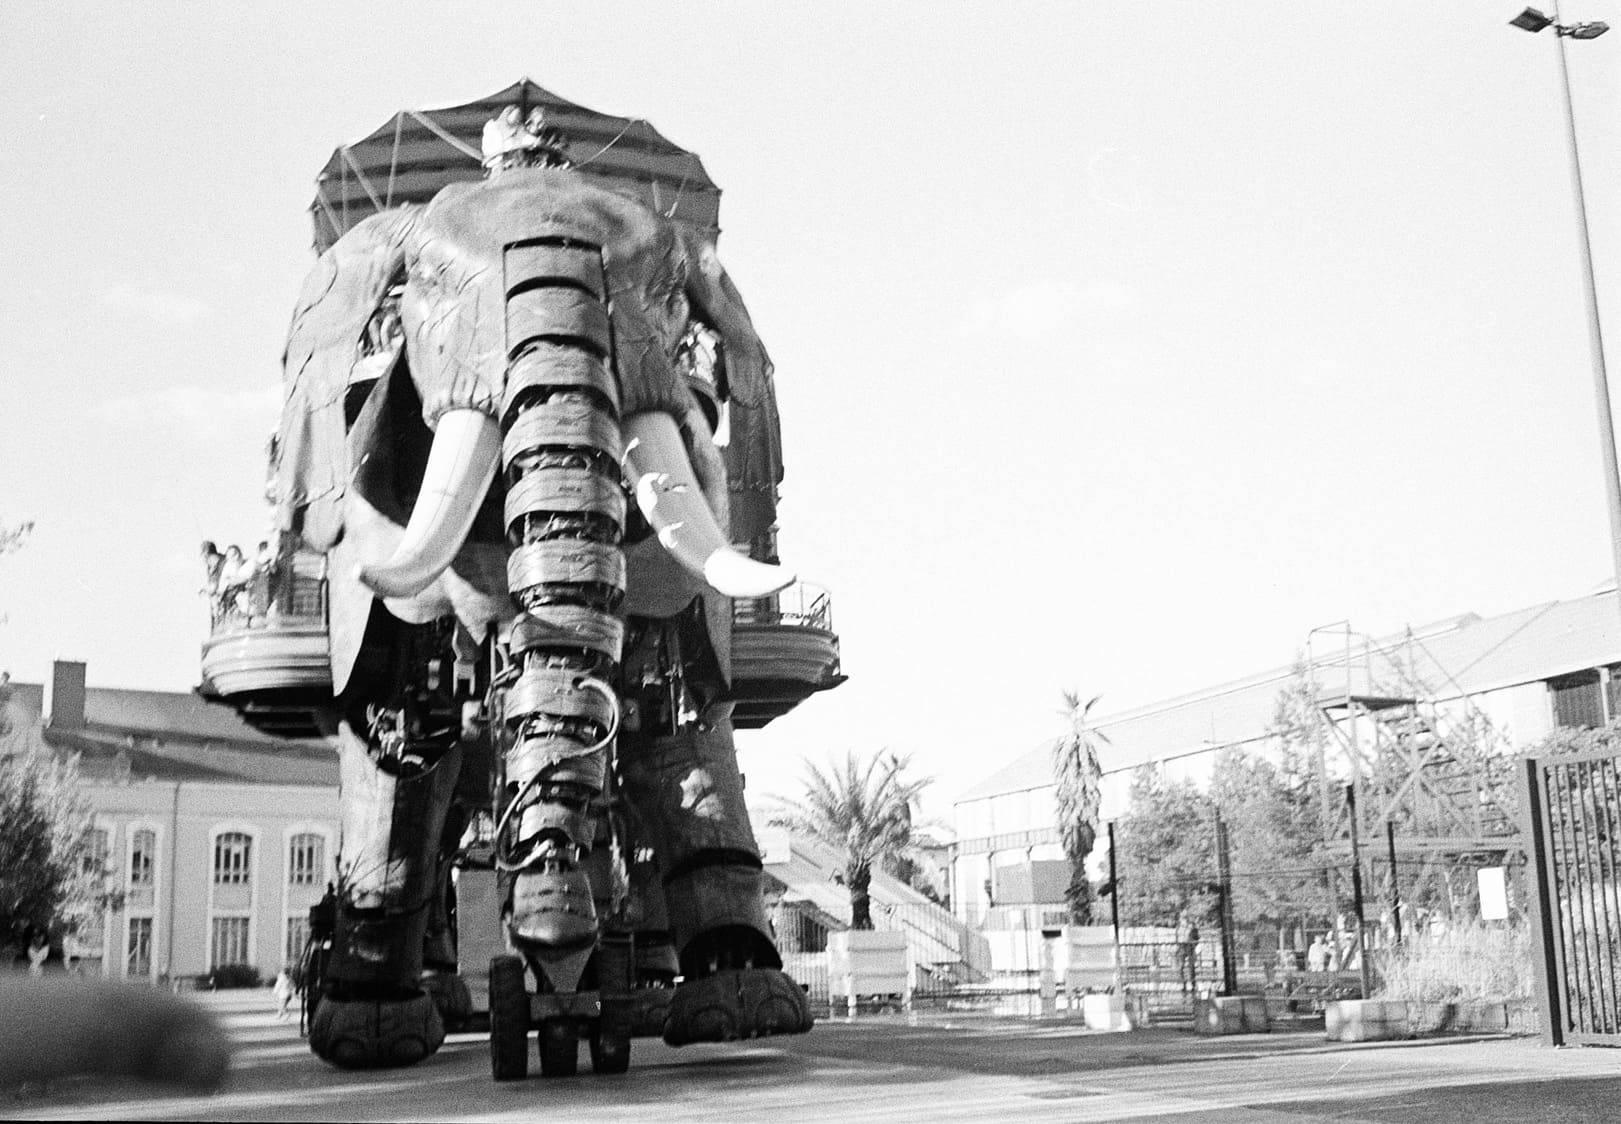
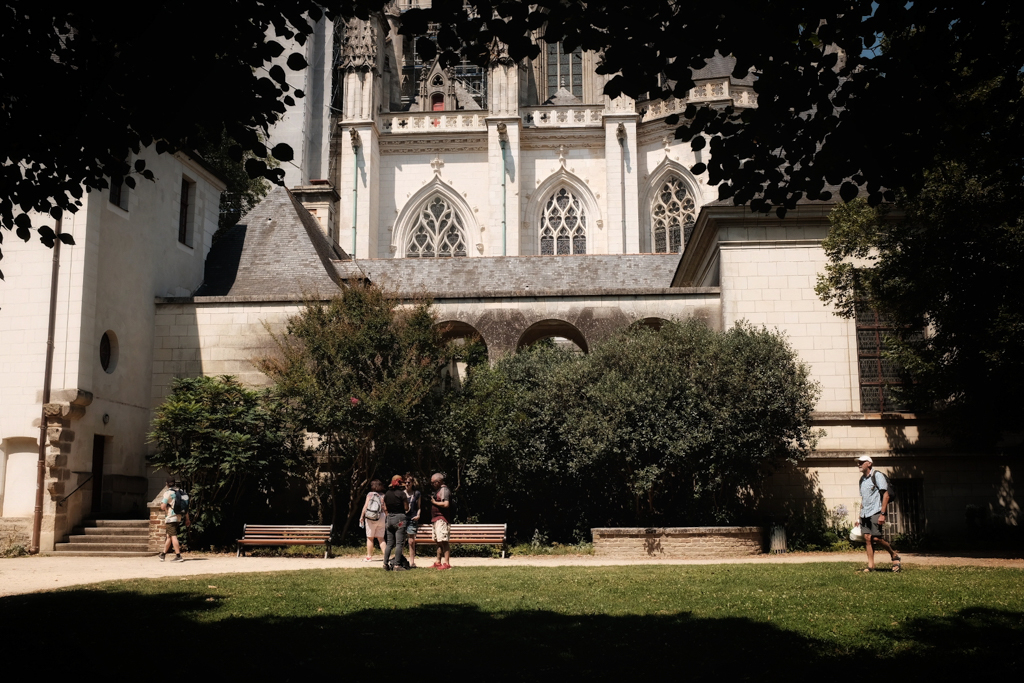
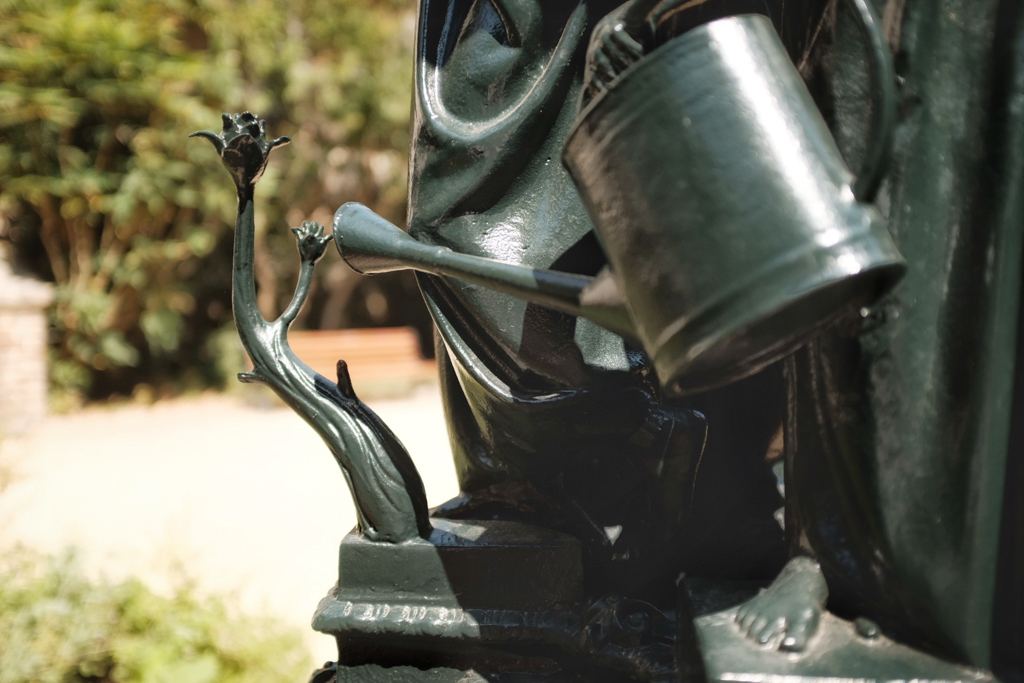
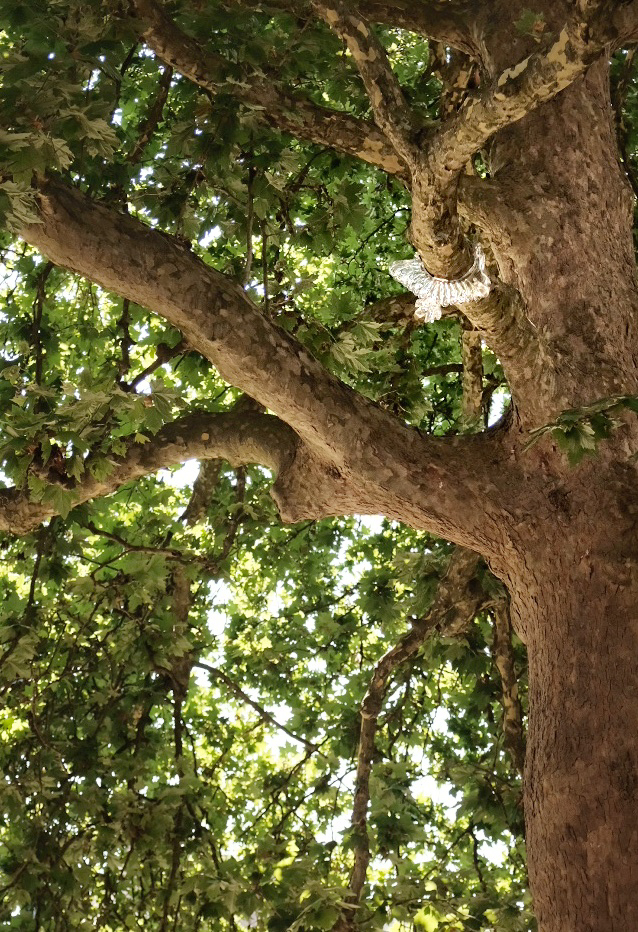
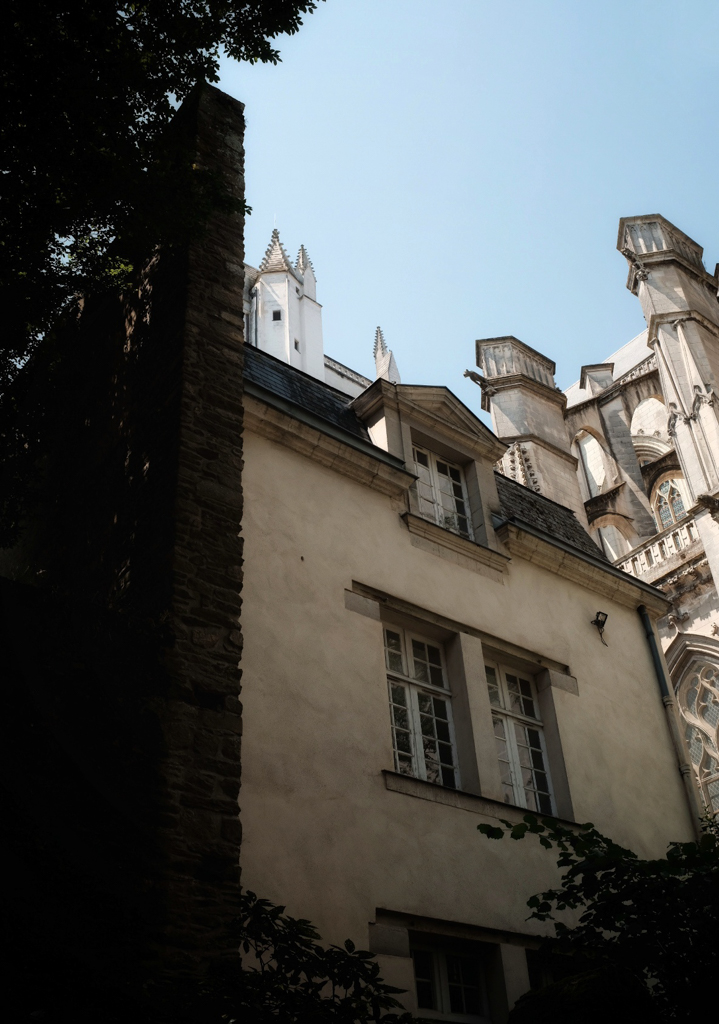
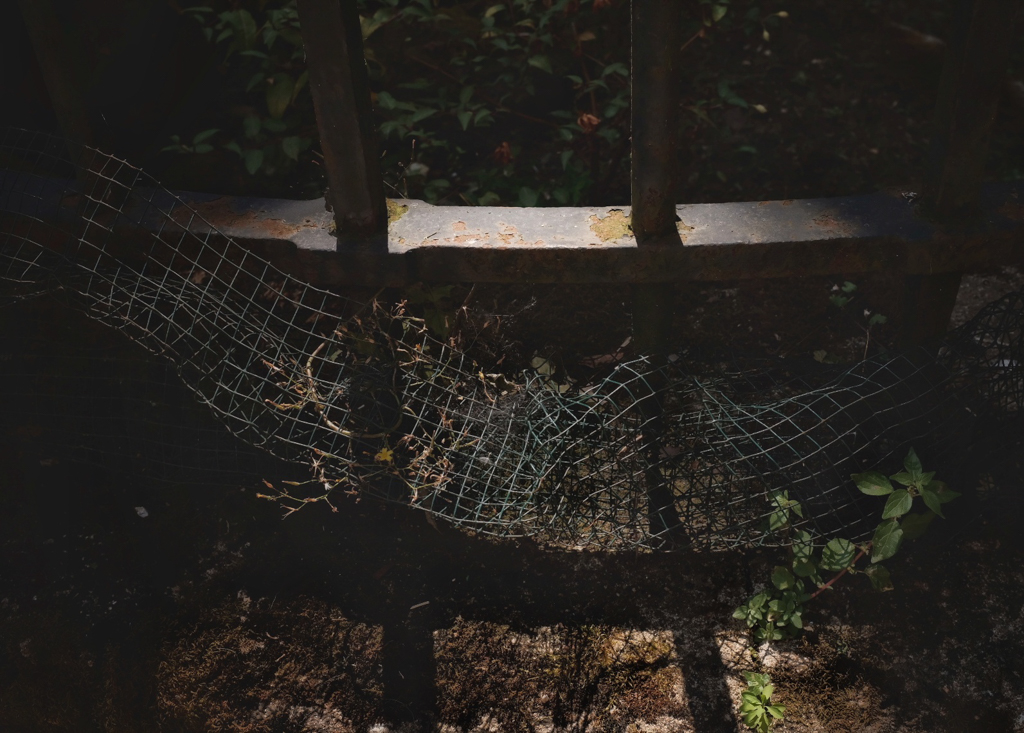
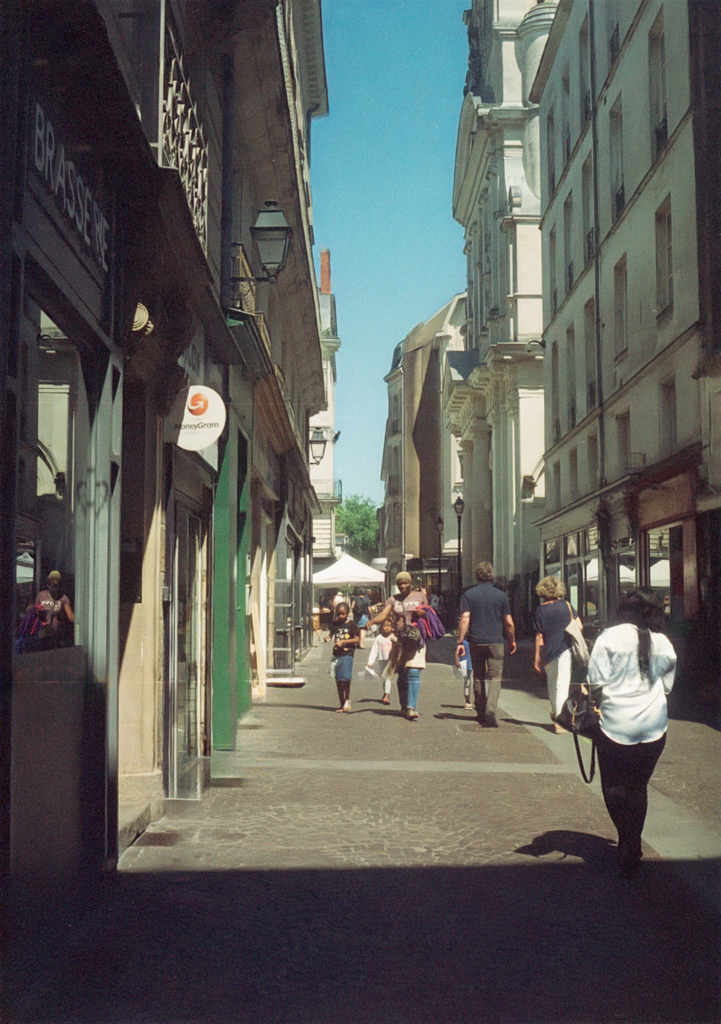
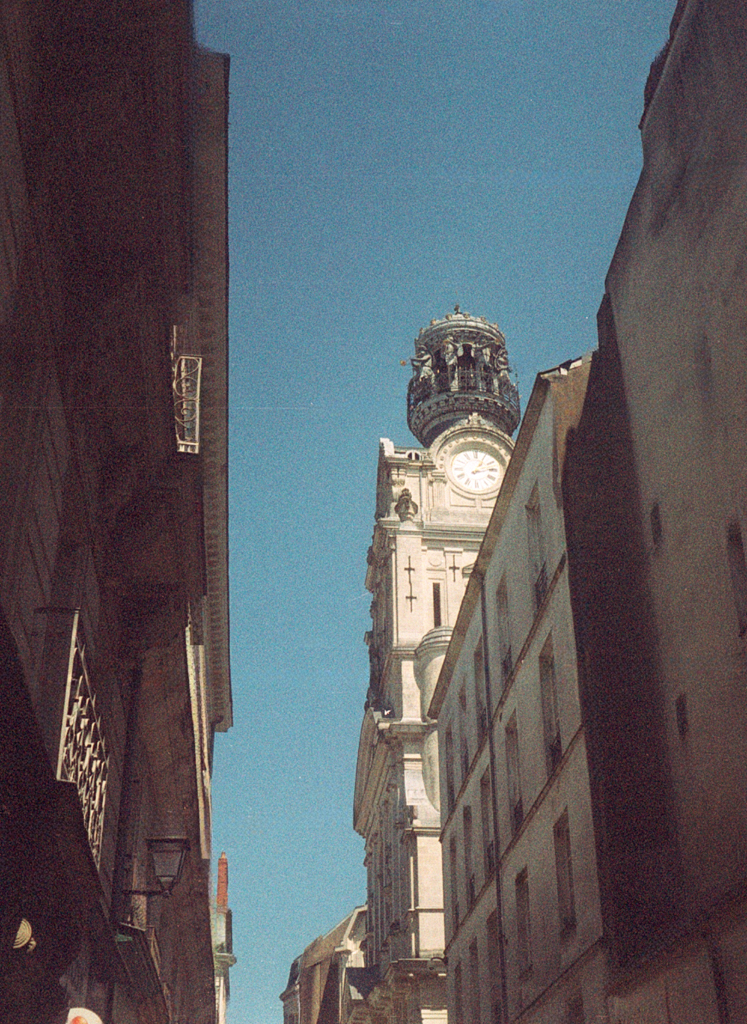
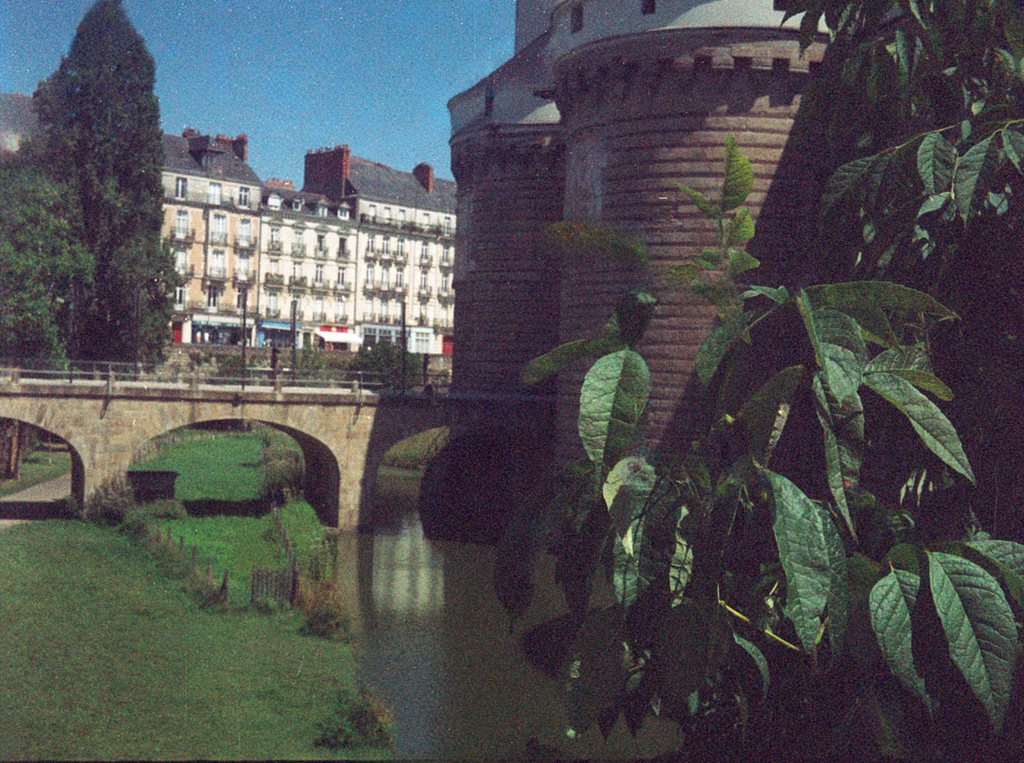
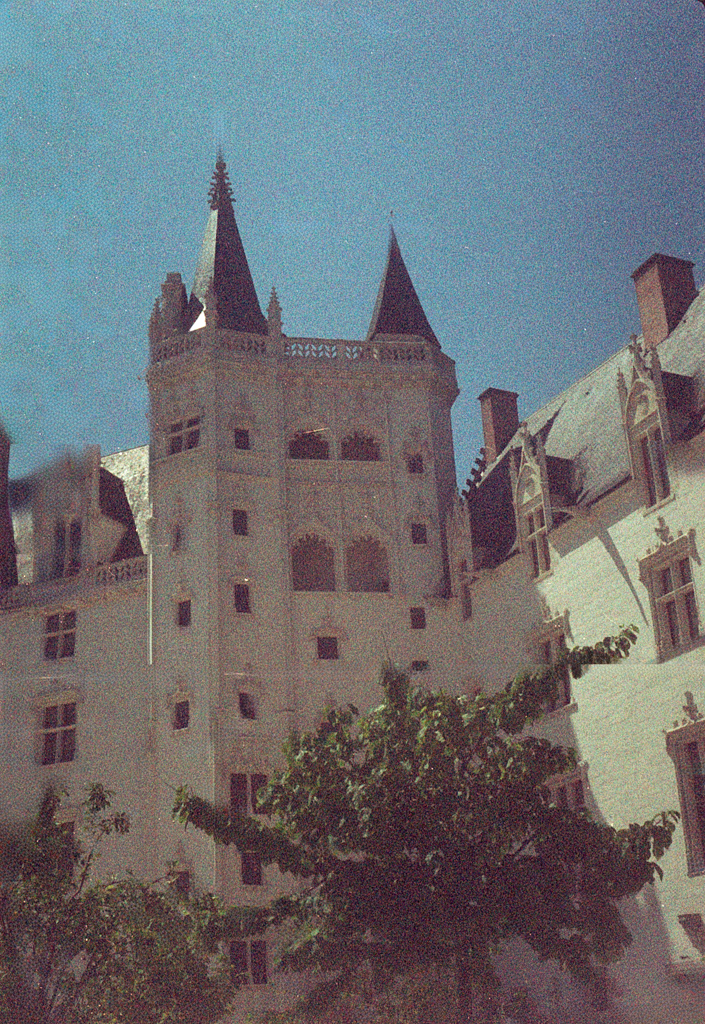
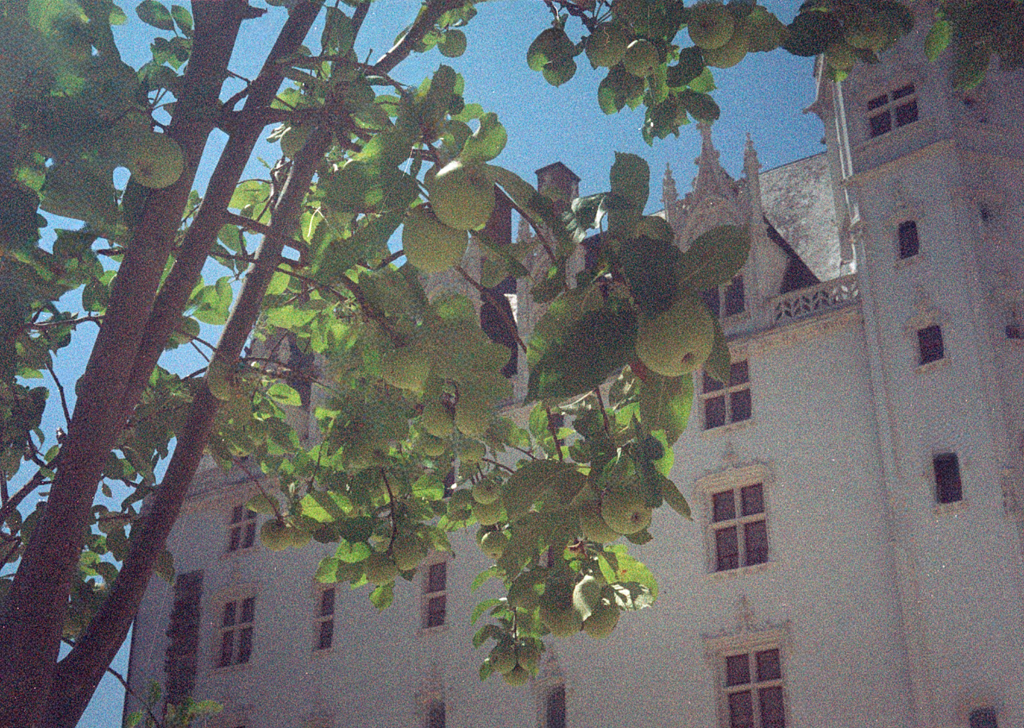
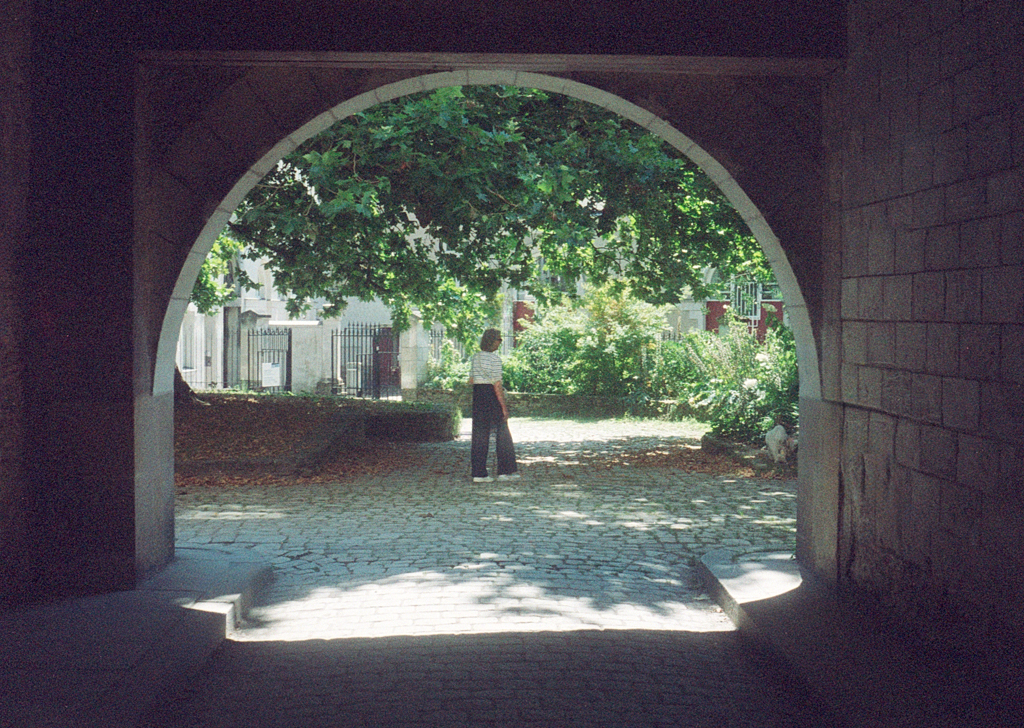
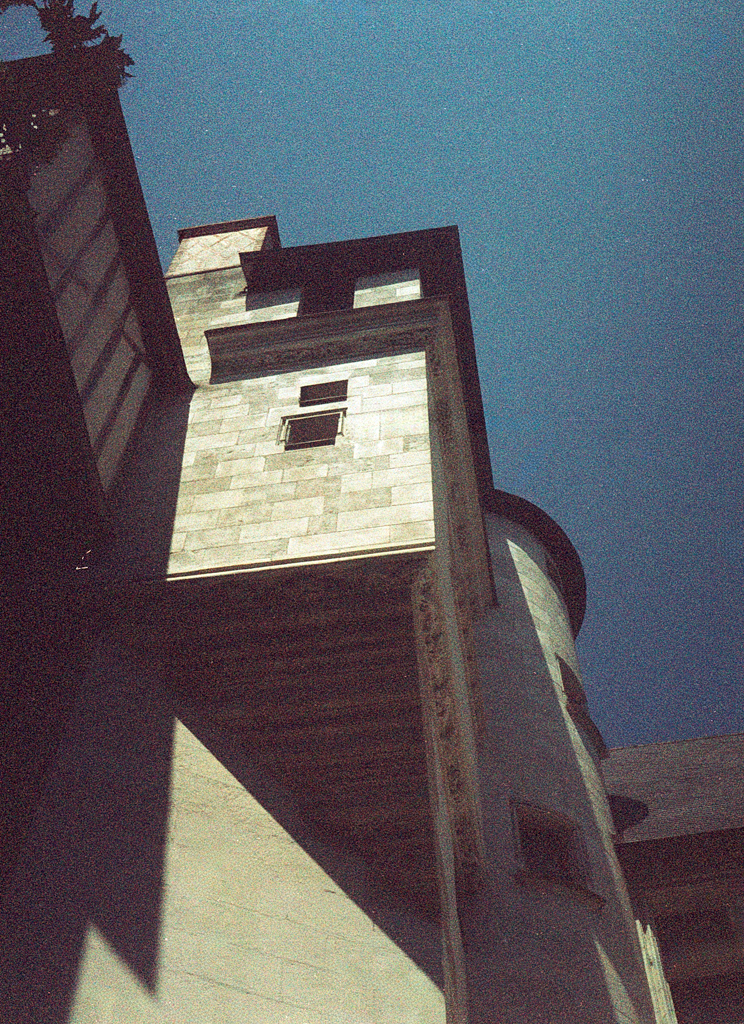
Last week’s journey through the film archives took us to Nantes, specifically the Île de Nantes. While you’ve seen my photos from that day, I’m excited to share my daughter Kate’s photos with you.
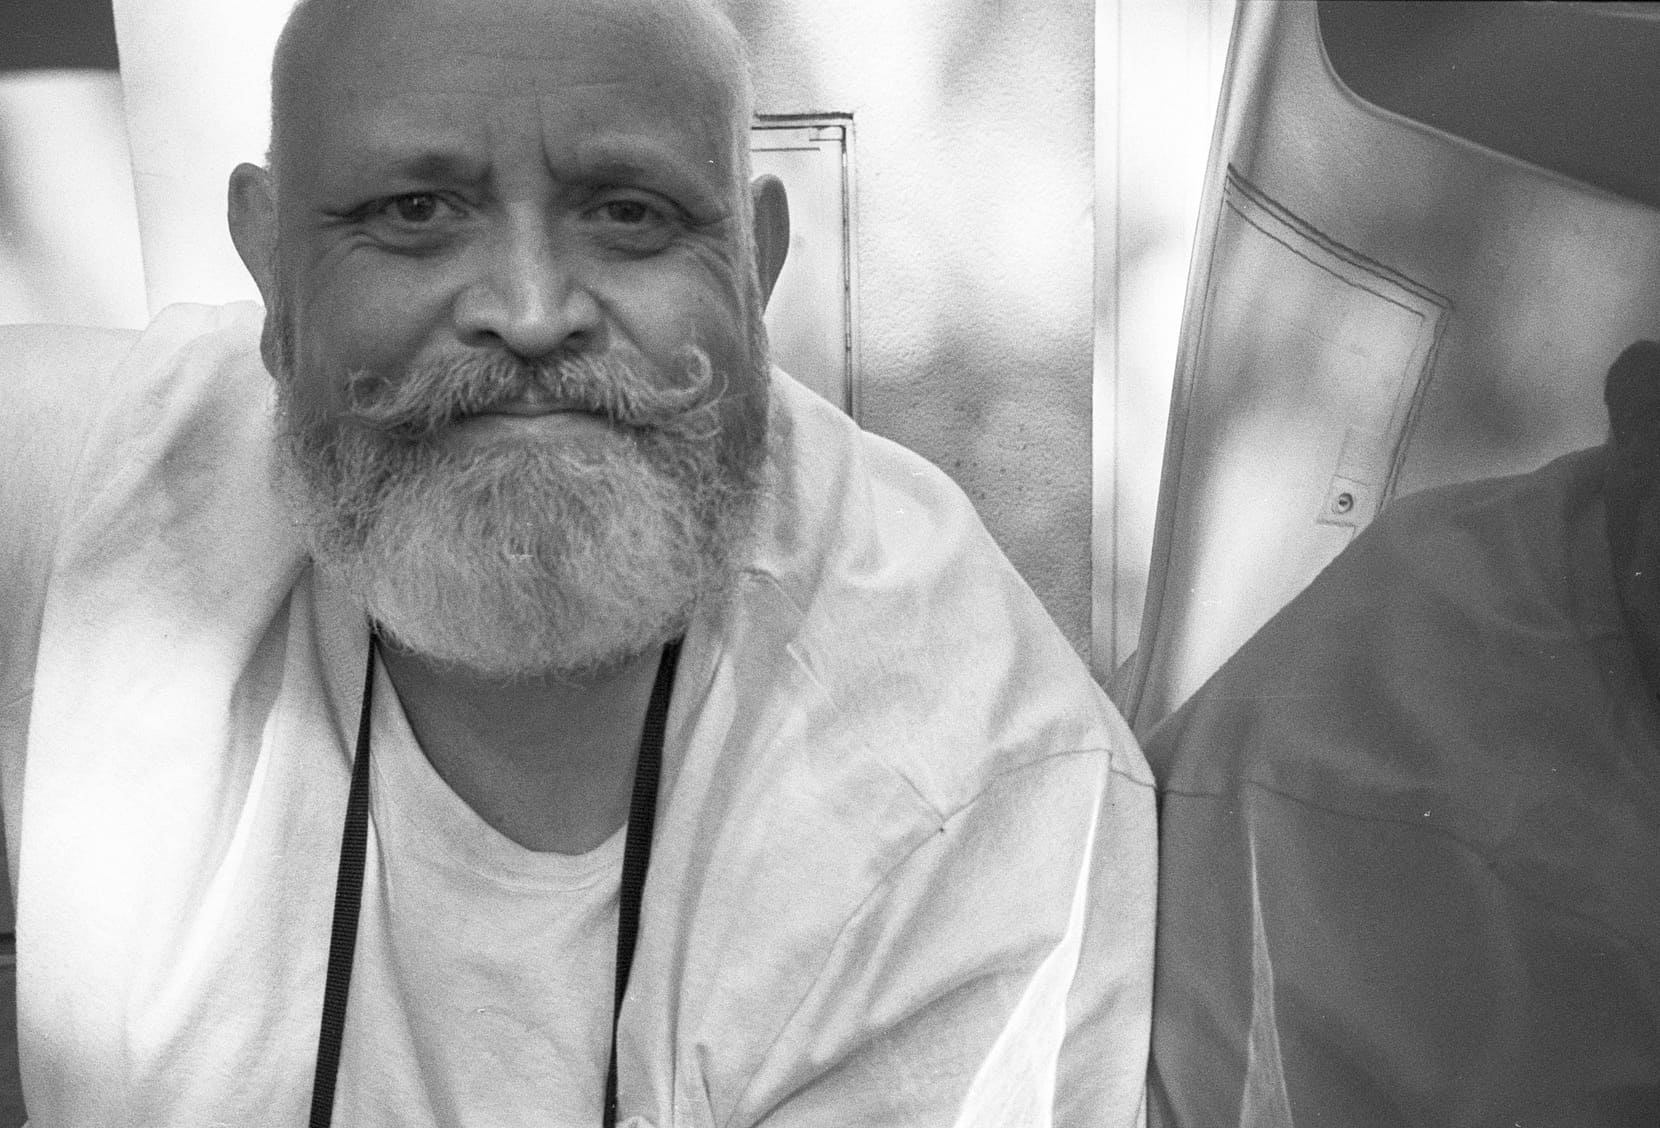
Are these images works of art deserving of a gallery? Perhaps not, but they represent a delightful exercise in spontaneity. Captured by a seven-year-old “playing” with a camera, they offer a unique glimpse into how my young daughter sees the world. There are no rigid rules of photography or composition here—just an extension of her eyes. These photos are raw yet delicate, showcasing the world as she perceived it at that moment.
These photos mean a great deal to me, particularly the one she took of me with that glorious moustache! I’ve often discussed how the journey and process of photography can sometimes be even more meaningful than the final destination. That day was a significant part of that journey, and reflecting on my own first photos from that age fills me with nostalgia.
Is film photography too expensive? Think again! Many assume that shooting film is a hobby reserved for the wealthy, but it doesn’t have to be. With the right approach, you can enjoy the unique aesthetic and creative process of film photography without breaking the bank. In this article, I’ll share my personal experiences and tips for saving money on film, developing, and gear, proving that the joy of film is accessible to everyone.
Often, even the tiniest things can spark a desire to write. In the infamous world of internet comment sections, people can have different opinions—a good thing, as it makes us reflect on our own positions. It challenges our perceived wisdom and questions us in ways that can be disarming. What’s obvious to me might not be to someone else.
I was talking to an Australian lady, likely of my generation since our photography journeys started the same way—with film. Except this lady has gone fully digital, keeping her film cameras as a reminder of her film days being over. Less hassle, less expense, less stress, and less “faffing about,” she said.
At first, I was taken aback. I love the film aesthetic in my photography. I like the predictability of film grain, as opposed to digital noise. But most of all, I’m in love with the process. I love the slower pace of film photography—none of this “spray and pray” nonsense. I appreciate how I become more mindful when shooting film, as each shot counts. I like the way an old film camera looks around my neck. And as the internet meme says, “I know about photography. I’ve been initiated into the exclusive circle of purists.”
The lady talked about the prohibitive prices of film and labs, which, let’s be honest, is a valid point.
Costs of Digital vs. Film Photography
I’ll talk about my kit and initial outlays compared to my film expenses. I bought my latest two digital cameras in late 2017 and 2018. My X100F cost around €1400, and my Canon 6D Mark II around €1200. I spent about €300 on a teleconverter for the X100F, and I probably have about €2500 worth of kit for the Canon, including speedlites, lenses, and filters. Then there’s the Fujifilm XT2, bought second hand for €400, with a couple of lenses totaling around €500.
This kit, though older, works well and is largely sufficient for my needs. As mentioned in my article “I Want It, But Do I Need It?”, I’d like a Leica, but do I need one? Would I refuse one if someone gave me one? Heck no! You can see the results throughout this site, and the images are great.
Let’s move on to film. Yes, if you love that Kodak Portra look, you’ll be spending a pretty penny. I have a certain nostalgia for the days when the prices hadn’t doubled. But—and this is important—not all film photography has to be done using Kodak Portra. There are more accessible films, especially black and white, that cost less. A roll of Fomapan 100 costs me around €5.50. So for less than the price of a pint of Guinness, I can get 36 shots. For a little more, I can go with Kentmere or even Ilford black and white film. I still have one roll of Portra left and a pack of five Tri-X medium format rolls.
Developing at Home
Ah, but then you have to send them to a lab to be developed. Again, a valid point. The cost for developing colour film where I go is less than €7 per film. I’ll share a little secret: I invested in a kit to develop my films at home. It cost about €140 initially, but now all I worry about is buying the chemistry. Yes, €30 for a developer seems steep, but I can develop 16 to 24 films with a bottle, depending on the dilution. I also invested €250 in a film scanner to produce digital files for editing.
Collecting Film Cameras
You might have noticed that I’ve talked about film but not film cameras. I started collecting a while back before hipsters raised the prices in the secondhand market. The most I paid for a film camera was just over €100, and the cheapest was €15. These film cameras are generally solid, and the lenses are great. The technology, though a little less modern (understatement of the year!), still works, and older cameras don’t even need batteries. And even those that do, the batteries last for ages. None of this “Do I have spare batteries for the X100F?” nonsense.
Each shot is taken on a brand new “sensor,” compared to shots on a digital sensor. And less dirt gets onto this sensor.
The Joy of Film
Don’t get me wrong, I love digital photography for its convenience and spontaneity. I can see my images right away and get instant feedback and gratification. With film, that gratification isn’t instant. You have to be patient and wait, but for people of my generation, that might be infuriating, it’s something we grew up with and accepted. I continue to accept it.
I enjoy using a machine sometimes older than me, knowing the image quality will be there. I know that with a certain film, I’ll get a certain result. I like the slower pace. If you visit the Film Photography page or the Film Archive page, you can decide for yourself if it’s worth the hassle, the expense, the stress, and the “faffing about.” I think it is, and I maintain that film has as much a place in photography as it ever did.
The Future of Film
Does film have a future? I think it does. Leica has relaunched the M6, Pentax has the new Pentax 17, and Kodak has the Kodak Ektar H35. The disposable cameras of yesteryear are still being produced and it has become the fashion to us them at weddings for that affordable yet classic look of film. Film photography continues to be popular with Gen Z and millennials. Case in point: my 25-year-old son nicked one of my Kodak Retinette 1B’s and a roll of film. I suspect my daughter might have her eye on one of my film cameras, too.
One thought came to mind whilst answering one of comments with the person saying that they “will never go back.” I am old enough to remember when microwaves fist came out. They were sold to us as being thoroughly modern and machines that could do everything so quickly and conveniently. Except they couldn’t. For certain tasks on the kitchen they are wonderful and far exceed the way we “used” to cook. But they can’t do everything. They have their place in the kitchen. And will always will do. But a slowly simmered boeuf bourguignon that infuses its odours through the kitchen will always have a special place in my heart. Much like using film to capture my images…
Why the Olympus Pen EE-S Is the Best Budget Film Camera for Beginners (Even in 2025)
Pentax 17 fever is sweeping the film photography world, and I’ll admit, I was tempted. Half-frame cameras, with their promise of double the shots per roll, sound pretty amazing. But with a price tag of 500€, the Pentax 17 isn’t exactly within my budget. That’s when I rediscovered a little gem tucked away in my camera collection: the Olympus Pen EE S.
This Japanese-made half-frame beauty hails from the 1960s, the same era as the beloved Olympus Trip 35. Like its sibling, the Pen EE S features zone focusing and a selenium cell meter for fuss-free shooting. The lens is an F2.8 22.5mm Zuiko lens. The ISO settings go up to 200 ASA, unlike the Olympus Trip which goes up to 400 ASA. So, despite everything else, it needs light. The half-frame format means you get a whopping 48 exposures on a standard 24-exposure roll. That’s double the shots for your buck, folks!
Now, the idea of twice as many photos for the same developing cost is pretty appealing. But does the Olympus Pen EE S deliver the goods in practice? Stay tuned as I put this vintage camera through its paces and share my findings. Could this be the perfect half-frame hero for those of us who can’t quite swing a Pentax 17? Let’s find out!
Well, for starters, it felt very much like using the Olympus Trip 35. It’s very slightly smaller and weighs next to nothing. The shutter button is almost identical as well. Instead of having four zones for focusing, you have three, but it’s fine, and when you turn the dial, you feel a click as you enter a new zone. You point, and then press. Simple!
Let’s talk about this half-frame shooting experience. When talking about the Pentax 17, “they” talk about how the images are great for sharing on social media. A little like using your phone… This is the mindset that I had when putting in my Kodak Gold 200 to capture those famous Kodak moments in Nantes.
I found it a challenge to get used to the half-frame. “They” say that you have to take your photos as diptychs and remember that the two photos in your full frames are related, not just simple images. The idea is that when the two half frames are put together, you create a story and a suite of ideas, instead of two separate photos. I tried, and the results will show you if I succeeded. I felt that “they” were pulling my leg!
I’ll be honest with you. The idea behind the outing was to test the camera, see how I felt using it, and have a look at the results. It took me out of my comfort zone, which is something rare in photography for me. I was thinking about taking it to the UK with me to record the trip. It takes up next to no space in a camera bag and would allow me to shoot some film while back home. The idea of getting twice as many shots by using just half the frame is attractive. I’m just getting used to the reduced coverage that you get with just using half the frame.
For this outing, I decided to head out towards the Cathedral, and takes some shots of the Voyage à Nantes.
I found myself thinking differently about framing my shots and using my phone as a mental template. As for the resolution of my images, they will be half as much as using my full frame, but were I to print my photos, then I would definitely see a difference. But if they’re just for sharing on social media, then the resolution will be perfectly satisfactory.
The million-dollar question is, will I take it on my trip, and will I use it? Yes, I will. Will it be my main camera? Possibly not. Will it be more like using a new toy? Possibly, even if the toy in question is a vintage 1966 toy…
Here’s what I’ll do. I’ll put some images taken on the X100F, my more modern toy, and let you see how they compare. You’ll see the diptychs and see how the different shooting styles change the outlook and how they change the framing.
These are the X100F photos with editing in Snapseed…
And these are the half frame images from the Pen EE S… with the editing done in Photoshop using the neural filters to get rid of the scratches on the film.
This month, amidst publishing various tutorials for your delectation, I ventured into uncharted territory with my camera. A musician friend asked if I could photograph her sister’s hen-do. How about that for a challenge. Slightly scary… Slightly? No, terrifying for the introvert that I am. Flattery and food convinced me.
Having previously photographed a wedding, I was somewhat prepared. For that event, I bought a second-hand 24-70mm f/4.0 lens and a Canon flash. I was advised to use the Canon 6D Mark II in program mode with the flash set for TTL (through the lens metering). Today’s first activity called for the same setup.
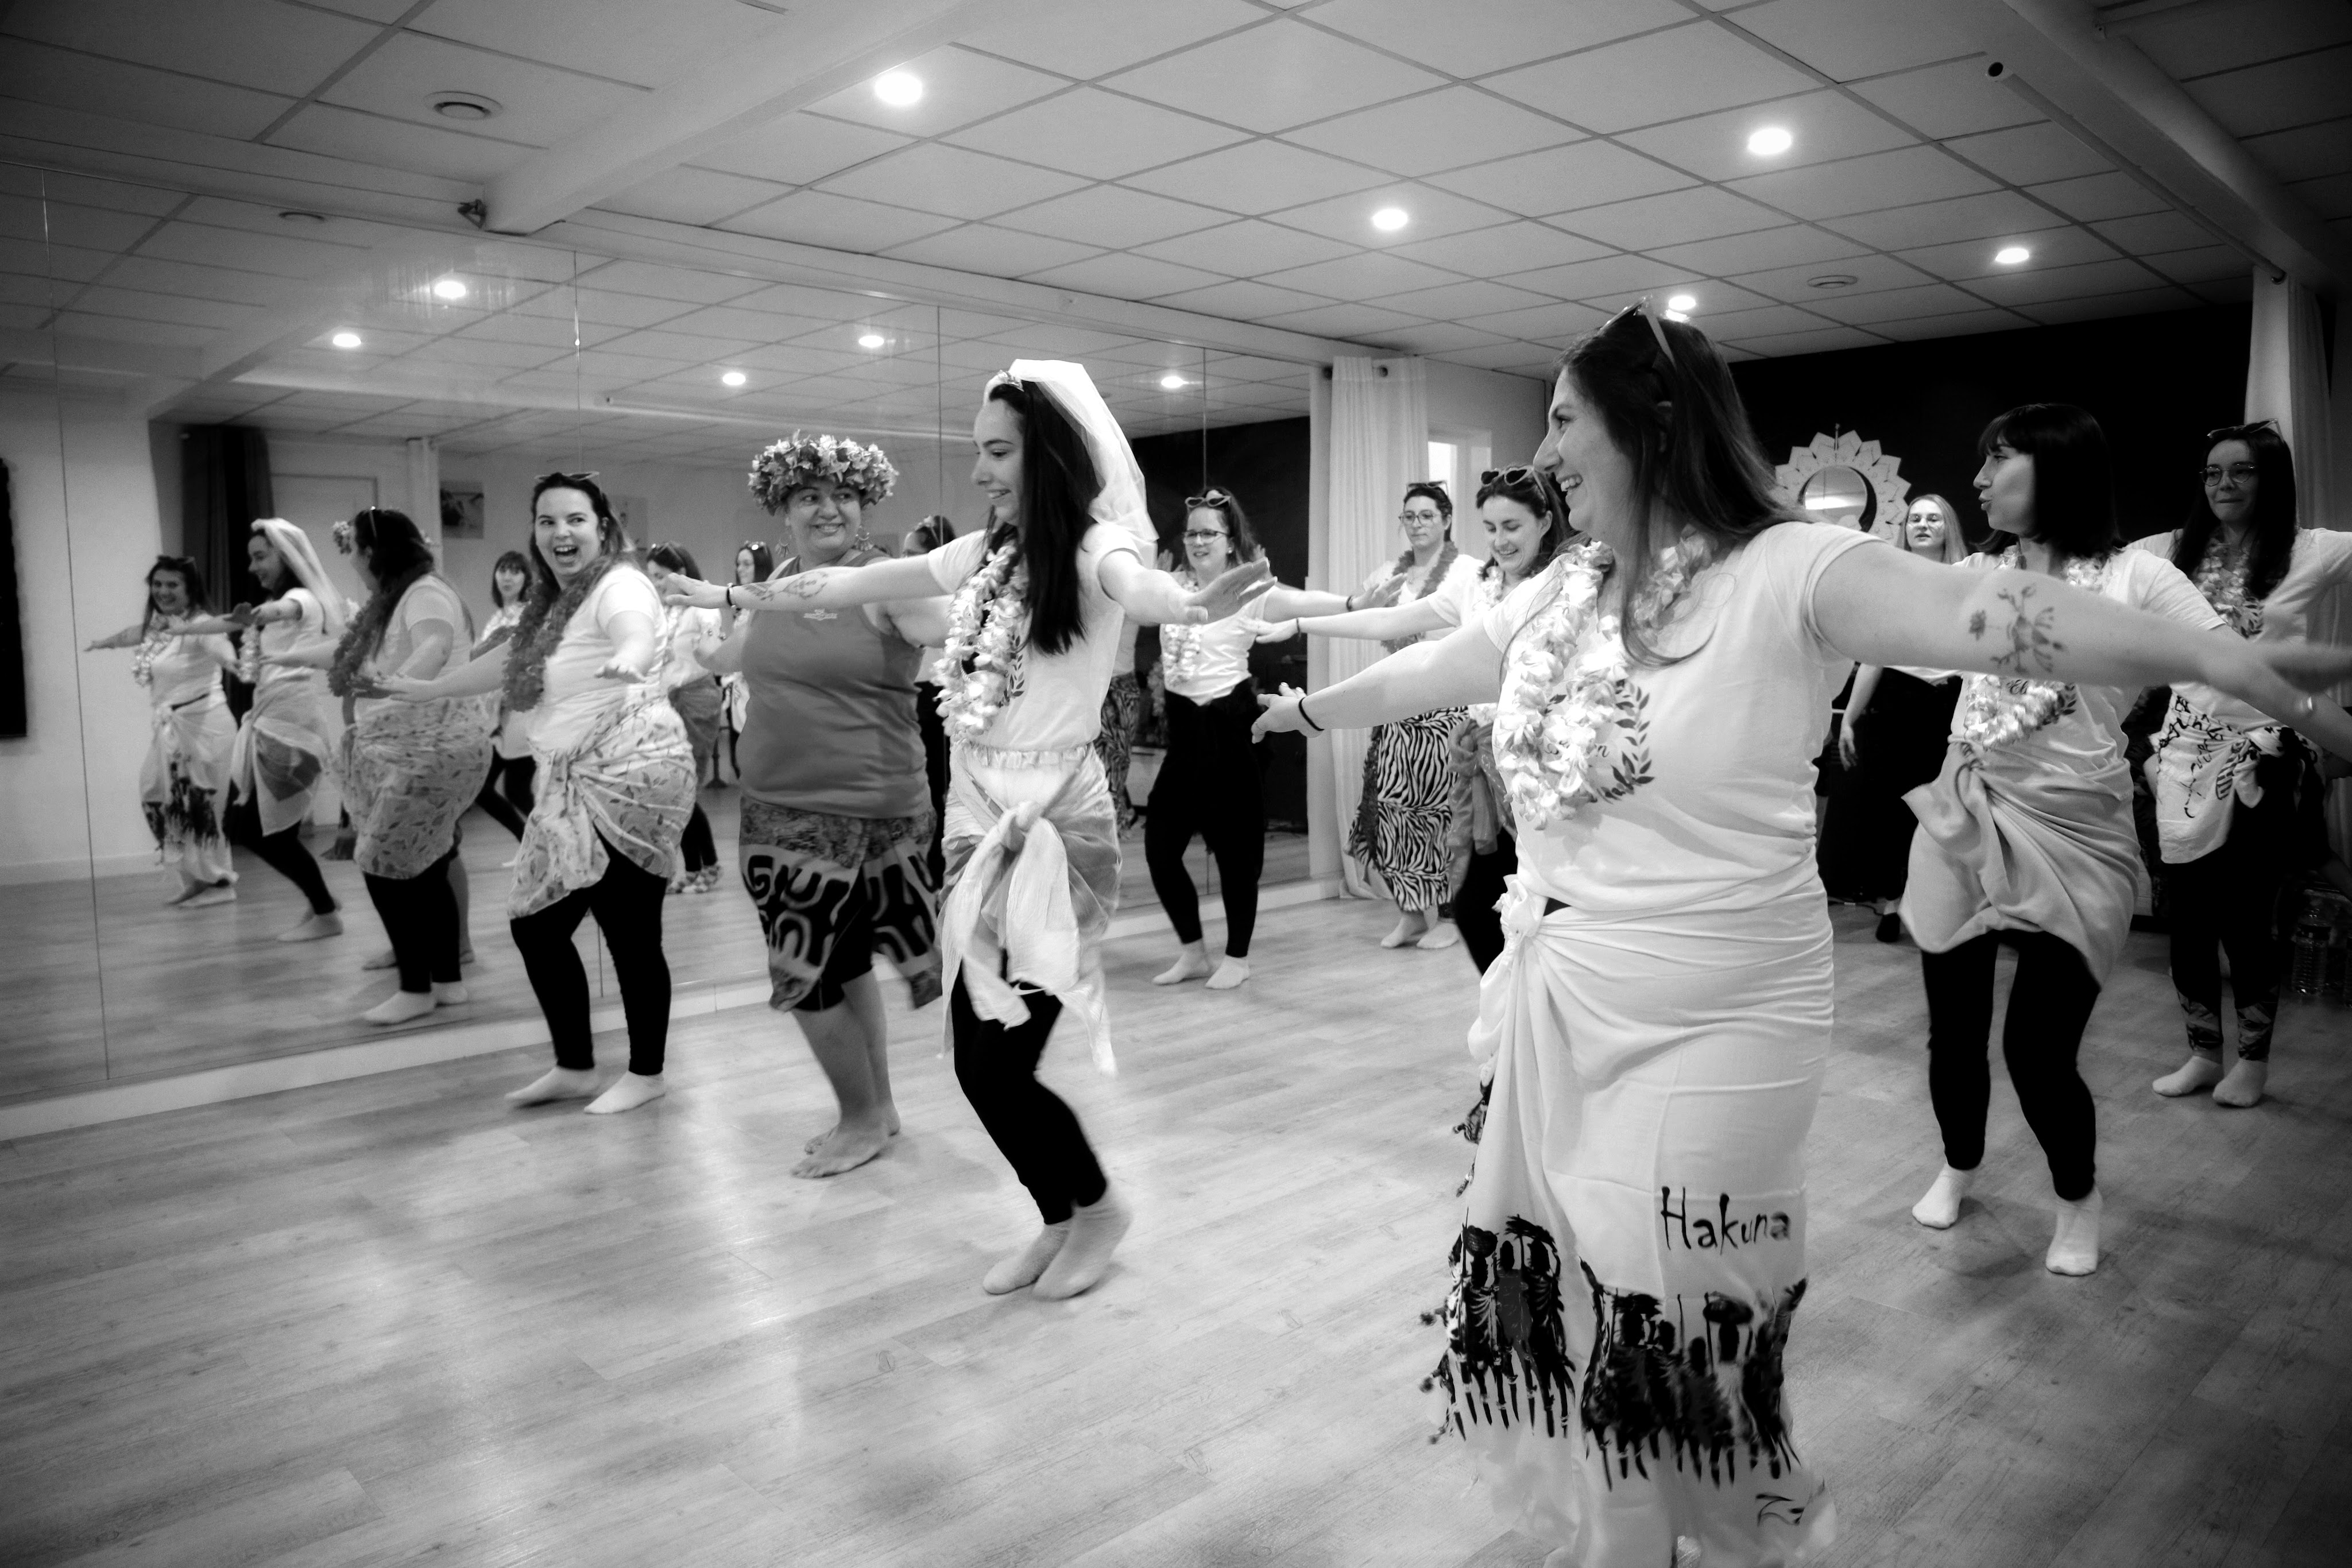
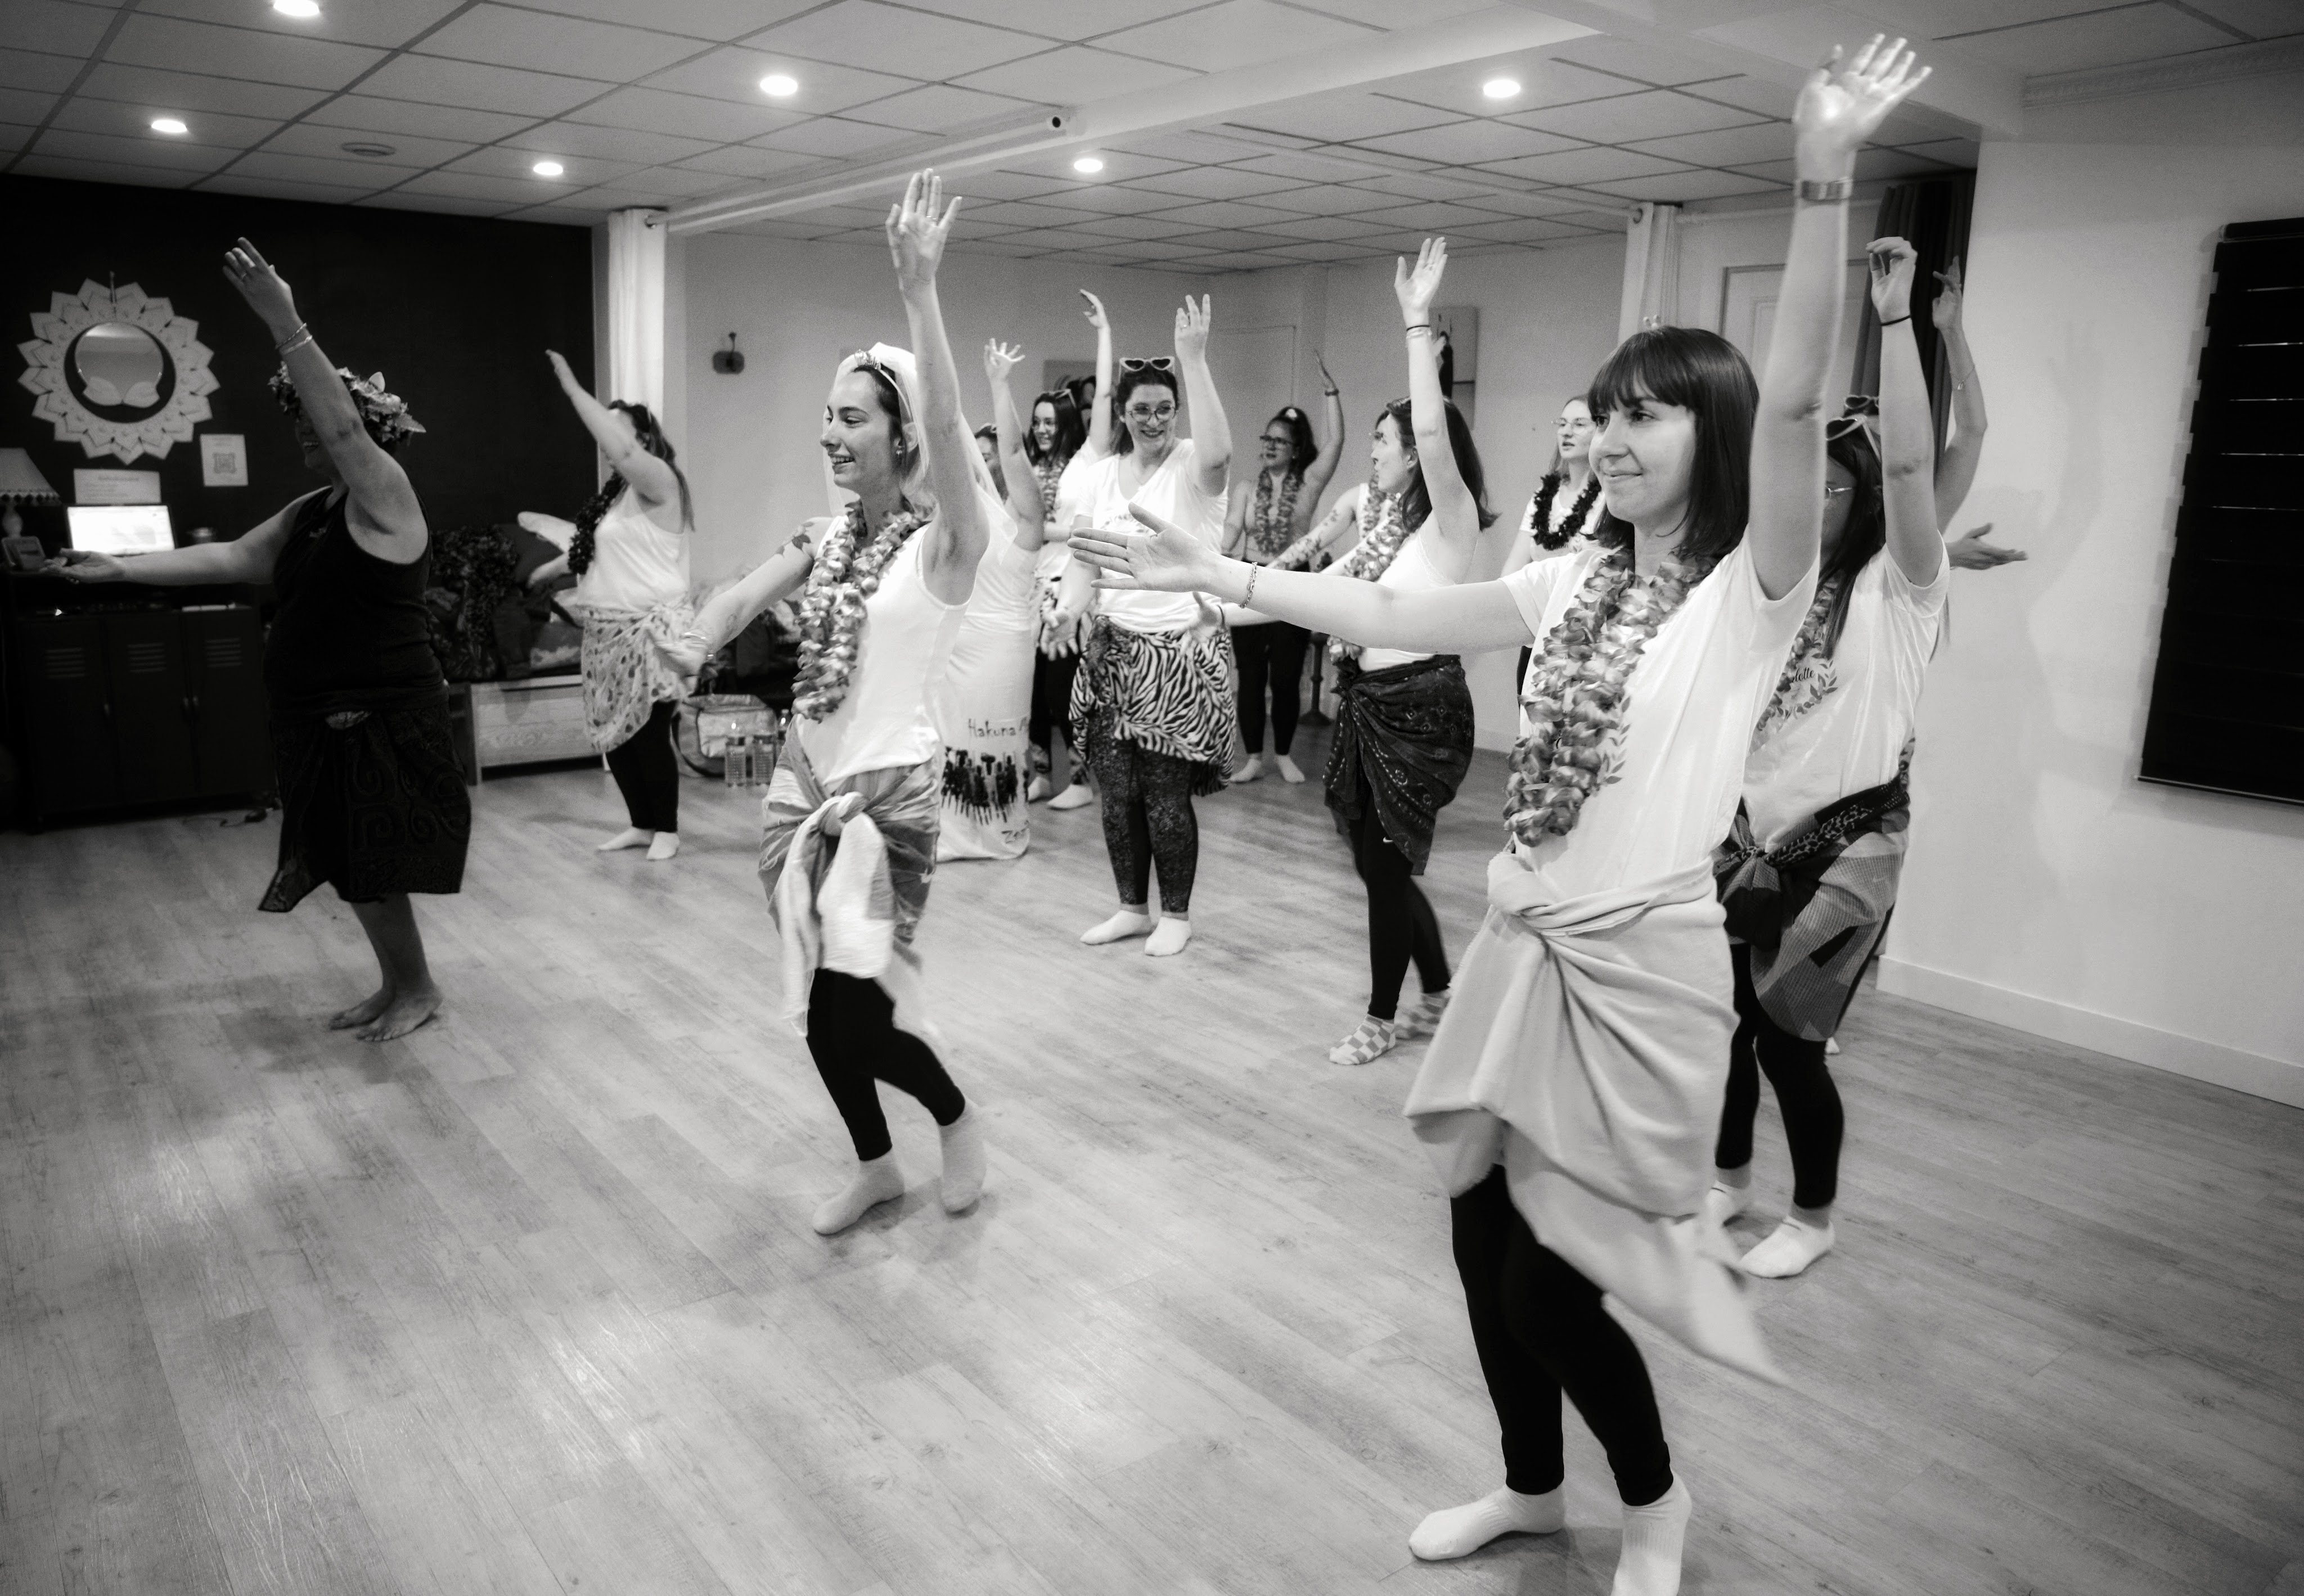
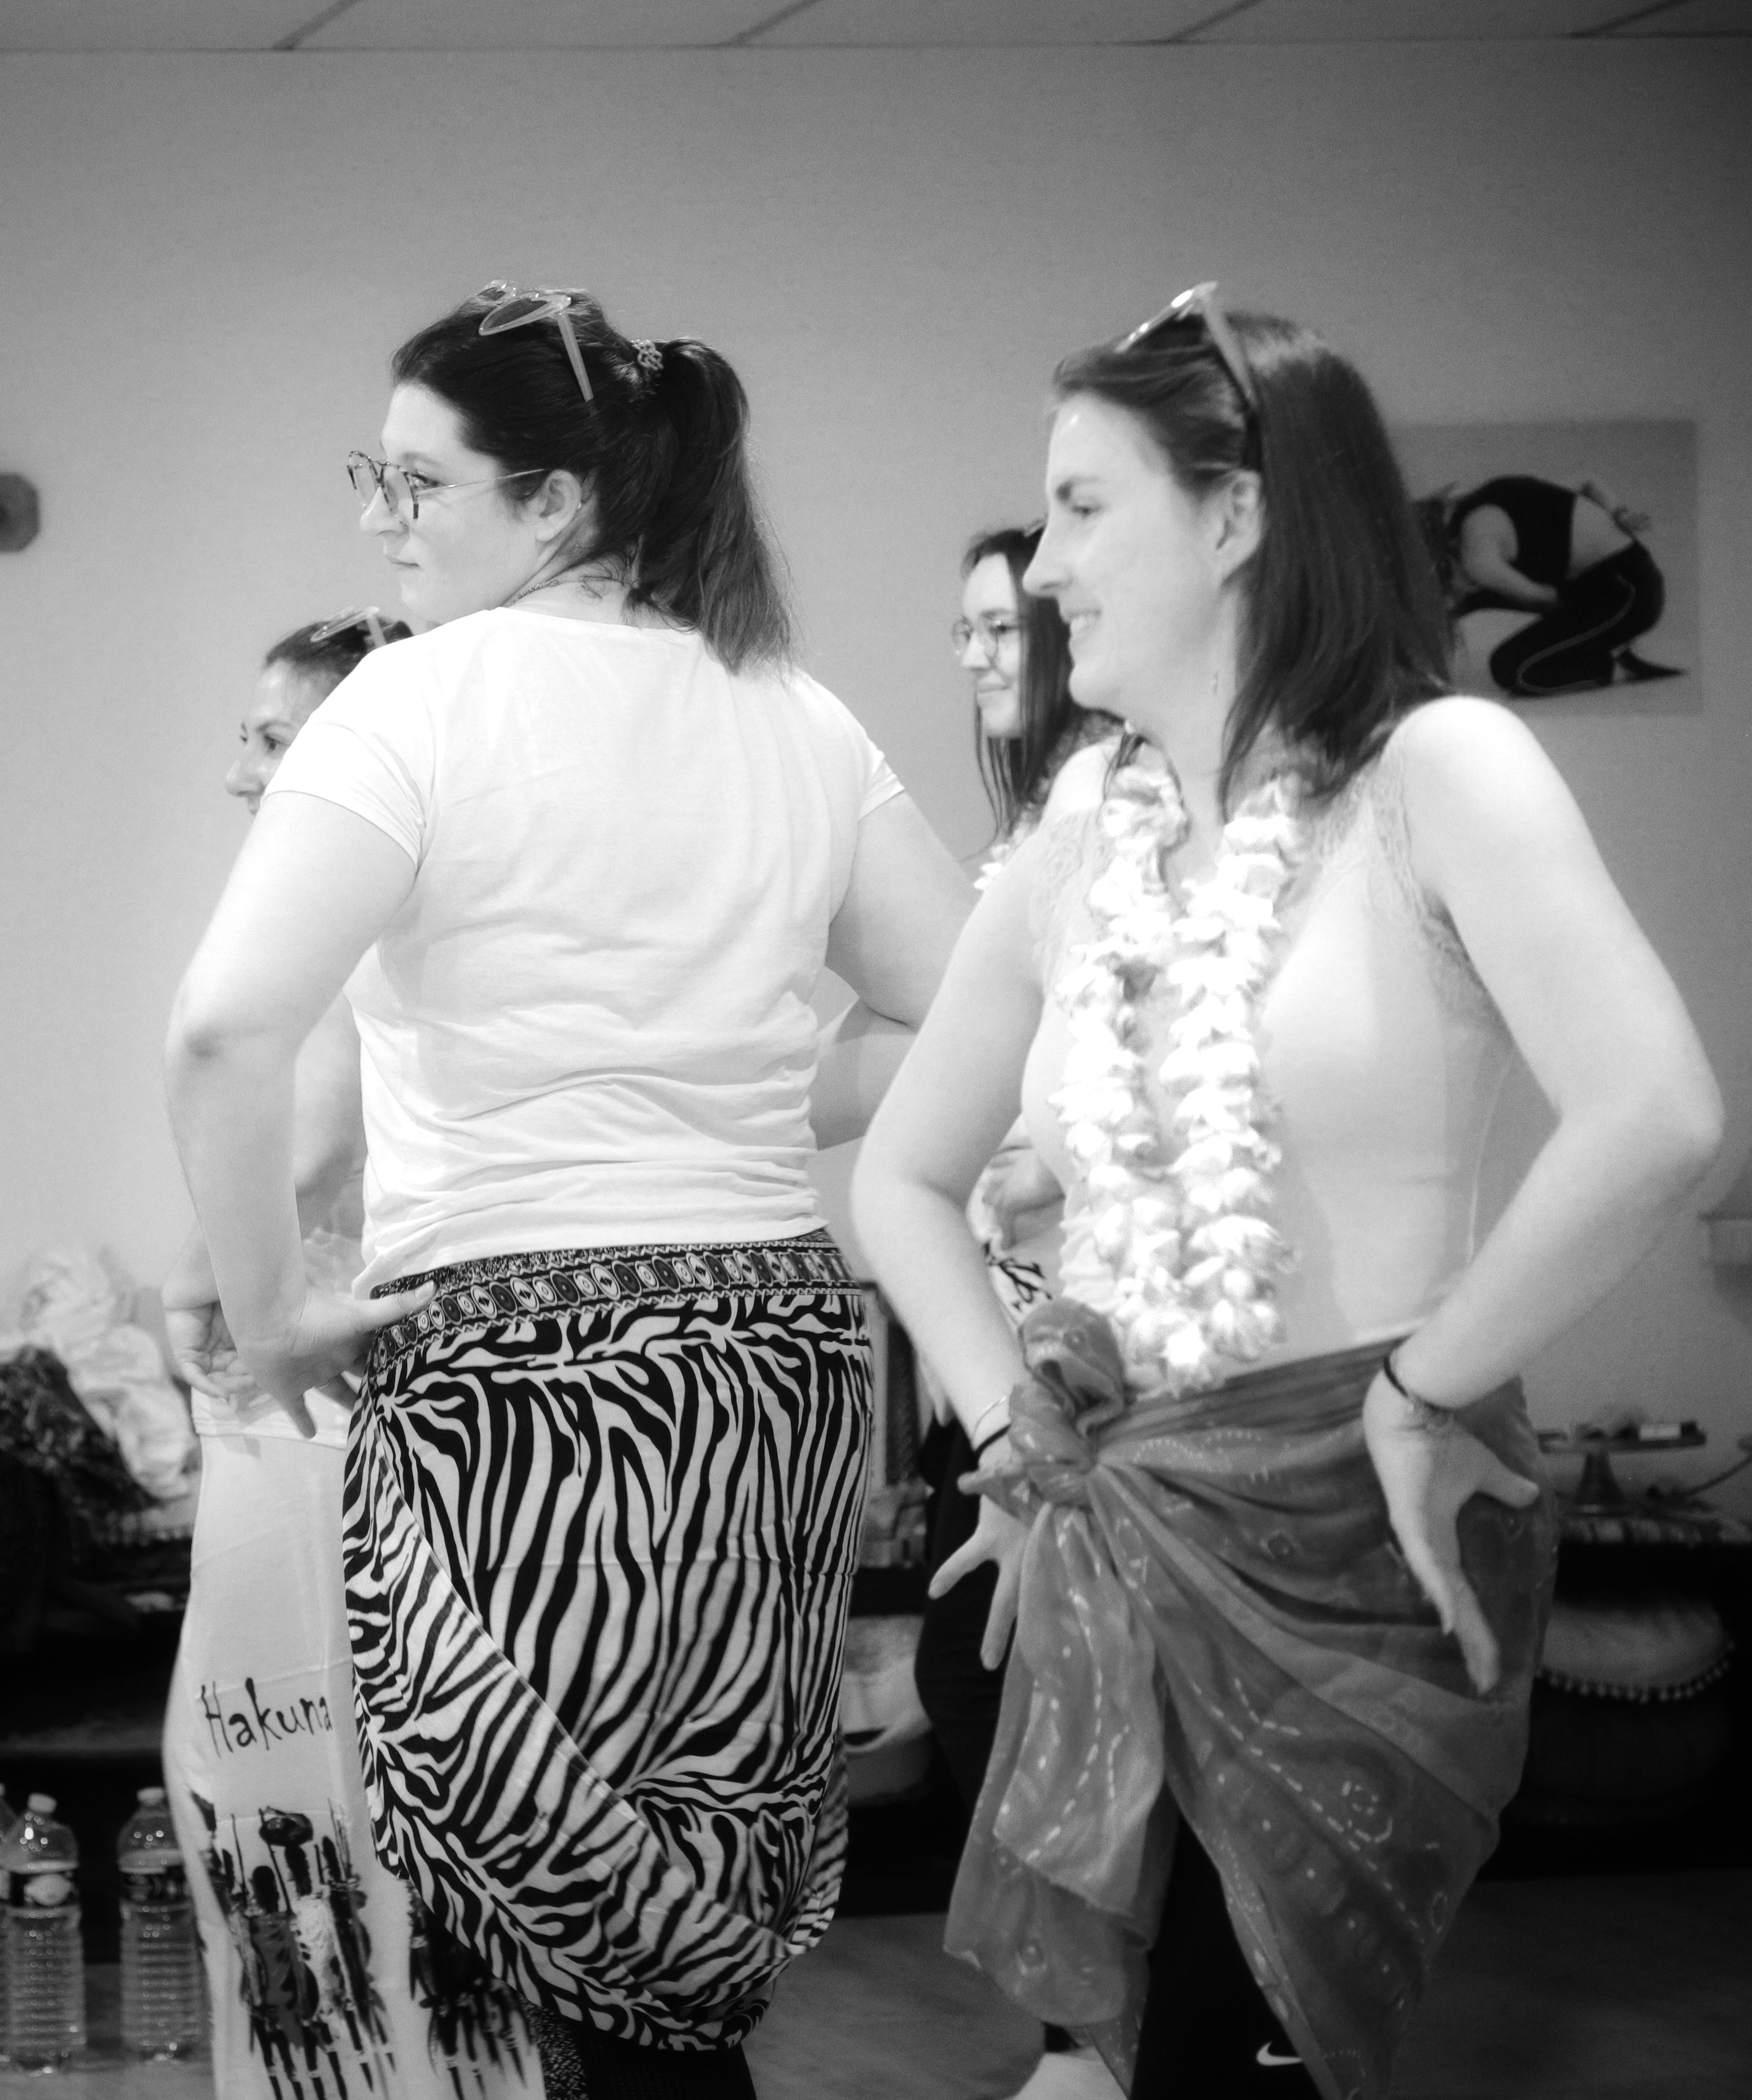
Tahitian Dancing
I arrived at the venue for the first activity: Tahitian dancing. The bride-to-be was proposed to in the Pacific Ocean, hence the theme. The girls were already there, and I tried to stay out of the way as best I could. I may be creating memories for everyone, but those memories aren’t mine. The lens worked perfectly, and I didn’t even need my flash batteries. They’re ready for next time and one less item to tick off.
The dance session seemed to go on forever, and I resisted the urge to sit down. I felt completely out of place, more a prize pillock, but kept telling myself to fake it till I made it. It worked—my wife approved of the photos, and more importantly, so did the bride-to-be. Creating rapport was nigh on impossible so I just watched the spectacle and pressed the shutter. Do what you can and leave the rest for later… So I did just that!
My favourite bit of the day
I switched from my clunky DSLR to my sexier Fuji X100F. It’s always better to be inconspicuous and yet still be able to take decent photos. I’m big enough already as it is, but having a smaller camera helps people forget that I’m there…
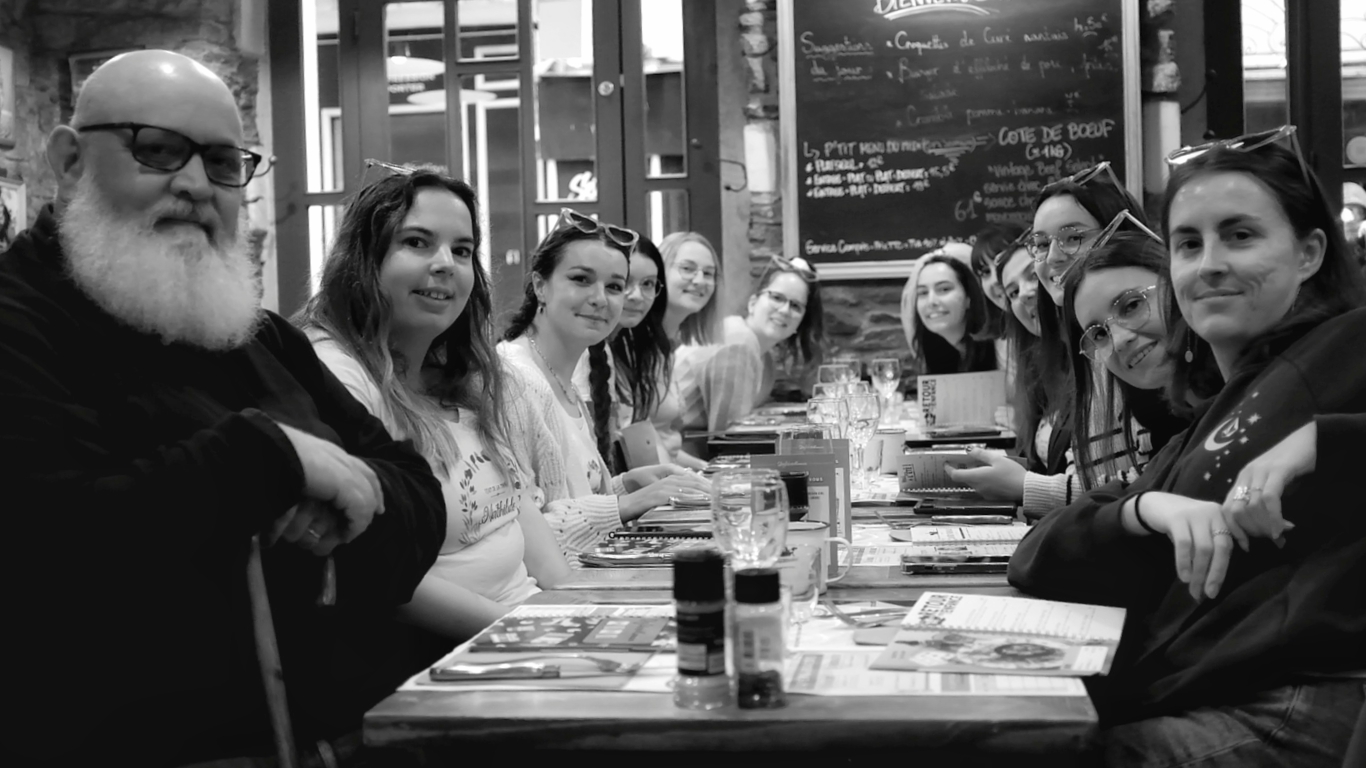
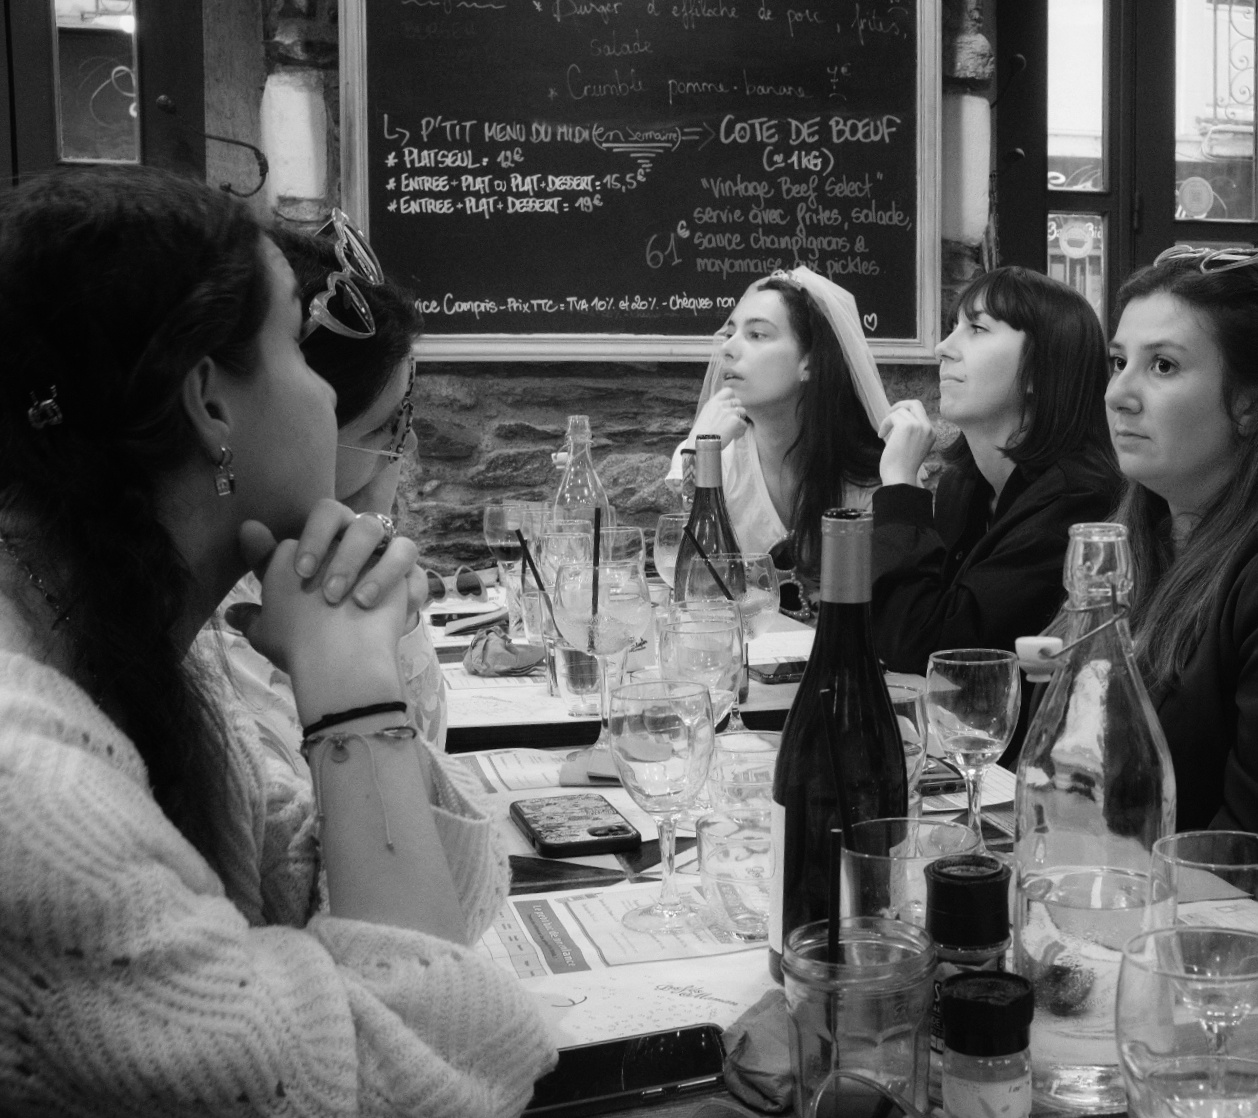
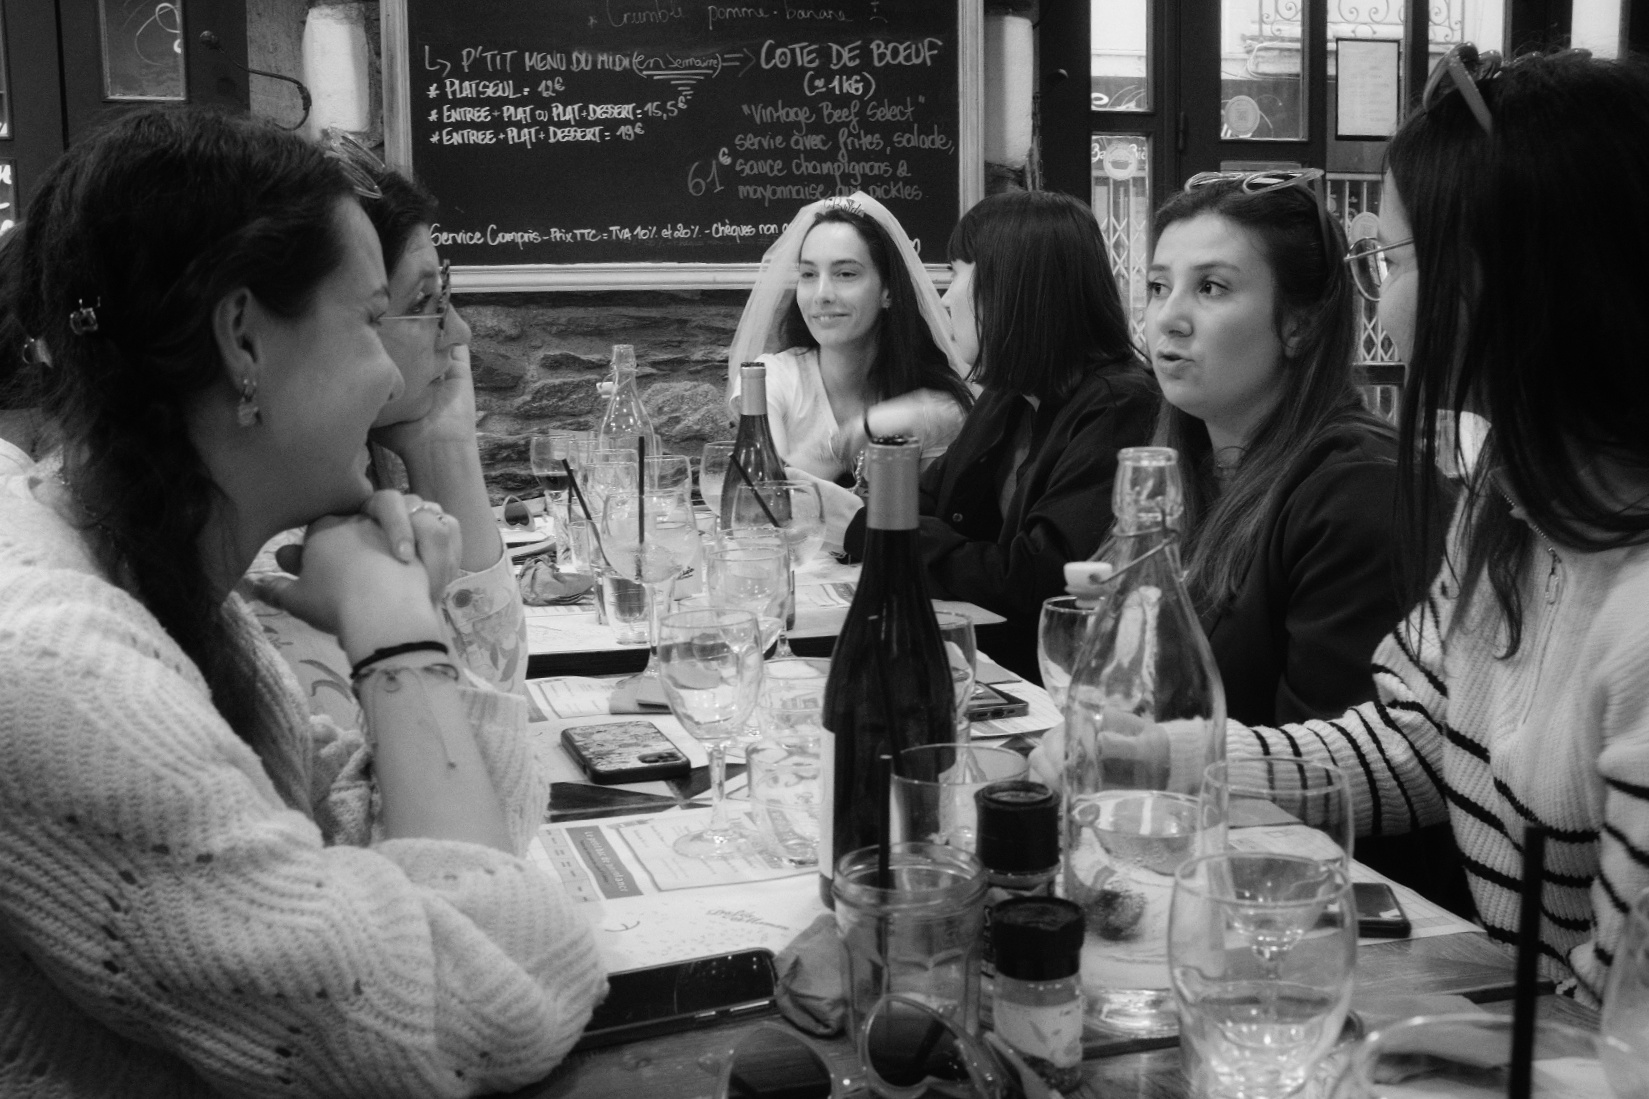
This next activity was probably my favourite. The restaurant was one that I had walked past on many occasions, but had never gone in. It was one of those themed places for Millennials in need of some nostalgia. The owners and chef had created a menu with grown up “children’s food” from the 90s and 80’s. There were activities and crayons for the place mats. The decor was 80’s and everything was vintage. At least for them, which is the main thing. Ok, it was a bit for me too, reminding me of my arrival in France all those years ago. I was offered a seat near the bride, but was whisked off by my friend to sit next to her. She’s so protective of me… We all ordered and chatted, and I started to relax. The girls were interested in my photography, and they showed me photos of their very young children. I did the same, and showed them then and now photos to show how those small children grow up so quickly. I felt like the Patriarch at the end of the table.
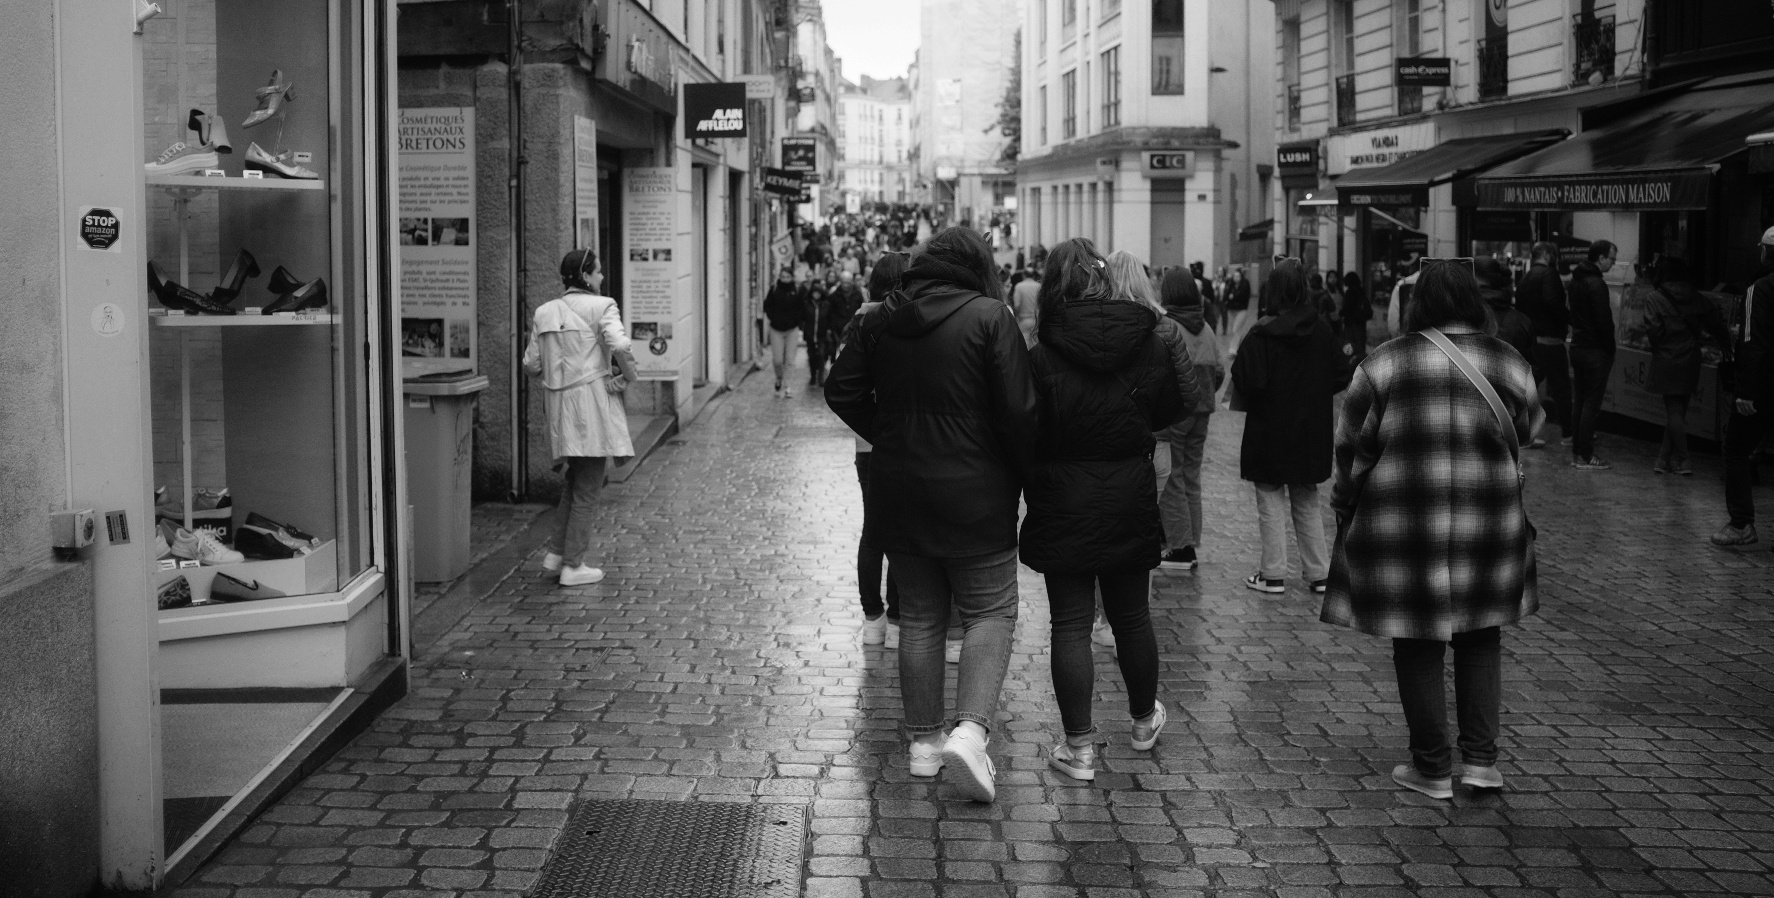
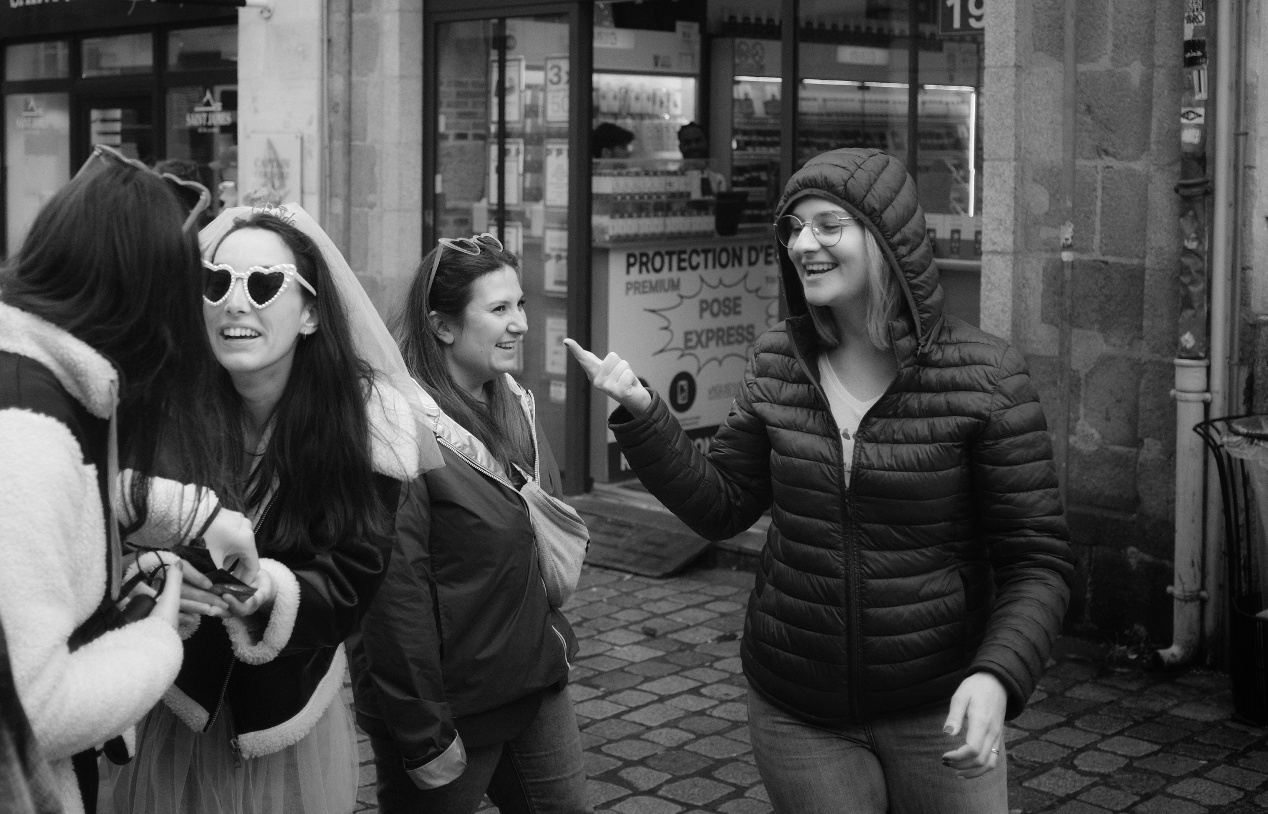
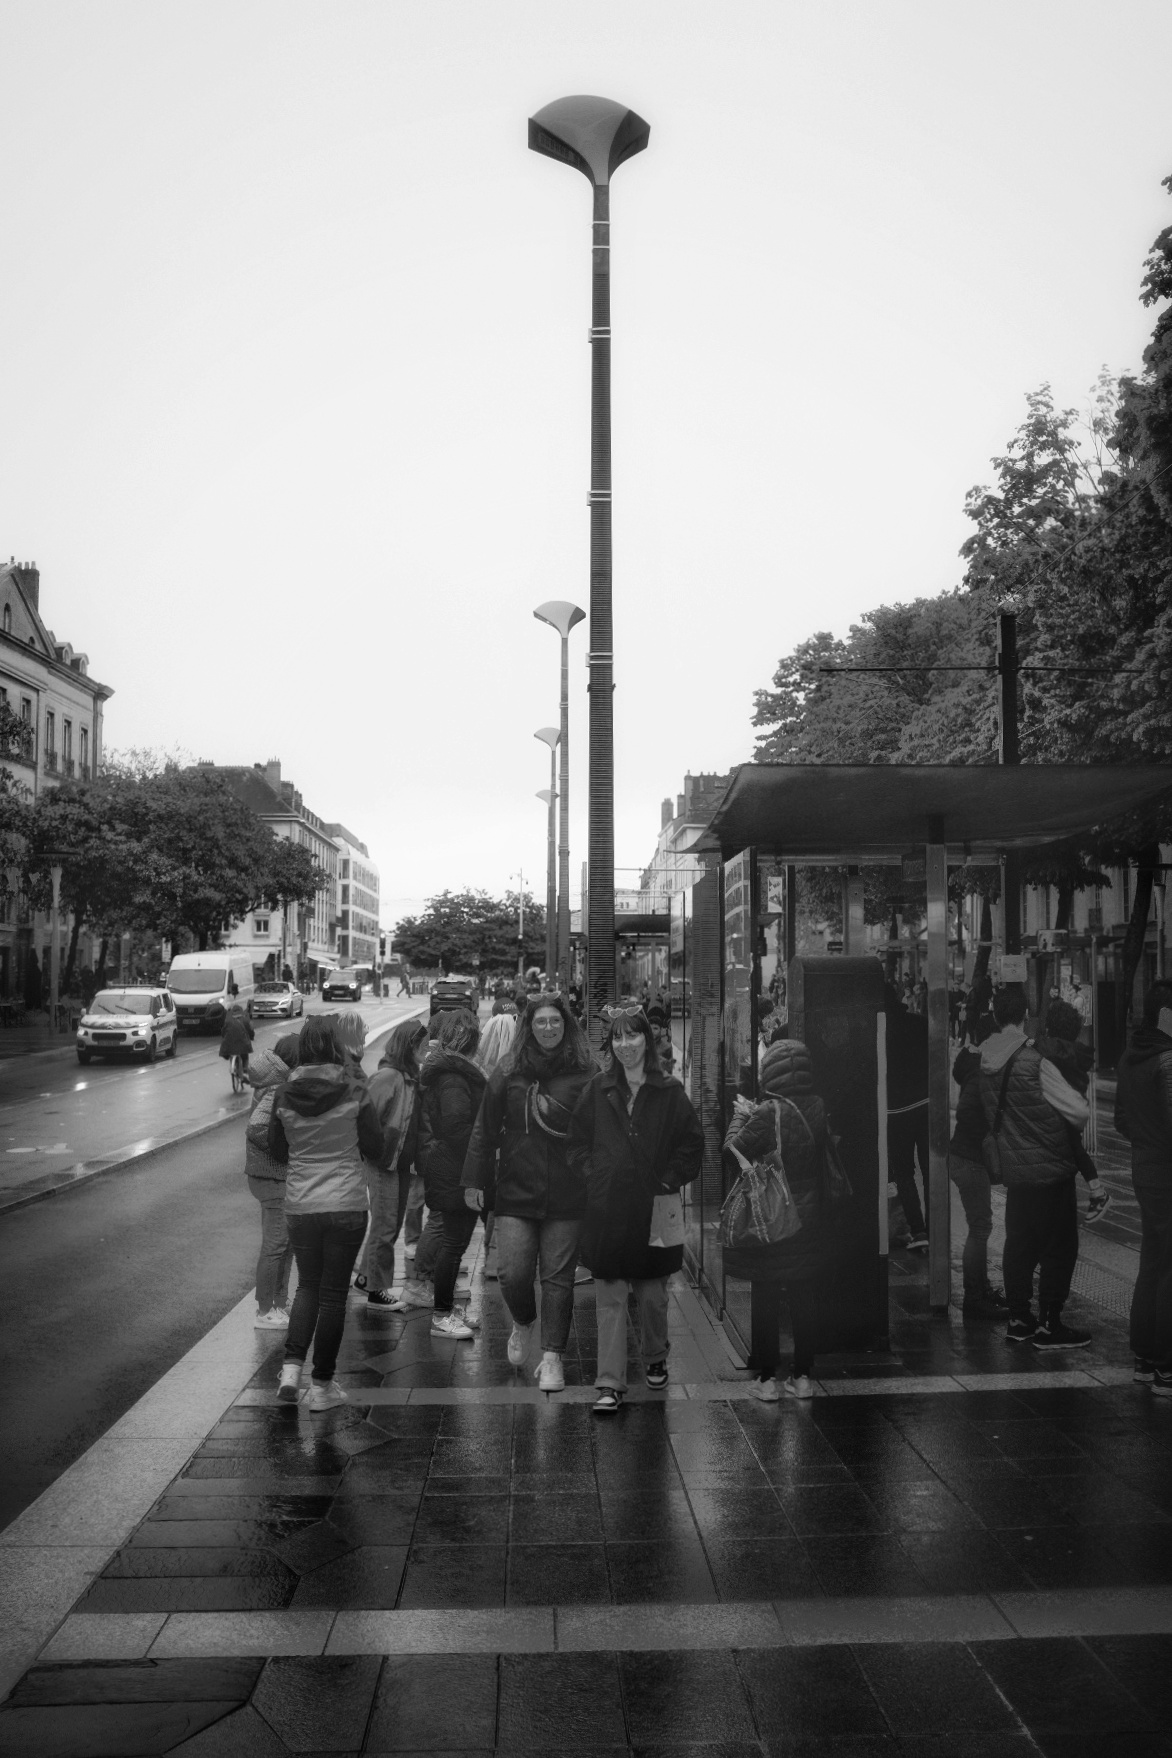
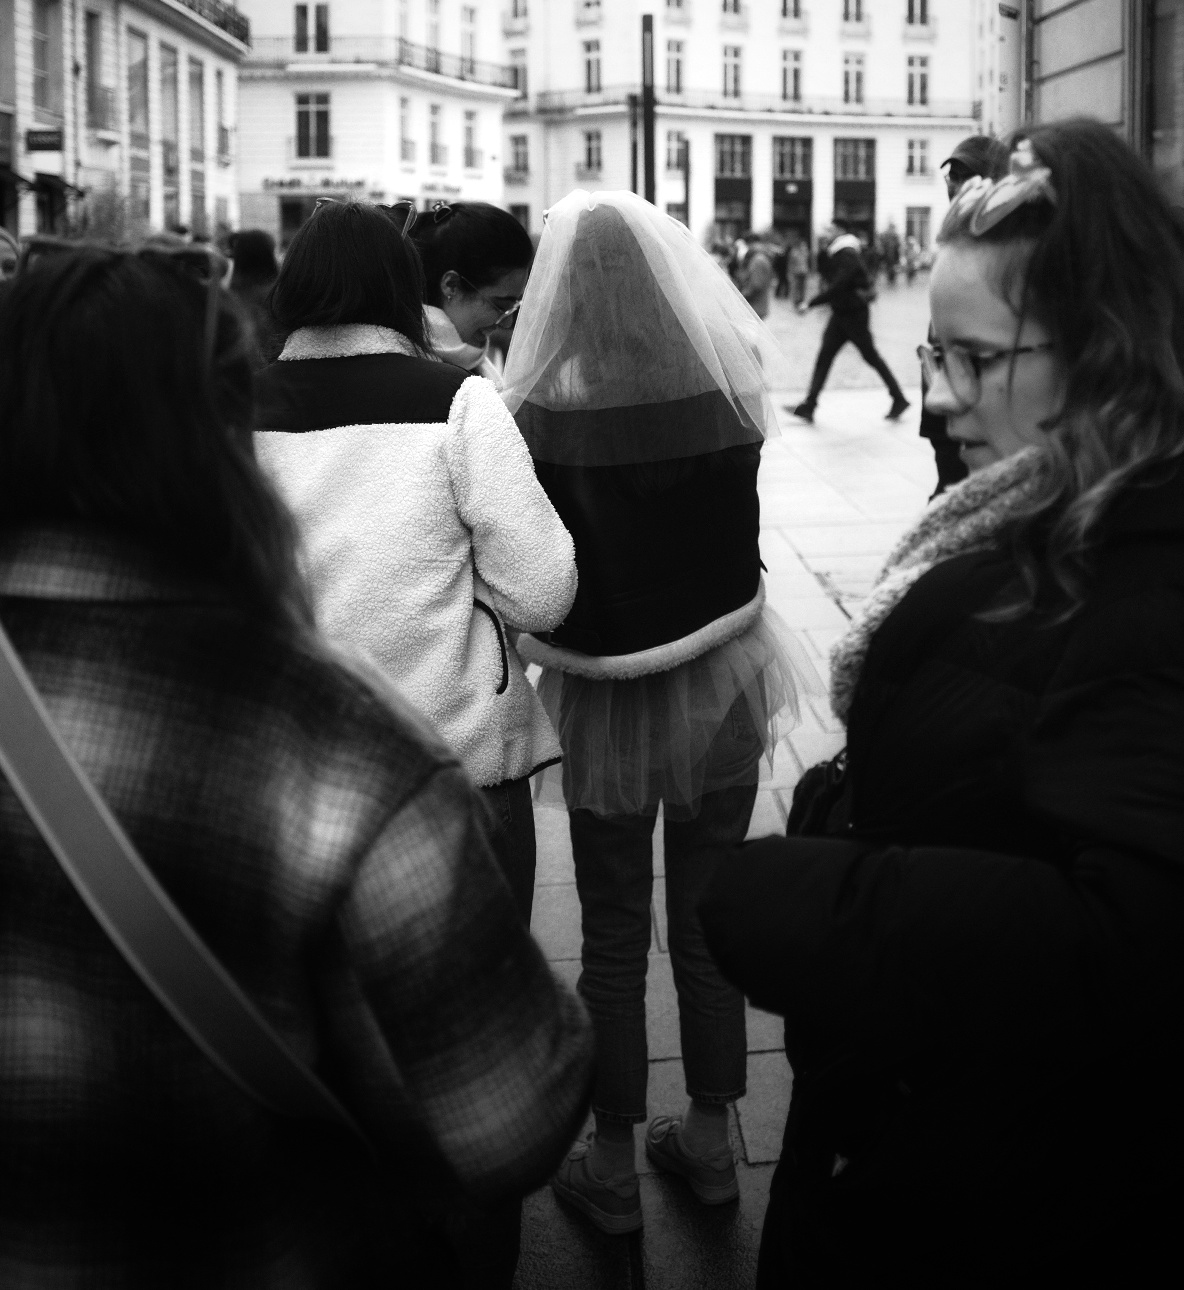
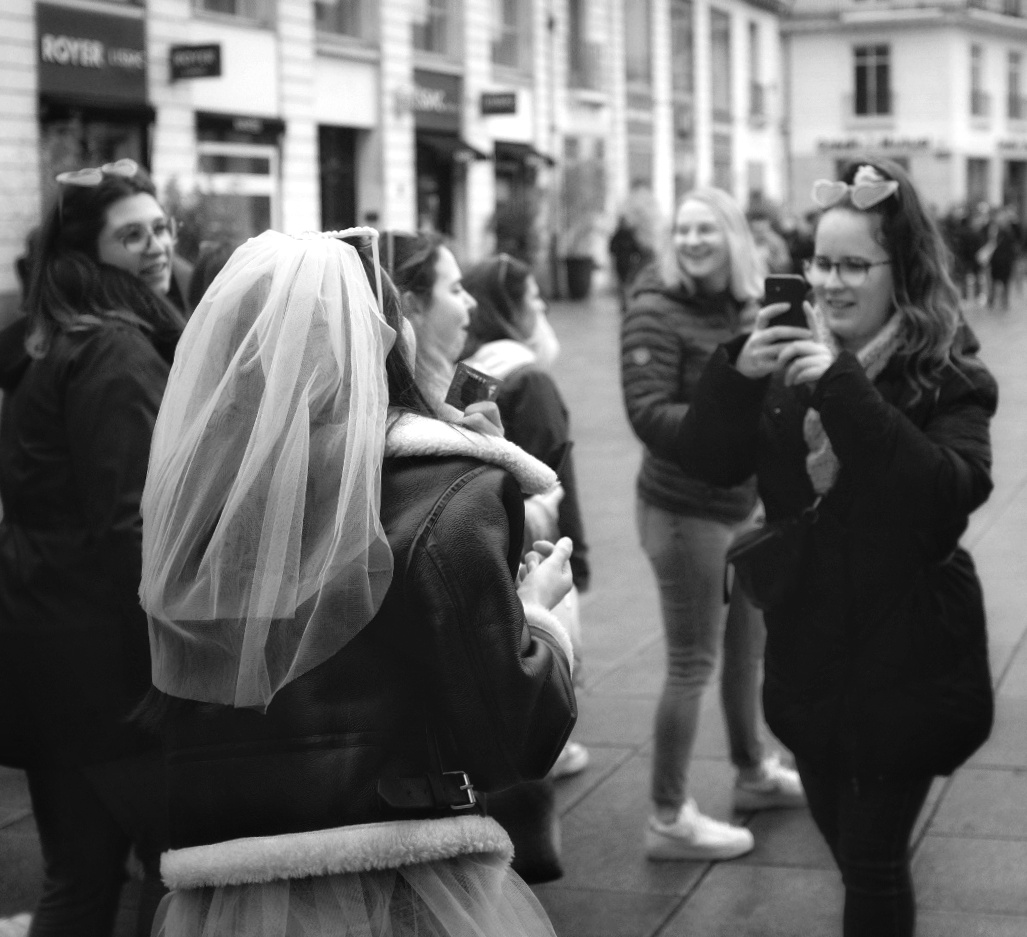
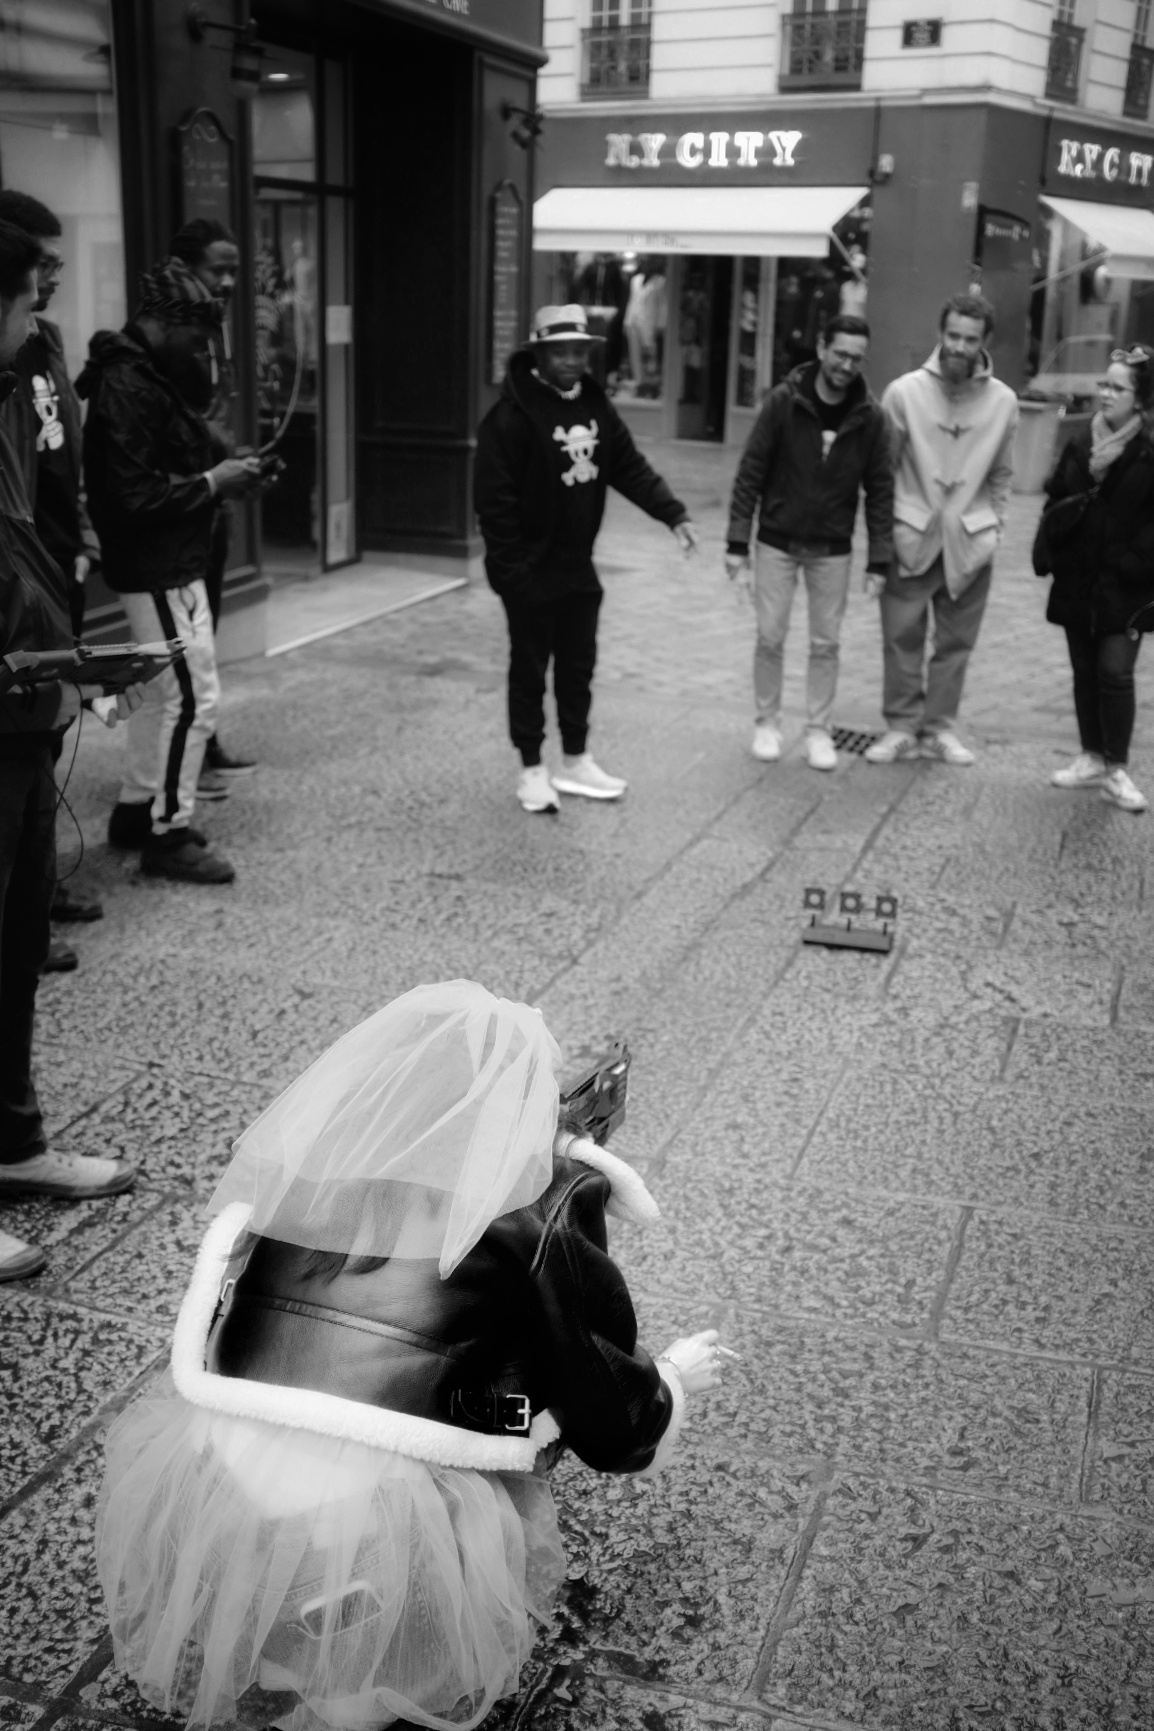
The food was good, and I could see they were all having a good time, and then came out the shots… I was being very teetotal in order to have my mind clear to get my photos for the bride to be. I had switched from the DSLR to the Fuji X100F to follow them around Nantes, and do street photography to which I am more accustomed. The poor “hen” was given a mission by her friends who had purchased a whole load of condoms and she was tasked to sell them to passers by. She fulfilled her mission with gusto, and we ended up in the Rue de la Paix, shooting nerf guns at targets provided by a stag do outing.
Conclusion
I wasn’t needed for the next activity and drove back to the pub to chill, and get my head together. The photos from the X100F were edited on the go, and shared immediately. The DSLR photos went through the computer and were shared by the end of the weekend.
All in all a good day, and interesting experience, and I’ll let the photos do the talking for me…
The aperture talks about the hole that the light passes through to get to the film, or the sensor, and is measured in “f stops” which will be what you see on your film camera lenses, or what you will see as a value in the viewfinder or on the back of the screen on your digital camera.
On prime lenses you will generally have a value of between f1.8 going up to f16, or even f22 or f32 on your digital lenses. If you go below F1.8 to f1.4 or f1.2, you have a more expensive lens attached to your camera body. If you can afford it then why not.
The opening or closing of the aperture blades will affect how much of your photo will be in focus and how much “bokeh” you will be able to get for your image. You will hear people talking about depth of field (of view). If I use a large aperture (with a lower f stop number) I will only have a small plane of my image that will be in focus or sharp, and the background will be blurry. My subject will stand out. If I use a smaller aperture (a larger number on the f stop setting), I will have a larger plane of my image that will be.
Application
So this exposure triangle thingy. In the previous sections you have seeen the effects that each element can have on your shot. In photography, as in life, we have to learn how to prioritise. What is the most important for us? How will these settings help us get the photo “we” want and not what the camera thinks “we” want? Do we need to freeze the action? Do we need the creamy bokeh? How much light do we have to play with? What is most important to us? Modern cameras are pretty good with their automatic settings, but when talking about being mindful in photography, it might just be an idea to keep a minimum of control.
Photography with a manual film camera takes this automation away,and brings us back to basics, hence my referring back to them all the time. If you can get well exposed shots with a manual film camera, then using digital is a breeze. In the viewfinder there will be a needle that goes up and down depending on how we change our settings. As I said earlier the ISO value will be chosen by the film you use, and I explained the different values and how they work. So that’s one less thing to worry about. You can’t change your film mid shoot, well you can, but I need a new article to tell you how to do it. So you’re left with aperture and shutter speed controls. There’s no LCD screen with a preview, so you have to become an educated guesser. But if I can, then you can. This needle, or rather a snazzy modern version, will appear in the viewfinder, and you will see it move as you change your setting.
Same tool, just a different format. Or you can cheat, and look at the image preview on the LCD screen. But that’s cheating, and gets you thinking rather than doing.
Always bear in mind that as the light changes, then so will your settings to adjust for this changing light. Just keep an eye on it and be aware as Jean-Claude Van Damme would tell us.
Scenario 1
I need to take photos of little Jimmy’s football match. I need to have a relatively fast shutter speed (about 1/500th of a second with film as my minimum speed, or up to 1/4000th of a second to capture the action with a digital camera), so shutter speed is my priority. That can’t move. So I can play with either my ISO or my aperture to compensate. I would probably take a 400 ISO (or ASA) film because even in sunlight that would allow me to have everything in focus by using f8, or even f16. With digital I can really push up my ISO to around 6400 and not have too much visible noise. The very recent cameras can go even higher without digital noise becoming a problem.
Scenario 2
I want to capture my subject and make the background blurry. Basically bokeh and also low light photography. This could be in street photography, or taking a portrait of somebody where I want the eyes in focus, but not necessarily the ears or back of the head. I will want to use a large aperture (smallest f stop number, so my priority becomes my aperture setting which I don’t want to change. This will give me that creamy bokeh that everyone raves about.But, with a large aperture I’m going to have lots of light hitting my film. I will have to bump up my shutter speed, and lower my ISO by using a slower film like 100 ASA or 200 ASA to compensate.
Scenario 3.
When ambient light is lower, opening up my aperture, lowering my shutter speed I can compensate for this lack of light. I might have to use a tripod if there isn’t enough light, or add a flash to my camera to provide my own light. I could use a higher ISO value and have a film more sensitive to light, but I will get much more grain etc. Everything is about balance and weighing up what “you” want.
Conclusion
Talking about film photography and film speeds etc, was very deliberate on my part. I am convinced that if you can use a manual camera and get good results, then using a digital camera will be so much easier for you.
The exposure triangle is now something that is no longer an enigma. We have talked about the ISO value, the shutter speed, and the aperture, and how these settings will effect your photograph. The ability to master these three elements gives you creative control over your images, allowing you to expose your image the way “you” want to, and you can go back to the articles about composition with a new eye. I want you to enjoy your photography, and you now have the necessary tools and knowledge at your disposal to do so.
I would, as always, urge you to take your camera out and shoot. You can experiment, and practice, and this manual lark will become second nature. You’ve got this!
How many times have I seen grown men go to pieces at the suggestion of using manual mode? Or worse, how many times have I seen other grown men saying that to be a real photographer you have to master manual mode otherwise you’re not a real photographer? Let me assure you that it’s not as complicated as it sounds. When I took my first photography lessons in 1984, I learnt it as a child. You’ve got this, and I’m here to accompany you through the process. As the Hitchkiker’s Guide so elegantly says, in comforting letters, “Don’t Panic!”
There are some basic concepts to understand, the first of which is the exposure triangle which we were introduced to in the Photography 101 article. Those three things to consider are, ISO, or film sensitivity, shutter speed, aperture, and balancing them together.
Are you ready? We’ll go step by step telling you how each of these settings influence your shot, and how we will balance them to create the image that “you” want instead of the image that your “camera” wants to take. You are the creative boss after all. And that is the reason that people use Manual Mode.
ISO, or film sensitivity
When I started learning photography in the last century was I was a young boy, yes I was young once, we only had film as a means to capture our images. You would choose your film in function of the light available. And when using my film cameras I still work in this way. 100 ASA (which is the same as ISO on modern camera) for sunny conditions, sometimes even 50 ASA, where the film can be used in bright conditions, going through to 200 ASA when it’s cloudy, but with sun shining through, to 400 ASA when overcast, 800 ASA when inside or even 1600 ASA, to 3200 ASA for night photography.
In the film days we would talk about the presence or absence of grain and this was part of the deal. You would get less grain the lower down the ASA range you went, and more grain the further up you went. And this grain was a result of the crystals on the film emulsion, and the chemical developing process. The choice could be as much about lighting conditions as an artistic decision. Once the film you chose was in the camera however, it didn’t change until you changed your film.
Nowadays with all this modern technology palaver, you can change this ISO (because it’s digital photography) and change it for each photo. Unfortunately the higher up you go in these values, the more “noise” you will get. This digital noise is in a random pattern and totally unlike the grain of film photography.
Shutter speed
Shutter speed, as the words suggest, is about the speed of which the shutter opens and closes to expose either the film or camera’s sensor. You see, I told you that this would be simple to understand. If I can get it, then so can you. So now we’re on to speed. When changing the speed of which the light hits the film or the shutter, I can freeze motion, of get a conscious motion blur, where the photo will seem animated.
Let’s say I want to take a photo of somebody running towards me. I will use a higher shutter speed to freeze the action. Think of sports photography, of catching a pass of a ball in rugby, or a footballer stopping a ball etc. Those factors will make or break your image. Imagine a photo of a football match and you can’t see the ball because it’s going faster than your shutter. It might not work out for you. In this situation, on my film cameras I will let the shutter curtain open for just 1/1000th of a second. Depending on which digital camera I can go as quick as 1/8000 th of a second.
Let’s go to the other extreme. I’m taking photos of a landscape and I want to show the motion of trees in the wind, the movement of the clouds, or the movement of water. I will use a longer shutter speed, say anything from 1/8th of a second to one second… The subject will be moving faster than the shutter curtain, and I will get that artistic blur.
I could be somewhere very dark, so in order to get a clear photo, I will have to let more light through onto my film or sensor.There I might have to use bulb mode in order to leave the shutter curtain for longer than 2 seconds.
For shooting a subject walking I would use 1/125th to 1/250th of a second to freeze the frame. When using a flash in manual mode, I would aim to be around 1/60th of a second (which depends on your camera’s flash sync value). When talking about shutter speeds I’m thinking of my film cameras and bearing in mind that most digital cameras will have wider ranges of shutter speed. Another tip for you would be to not let your shutter speed go below the number of your focal length (the legendary reciprocal rule). Let’s say I’m using a 50mm lens, then I would not use a speed under 1/50th of a second, or even 1/60th of a second. If I have a 200mm lens I would not go under 1/200th of a second. This is to counterbalance the weight of the lens and avoid lens shake.
Conclusion
This article has a lot of information in it and I have decided to separate everything and have a Part II. In this Part I we have talked about sensitivity to light be that film, and the different ratings of films for various lighting situations. In digital photography we have a wider range of ISO settings and with the newer cameras, the noise in an ISO 3200 setting will produce a much less grainy image than with film. However this “grain” can be used as an artistic choice and I will let “you” experiment and see what each film gives you.
We have talked about shutter speed, and the ability to freeze an instant with a higher speed. And the opposite of this to create motion in our image.
Next week we will talk about Aperture and how this effects depth of field and discover the rich creaminess of bokeh. We will also explore various scenarii and give concrete examples of the effects of this triangle and how to turn it into an advantage.