Introduction
I have been writing for this blog for a while now and everytime I get a comment it feels wonderful. Especially when I get a thought provoking comment. LIke this one from my friend Joe:
Excellent post Ian I admire your willingness to stay neutral on the merits of which focal length lens is better for street photography. I personally find the 23mm 2.0 Fuji lens fairly close to what my eyes are seeing before I take the image. Of course we are talking about lenses designed for the APS-C sized Fuji sensor so 35mm would be the equivalent field of view for my 23mm lens (23mm x 1.5 = 34.5mm). Undoubtedly some people will say the nifty fifty is a closer field of view to what the human eye sees but in my opinion I will leave that up to other people that may care to argue that point….
Sorry for my long winded response but I enjoy your articles so much I cannot resist replying even though once I get started you can’t shut me up
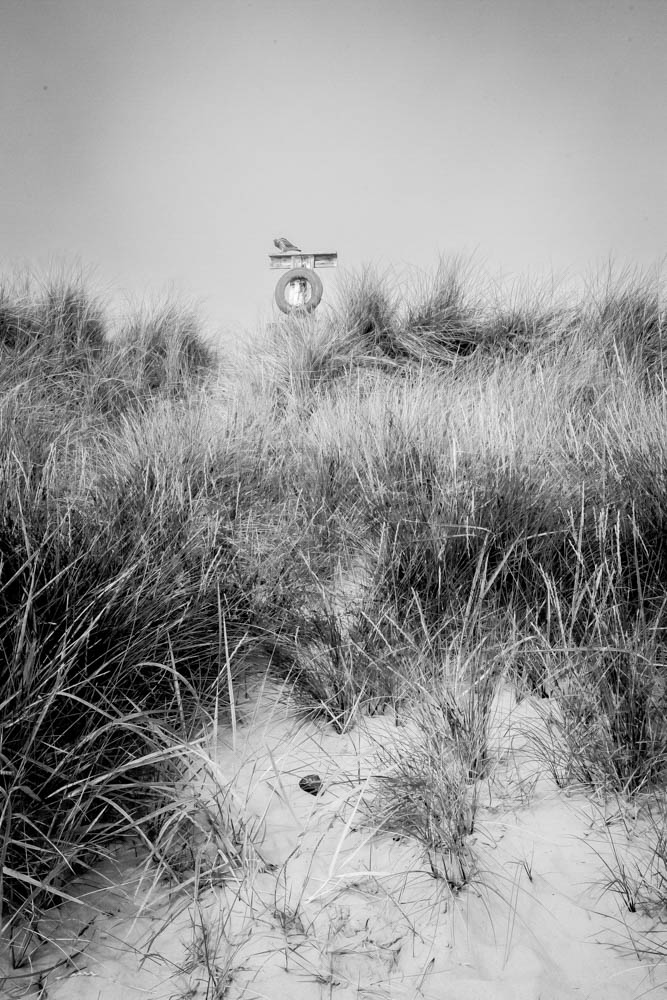
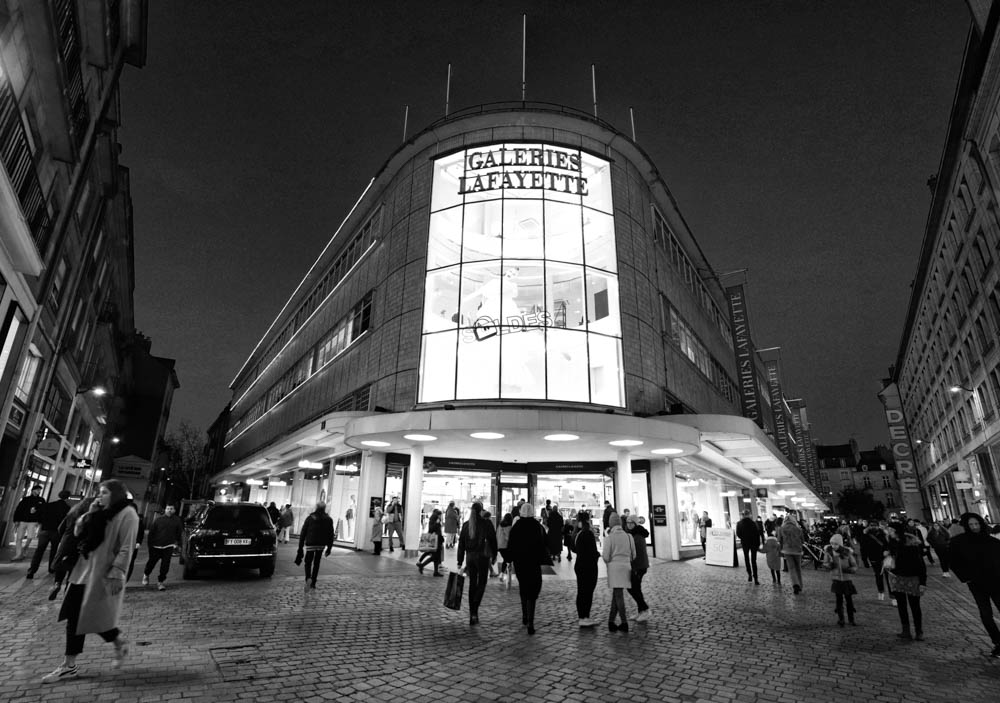
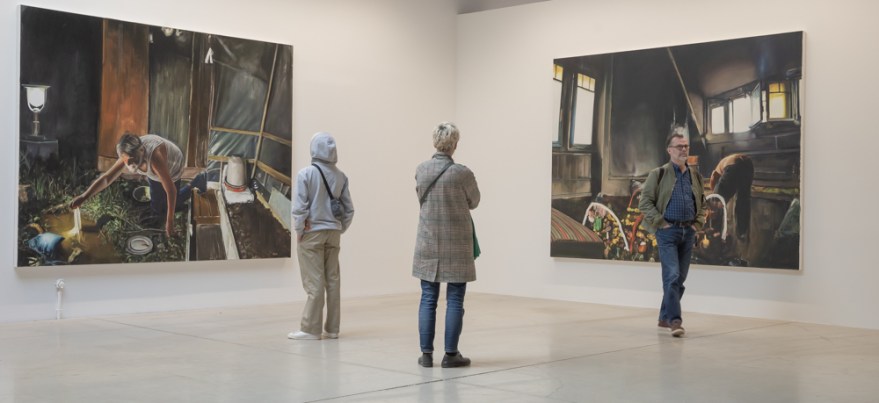
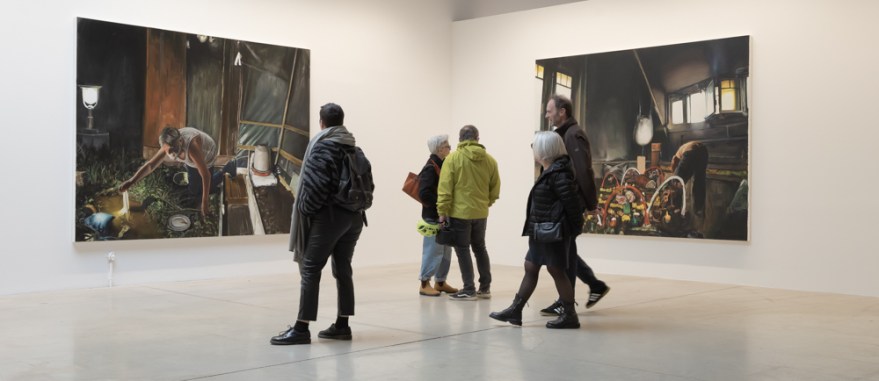
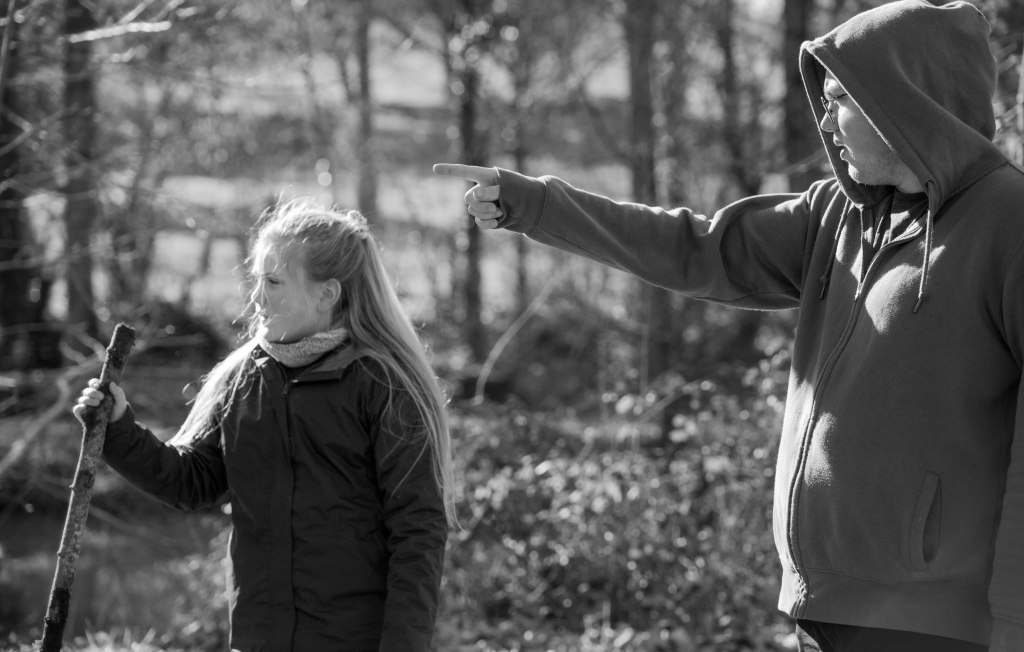
I am grateful for Joe’s thoughtful comment and I am still going to stay neutral, and just explain why I use the 35mm (equivalent) on my X100F, for street photography, and environmental portraits, despite having the teleconverter to convert that lens into a 50mm (equivalent) lens. As a special bonus I will present my latest street photography from Nantes, which just goes to show the sun can shine on us…
The Appeal of the 35mm Lens
The 35mm offers a world view which is very similar to that of the human eye albeit with a very slight distortion that disappears at 50mm. So, when on the street, we know that our image will have much the same view as what “we” see. When I get really close for a close up of a subject, the possible distortion remains manageable and doesn’t distract from the subject.
My Journey with the Fujifilm X100F
I have fanboyed and waxed lyrical about this camera in previous articles and will not do that here. However, I have had mine since 2018 and still use it on a very regular basis, which tells you an awful lot. I use it during travel and when doing street photography because it is light, takes up next to no space, and is subtle, unlike the huge DSLRs and their massive lenses. Moreover, I have enough self-confidence to not need to compensate for anything. It’s also a very sexy little camera, and over the years that we have been together, I have learned how to use it to its full capacity. I can use it intuitively without having to think, which is always a relief. According to camera manufacturers, six years is a long time to be with just one camera, but the costs of replacing it with the latest version are prohibitive, and not enough of them are being produced. The old argument about one in the hand still holds true.
The Versatility of the 35mm Lens on the X100F
The versatility of the lens, as with any lens, depends on the person “behind” the camera. I use it for documenting a scene. It’s just wide enough to get a good view, but not to distort or have too “busy” a scene, as can happen with the 28mm. It’s great for portraits. Dear Reader, I know I have previously talked about the distortion when close up, but what it is great for is a portrait of a person in his environment. It gives us more context about the person and tells more about him, as we can see his surroundings. Because of the silent shutter, I can also get nearer to my subject without making a flapping mirror sound when I press the shutter button. At F2.0, I can either get massive depth of field or shoot in relatively low light. My basic setup is ISO 3200 and F2.0. But on a day like today, I will put it into ISO 400, and if things get really bright, then I can use the inbuilt ND filter.
Comparisons with Other Focal Lengths
I have already touched upon the differences between the 28mm, the 35mm, and the 50mm focal lengths, but let’s get real for a second. The 28mm is great, but too much distortion and makes the image very busy because of the wider field of view. This is fine when used with intent, but you have to be so much more careful with your composition. The 50mm is the lens that I grew up, but after having used the slightly wider 35mm, I find myself backing up to get the same field of view, which leads to banging into things and apologising profusely to the bin that I have just reversed into. It has happened!
Practical Tips for Street Photography with the 35mm
Just use it, go back and use it again, and if you have any doubts then just go out and use it once more to be sure. Don’t overthink it. Don’t worry about the distortion I have mentioned. It only really happens when you get right up to your subject. If you have only used the nifty fifty then you shouldn’t notice a huge difference, but physically you will. You’ll be moving closer to things, but it’s just “one step up.” It will seamlessly “grow” on you.
Be the man in grey, or whatever colour you fancy, but know the environment in which you’ll be shooting. You might want to avoid fuchsia if you’re going to be in the woods shooting, or in that beautifully tailored three piece suit if you’re going to be in the stands at a football match. Think sore thumb and being out standing in a field.
Conclusion
If you so wish, you now have the arguments for and against the 35mm lens. I don’t think that arguing about ti will get you anywhere though… The lens, as the camera, is a tool at your disposal to create an image. Just getting a new lens won’t change your life despite what the guy in the shop might tell you. You “can” use a 50mm for street photography, and some even use the 85mm to go for more details, and more candid shots. Use what you have already. I have just talked about my experience since using the 35mm (equivalent) on the X100F. The information is purely subjective. If you want an X100, then by all means go out and buy one. Maybe go for an older model like the X100F or even the X100T for the price difference. Or if you can get your hands on one, the X100VI is wonderful. At the moment however, I cannot justify buying a more expensive camera to my wife!
I’ll leave you the comments section to debate the various merits of each piece of kit. And you can use the hashtag “#ijmphotography” to share your images with me on the gram. Look forward to hearing from you. Until next time…