We have talked about the different kinds of zooms in my last article, but now I’m going to present you with concrete examples of the different zooms in my own personal set-up, and try to concentrate on the “user experience” that each lens offers. At the end of each section there will be a slideshow to give you examples from the archives to illustrate how I have used this lens in the past.
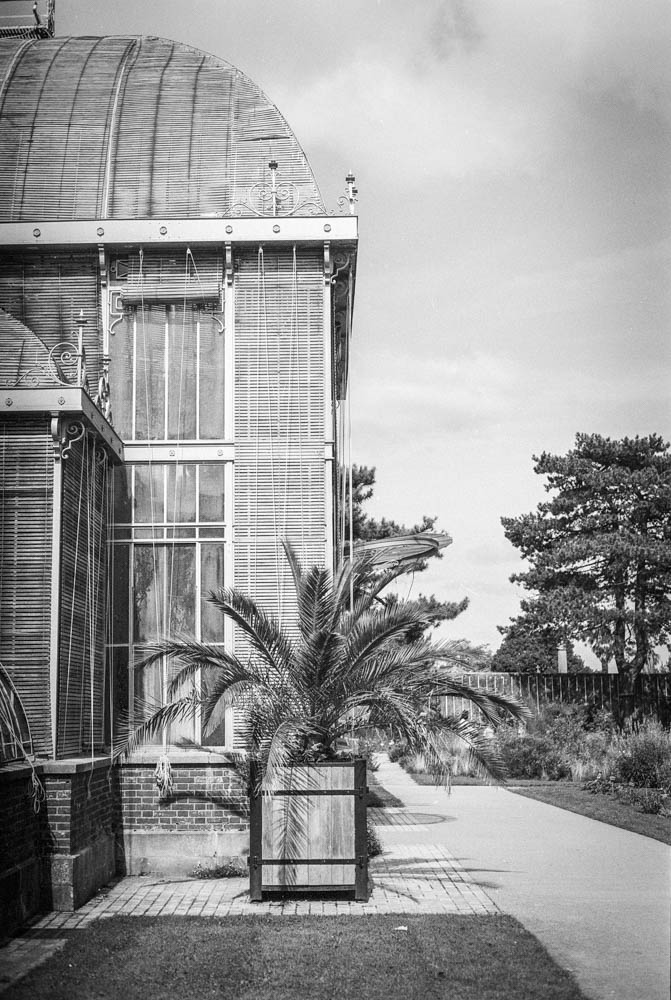
Canon EF 16-35mm f/4 L IS USM
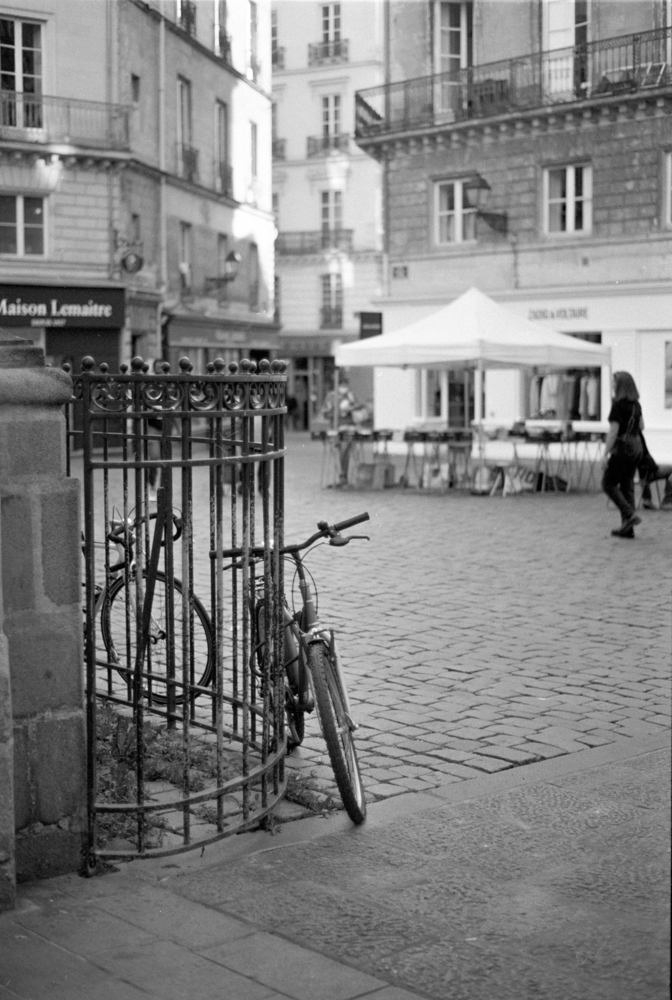
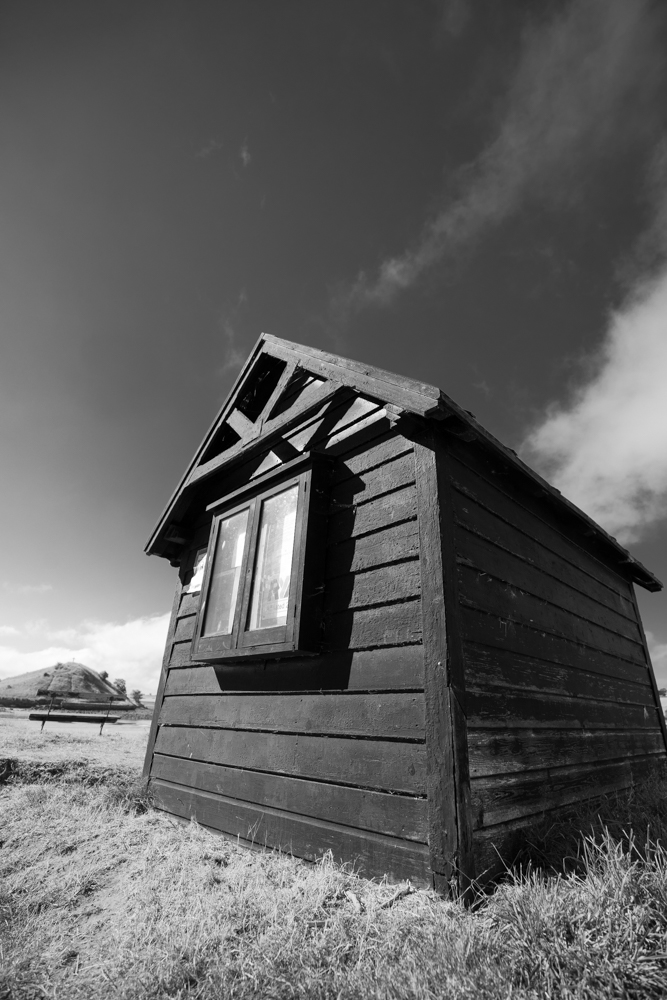
I remember the sheer joy of opening this, my favourite lens for my 6D Mark II and hearing it click into place on my camera’s body. It felt heavy and substantial. It has the red ring, known to Canon users as a gauge of high quality. I was onto a good thing. It bridged the gap between my desire to go wide and get that distinct distortion that comes with going wide, and a more conservative, more sensible 35mm focal length of my X100F.
And then I went out and tried it in the field. Well in my bedroom anyway, being suitably amazed by the wide angle of view that I now had at my disposal. I’d read about distortion, and had watched enough YouTube to know what I was in for. But the first time is always special. I soon learned how to take advantage of its capabilities, realising that getting down low could create leading lines in compositions that I had only dreamt about before.
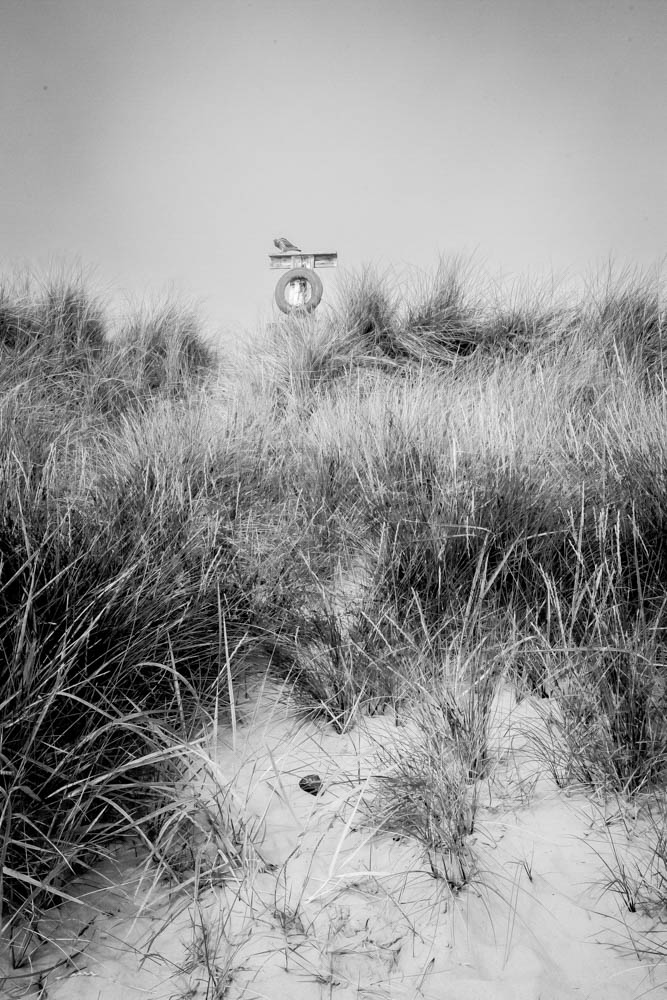
If you have seen my Instagram, you will have seen this lens in use and how I have been able to adapt from an urban setting to getting my feet dirty in the countryside or getting them wet on the beach. I have nor regrets about this purchase. But it, despite its many attributes, has its limits. It is adapted to landscapes and cityscapes. It’s great for giving a different view of the world that is more “interesting” to look at. I have used it for portraits and taking full advantage of this aforementioned distortion.
It might well be a contender for the title of Ian’s favourite lens. Sorry you prime purists!


CANON EF 24-70MM F/4L IS USM
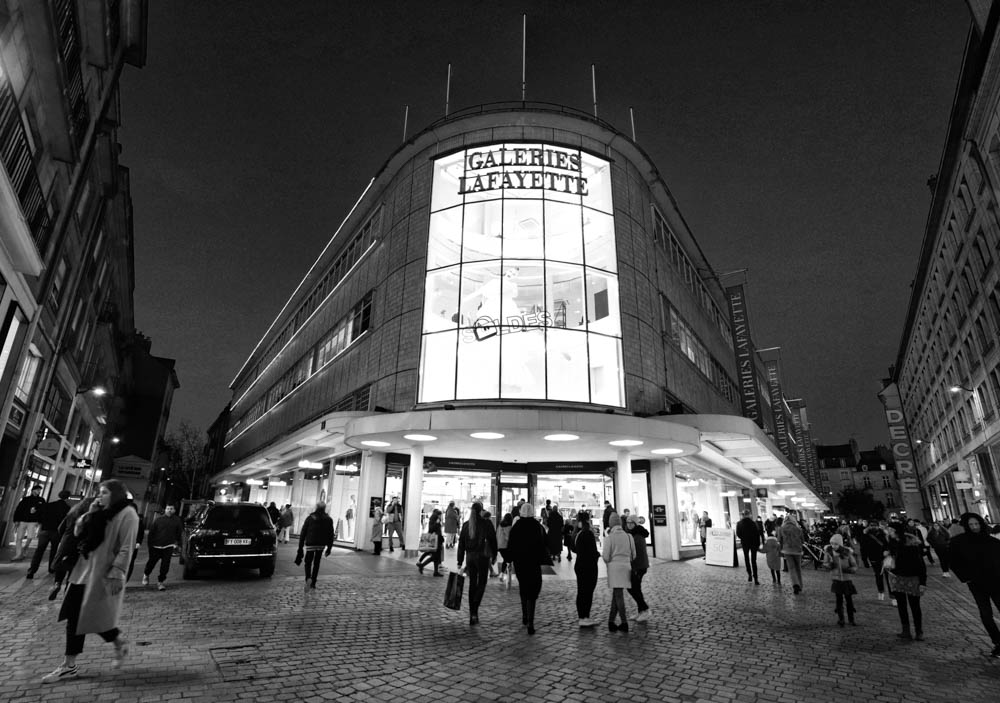
This is the lens that I actually have on my camera at the moment. Why? Because I was out at the pub taking photos for a leaving do for two of my friends. I needed something I could use to get general shots of the evening and that wouldn’t let me down. This lens is a beast and a workhorse. It gets the job done!, which is why I bought it in the first place. I was going to be photographing a wedding for a friend of mine, and I needed something that would help me throughout the day. I would be taking portraits, group photos, photos of the reception, and this was the classic lens for such a situation. It has you covered. I basically put my flash to TTL mode, and camera to program mode, and all I had to do was to get the shot. Photographically it was a great day and I managed to get some pleasing shots for my friends. It’s also my go to lens for filming video…
It was “take your camera to work day.” I was going to be taking pictures of timber at the factory where I work and it was still in my bag, and securely attached to my camera. I was able to get clear shots for my boss, and the lens didn’t let me down even if I had to be in one of the darkest areas of the factory with dubious lighting conditions. This is where image stabilisation becomes your best friend.
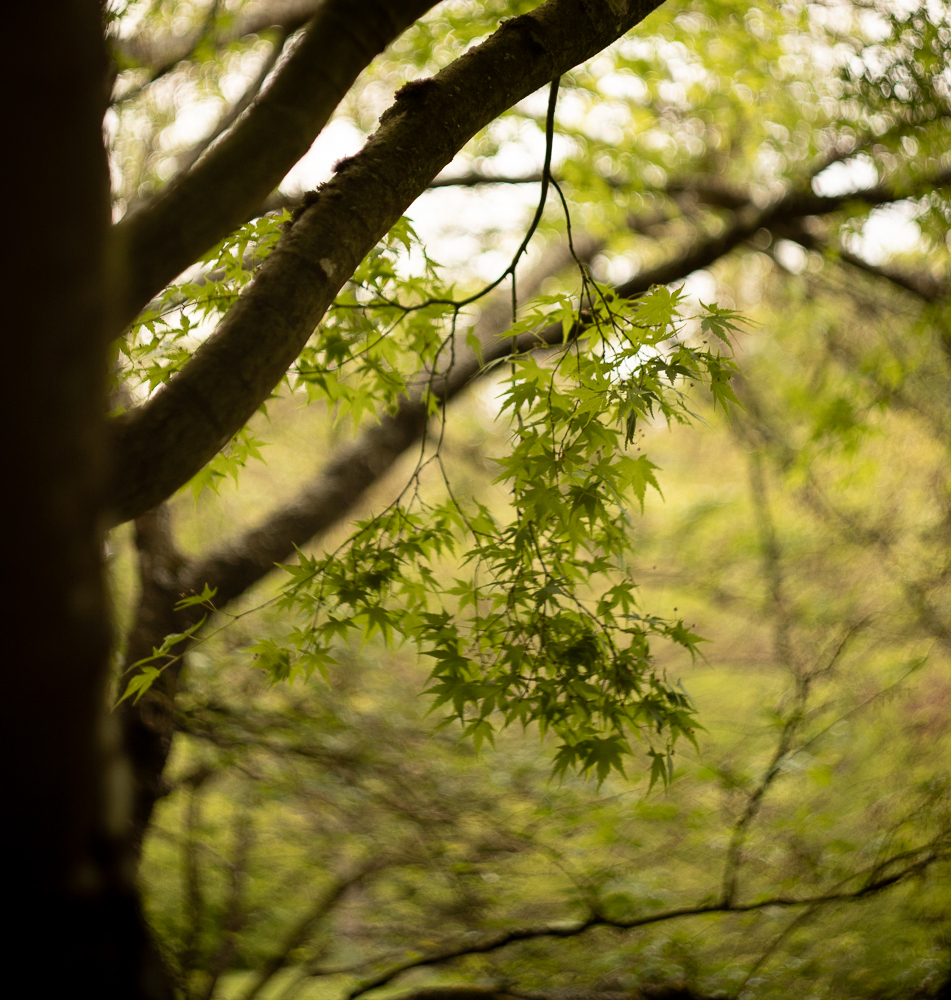
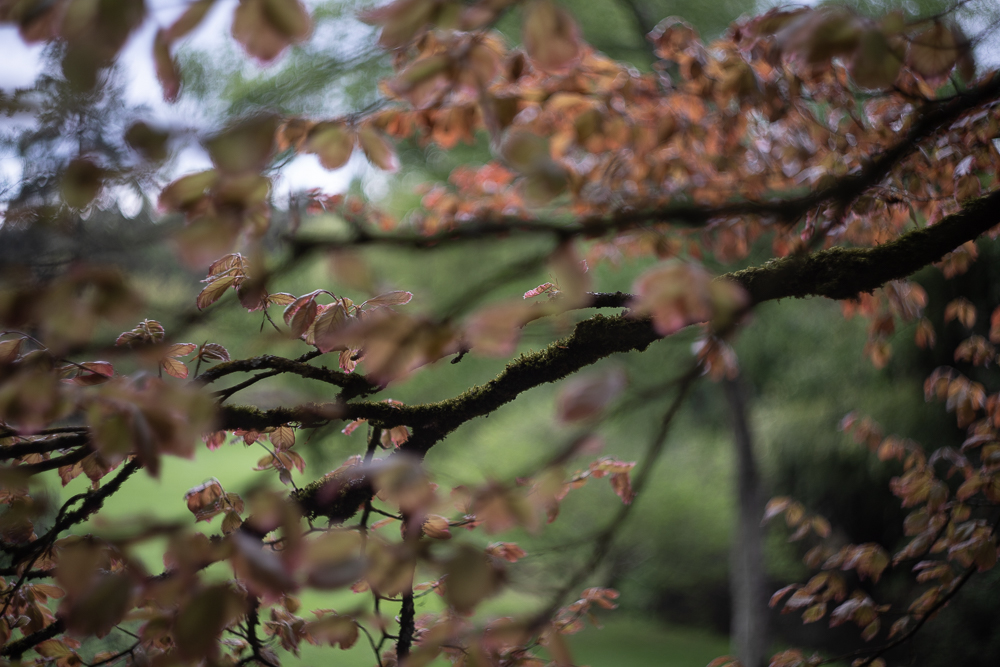
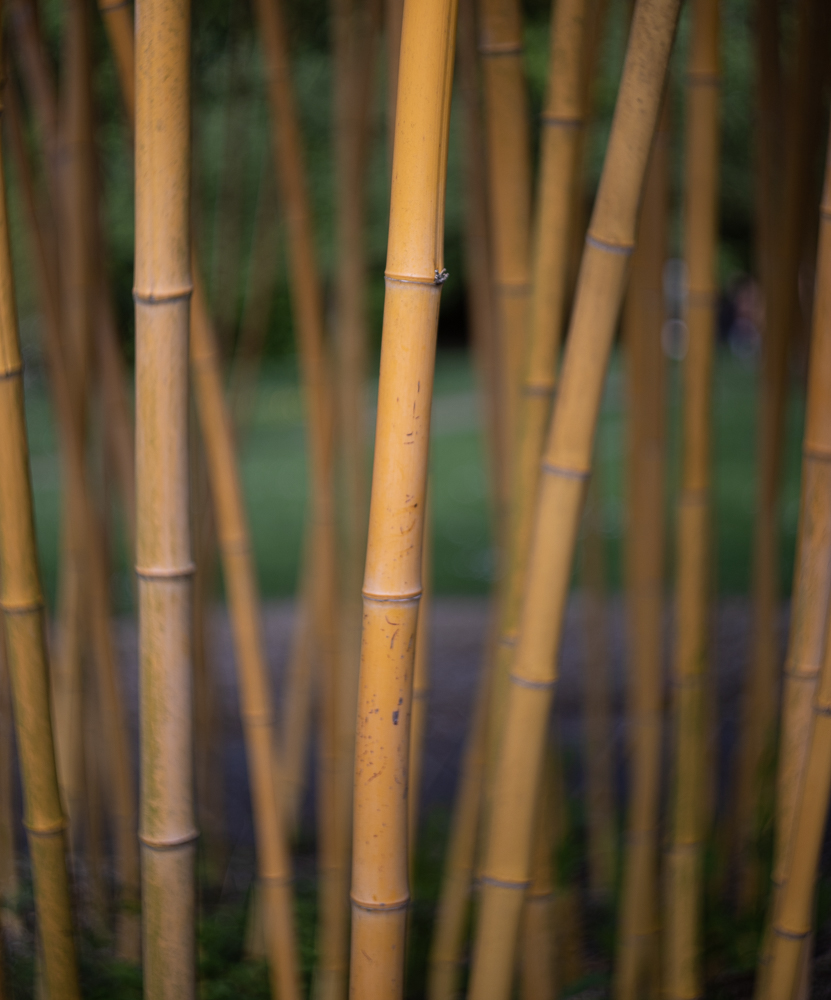
It was still in my car when I took my daughter and boyfriend to see their friends near Nantes. I had just written the article about Spring Springing, and wasn’t happy digging into the archive. I felt that this was being lazy, and that you, Dear Reader deserve better… The camera with the 24-700mm lens on it was just sitting there begging to be let loose! So I let it loose on the trees around the Mairie of Basse Indre, and took advantage of its “macro” function. So go and have a look at the article to see those.


CANON EF 70-300MM F/4L IS USM
I don’t have the very latest version of this article, but a more old-school version, so it’s not as super duper as the later super duper models, but it was a heck of a lot cheaper at around 150€ instead of 850€ for the newer super duper models. But I’m not here to talk about specific model types etc, but about the focal lengths of this lens and how I have used them in the field and my experience of using this lens.
As a small boy I was a member of the RSPB and loved seeing all the various birds in the garden but also in the countryside. I even learnt about how to draw them. I grew up, and now have a super duper camera with a lens that will allow me to capture these birds on camera without spooking them.
One of my favourite outings in Nantes is taking one of the electric boats out on the river, and I have this lens with me to capture the wildlife that I know I will see. I am by no means a wildlife photographer like the ones you see in the documentaries stalking their prey for weeks etc. But it doesn’t stop me from trying to see what I can get without necessarily overdoing it. And even for getting shots of birds using the various feeders in my garden it’s fine!
I have used the lens after having watched YouTube videos for landscape photography using it to seek out details in the landscape. This was definitely something new for me, and definitely a useful exercise forcing me out of my comfort zone and making me see the countryside in a different way.
It’s not the lens I gravitate to first, but I’m happy to have it as an option. It isn’t the most modern of lenses either, but it’s certainly “good enough” for what I need it to do… Do I regret this purchase? No. Is it limited in its scope? Yes. Am I bovvered, as Catherine Tate might say? Still no. Would I buy the “super duper” version of this lens? Probably not as it doesn’t correspond to the majority of photography that I do. Photographing birds is more of a hobby and not my main photography aim in life..


Conclusion
I think you have the information at your fingertips now to help you decide on your lens choices be that for primes or for zooms. Those nice people in the photography shop will be more than happy to take your money from you, but now, you have the knowledge to get past the sales pitch and make an educated purchase knowing what you’re letting yourself in for. While we’re on the subject of purchasing and investing in gear, always have the following concept at the back of your mind. Glass is more valuable than a camera body. Better glass on a less top of the range body will always get you better results.
But much more than the importance of gear, is the importance you get your beautiful booty off that really comfy sofa, and get out into the world with your camera and your lens and train that beautiful eye of yours to capture some awe inspiring images!