Classic Chrome Meets Portra 160: Evaluating the Pentax ME Super and Fujifilm X100F


Let’s talk about two of my favorite cameras—the Fujifilm X100F and the Pentax ME Super. While these cameras belong to entirely different eras of photography, they share a surprising similarity in size and portability. I’ve used both extensively, and today, I want to compare their unique qualities without turning it into a clichéd “film vs. digital” debate.

Photography enthusiasts often find themselves in one of two camps: those who champion the convenience and immediacy of digital, and the purists who swear by the timelessness of film. But if you’ve followed this blog for a while, you’ll know I don’t see things that way. Instead, I value what each format brings to the table, and more importantly, how both contribute to the experience of photography.

A Tale of Two Cameras

For me, photography is more than just the final image—it’s about the journey of capturing it. Any Lomography fan will agree: the process is as important as the outcome. When I shoot with the Fujifilm X100F, I appreciate the immediate feedback of seeing the image on the screen and knowing right away what I’ve captured. But with the Pentax ME Super, it’s a different experience. I have a rough idea of what the film will deliver, but the magic isn’t fully revealed until the film is developed. That anticipation is part of the charm.

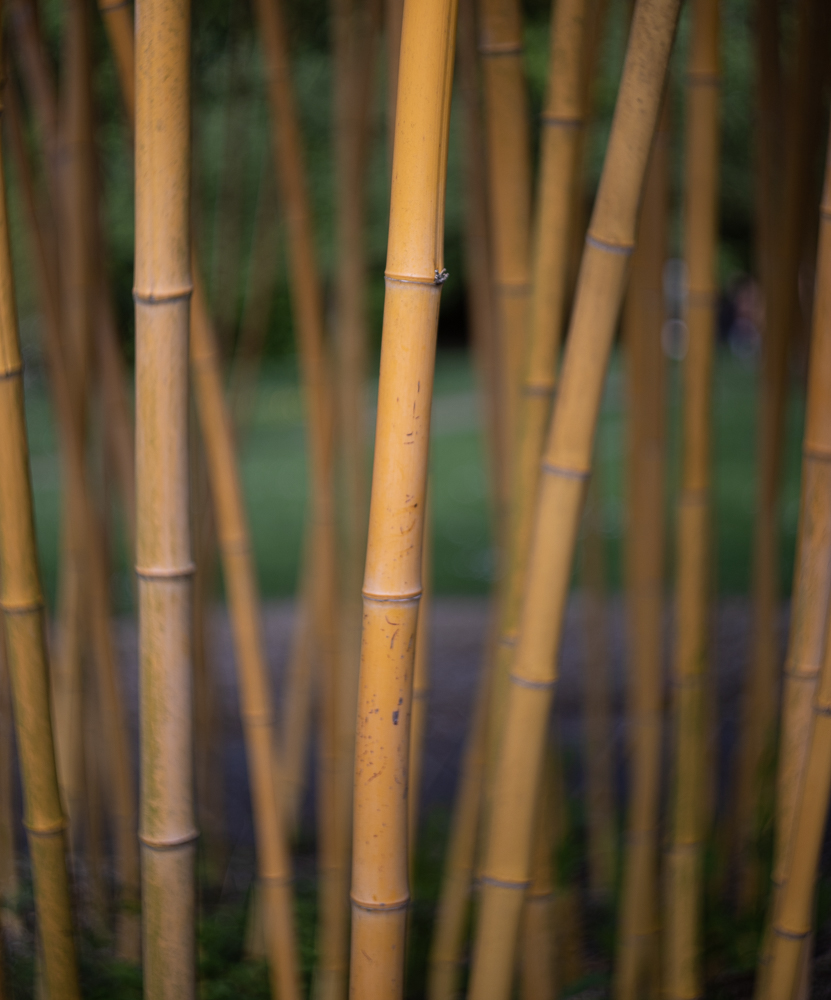
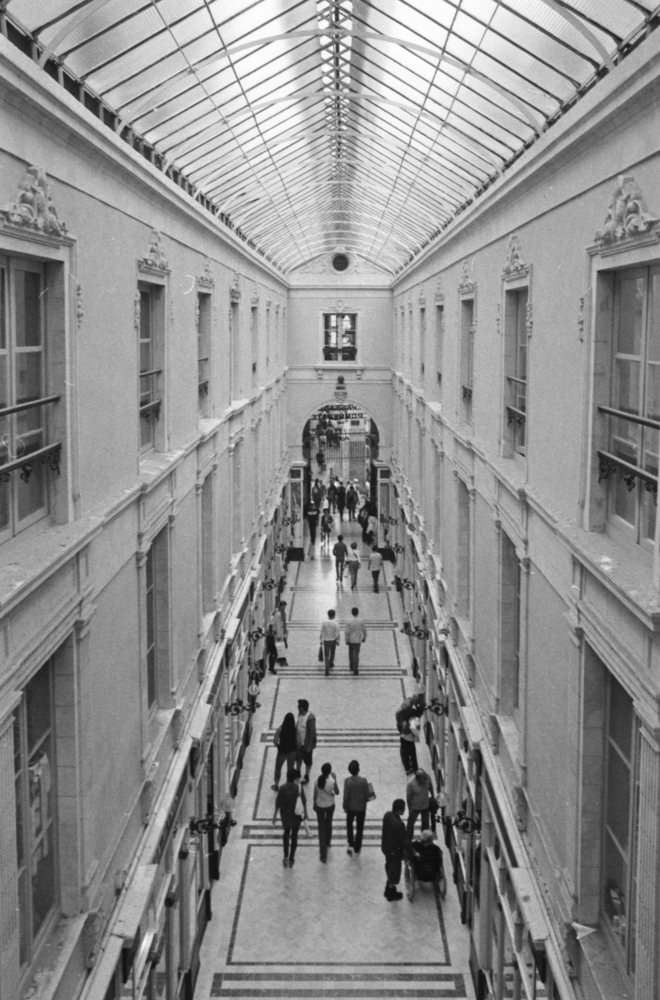
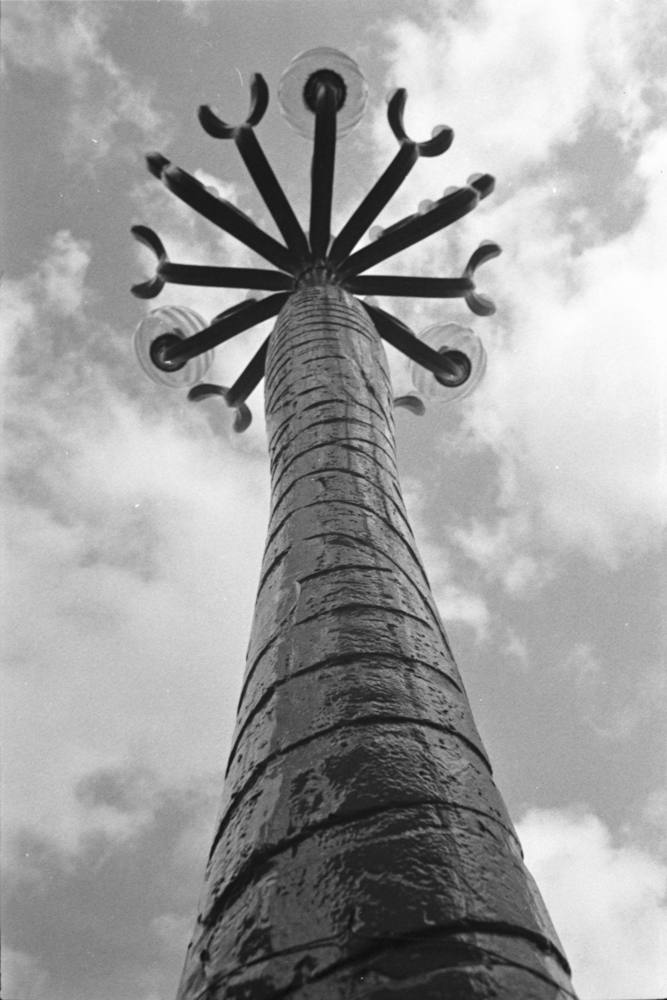
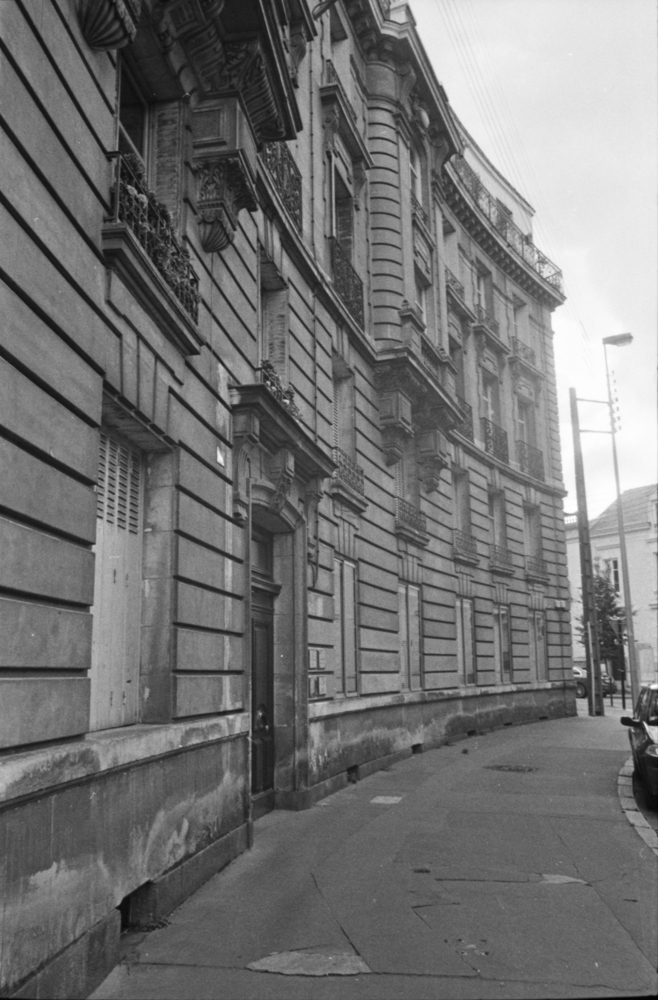
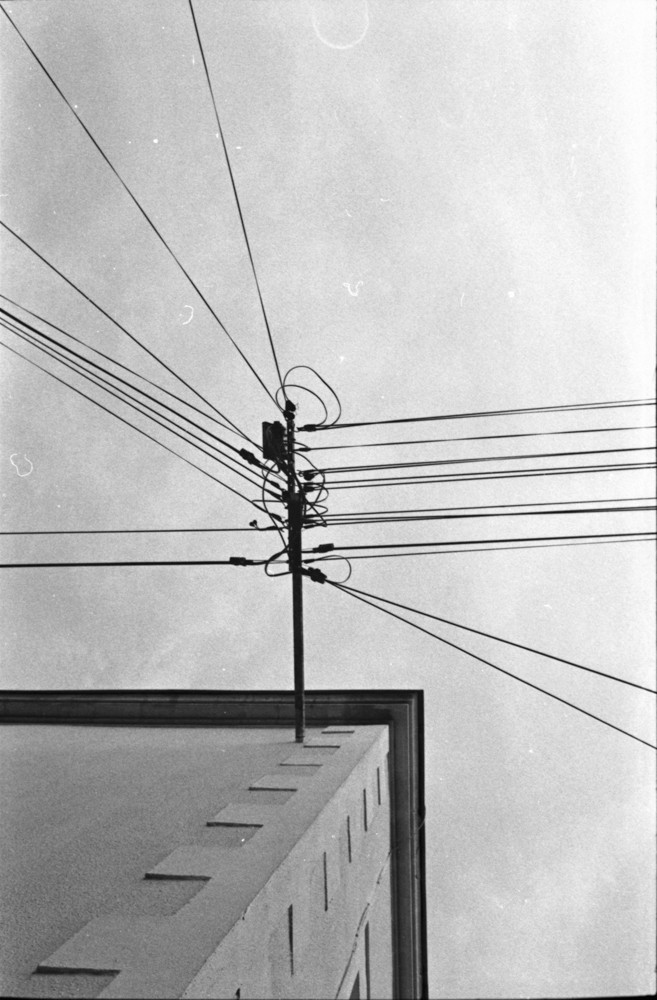
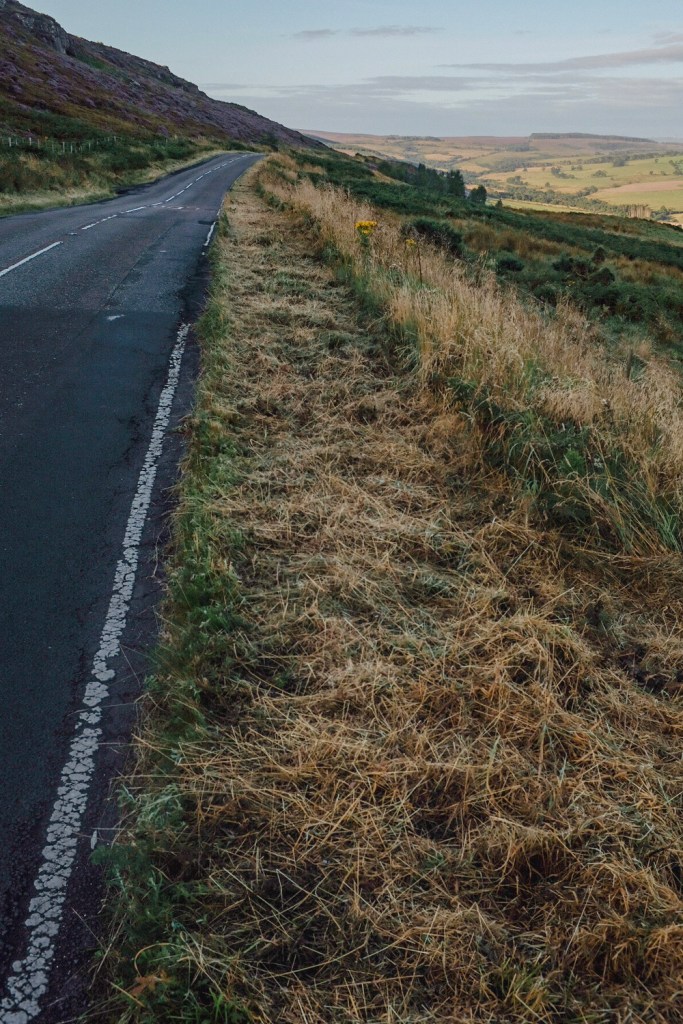
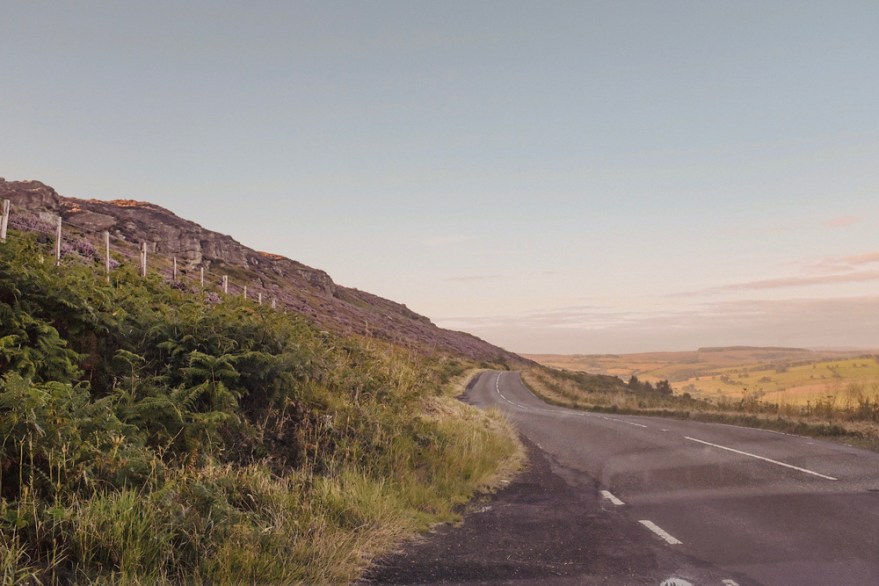
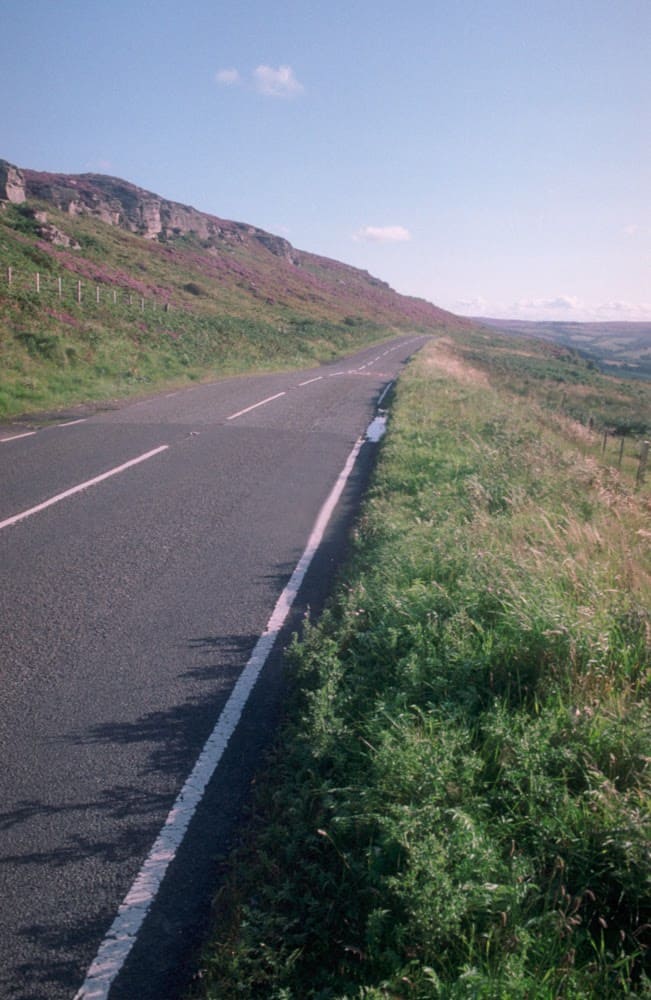
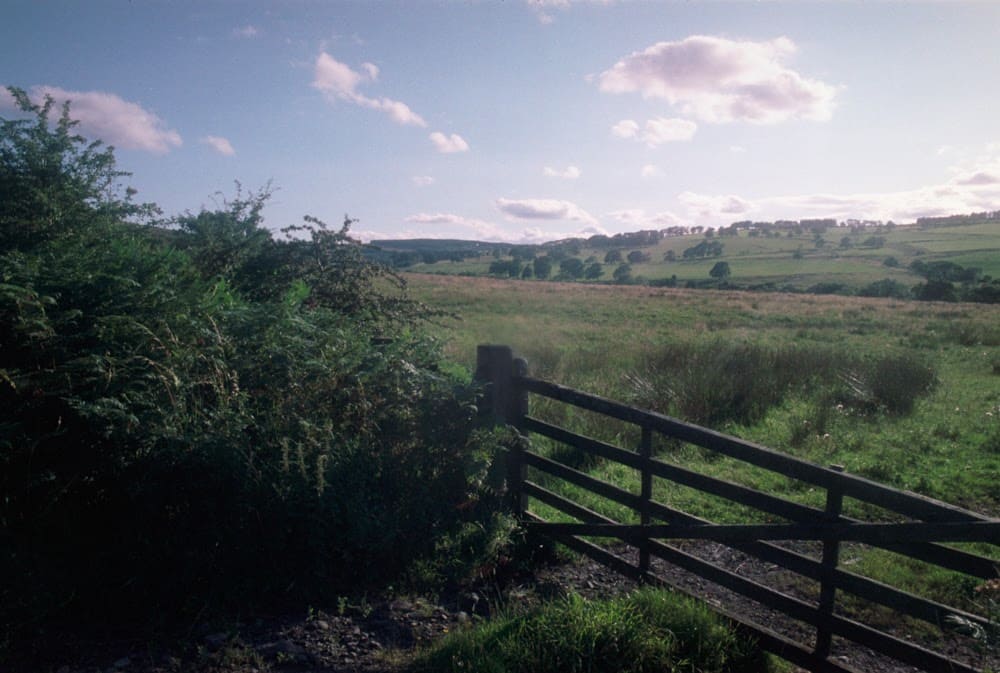
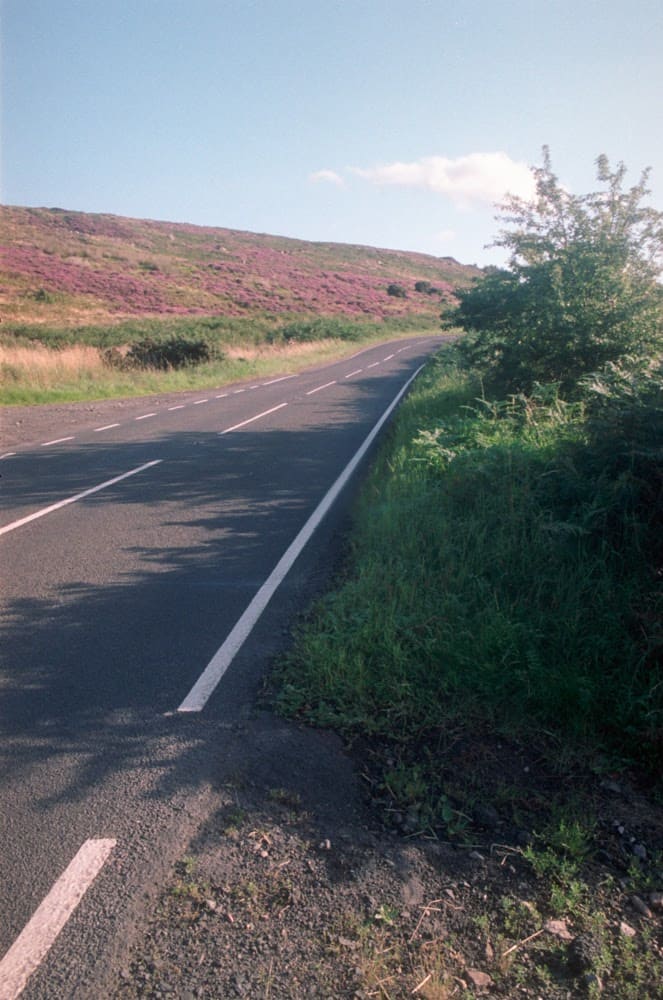
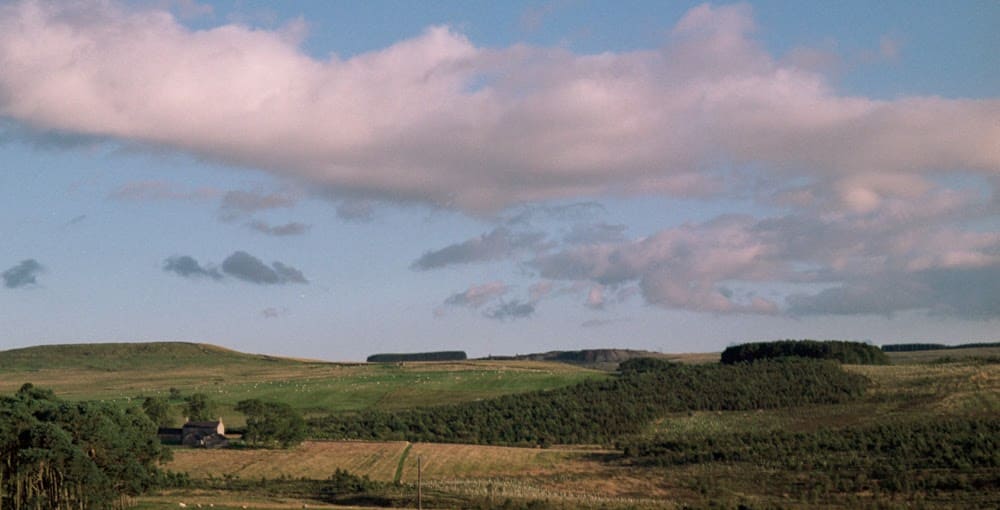
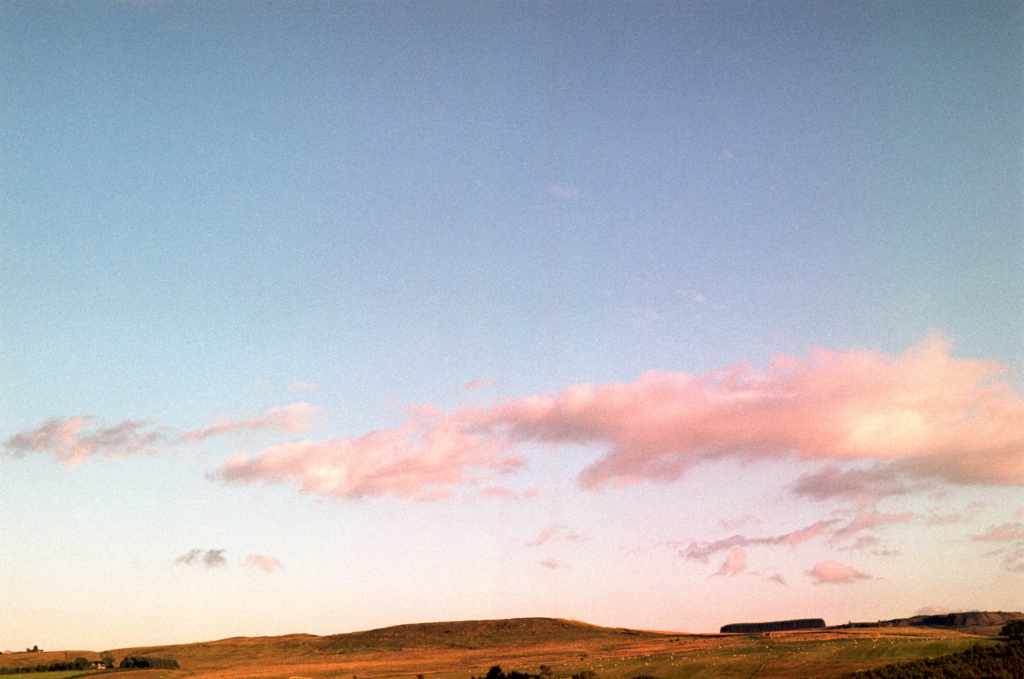
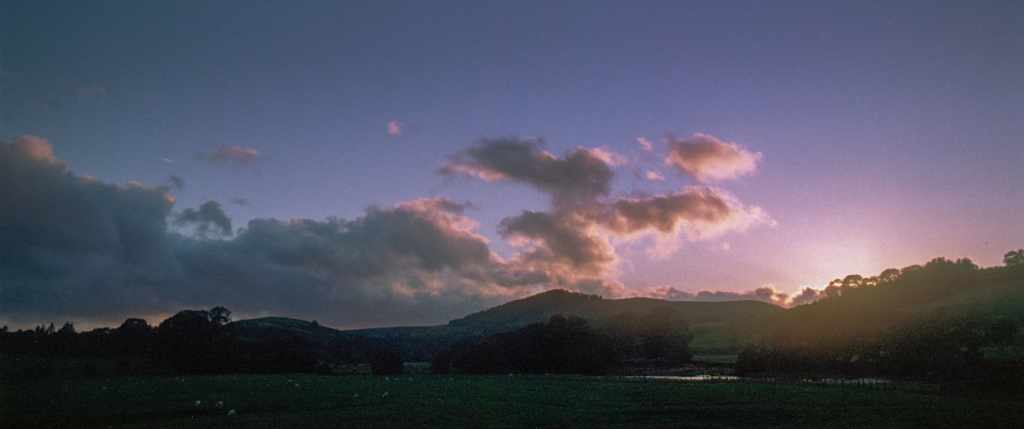
For this comparison, I’ve chosen photographs from Northumberland. Its moody, windswept landscapes—places like Alnmouth and the Northumbrian moors—present the perfect canvas for both film and digital. The X100F’s Classic Chrome simulation delivers a retro, muted look, while Kodak Portra 160 film, shot through the Pentax, brings warmth and richness to the tones.

The Fujifilm X100F

he X100F has often been called a bridge between the analogue and digital worlds, and I tend to agree. It’s packed with modern features like autofocus and an electronic viewfinder (EVF), but the controls are refreshingly tactile, with dedicated dials for aperture, shutter speed, and ISO. For anyone with a background in film photography, this setup feels familiar and intuitive.

What sets the X100F apart for me, though, is its Classic Chrome film simulation. It offers a subdued color palette that echoes old film stock, perfect when I want a slightly desaturated, vintage aesthetic. Unlike some over-the-top digital filters, Classic Chrome feels organic and subtle—bringing out details in the shadows without overwhelming the shot with contrast.
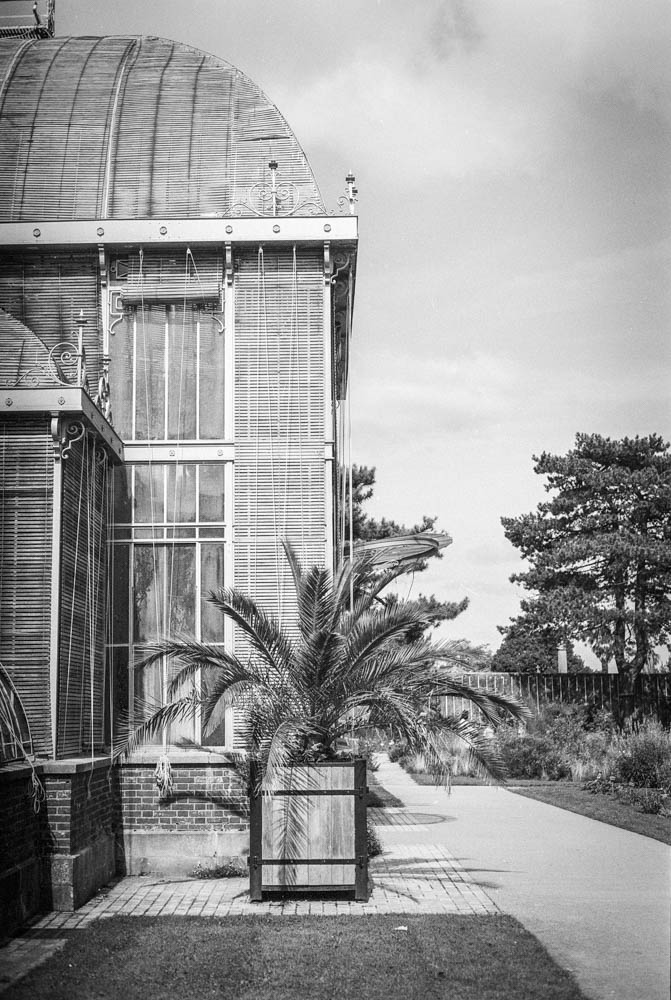
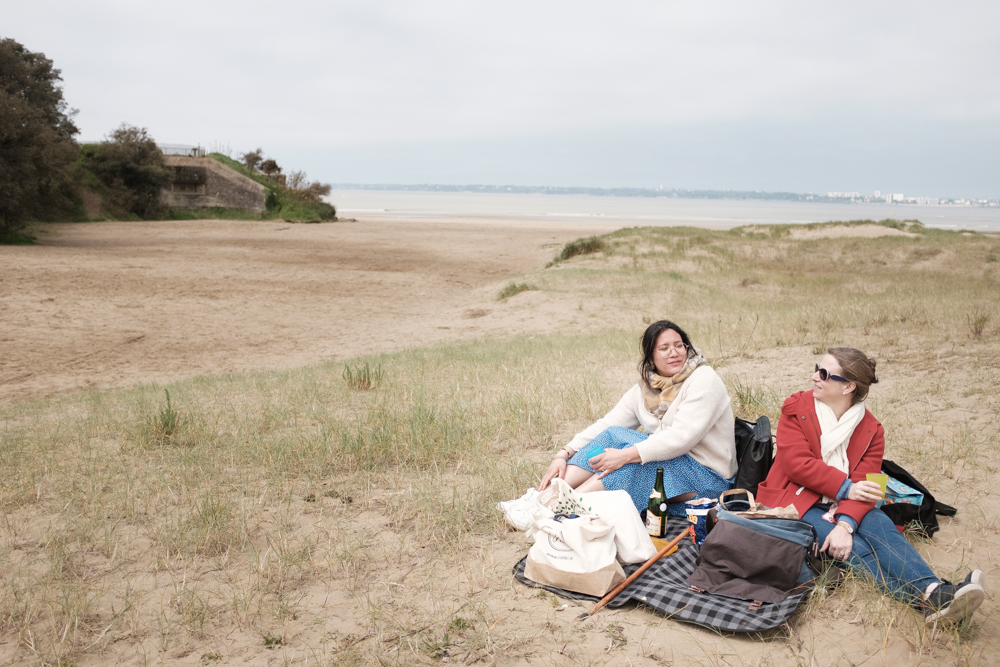
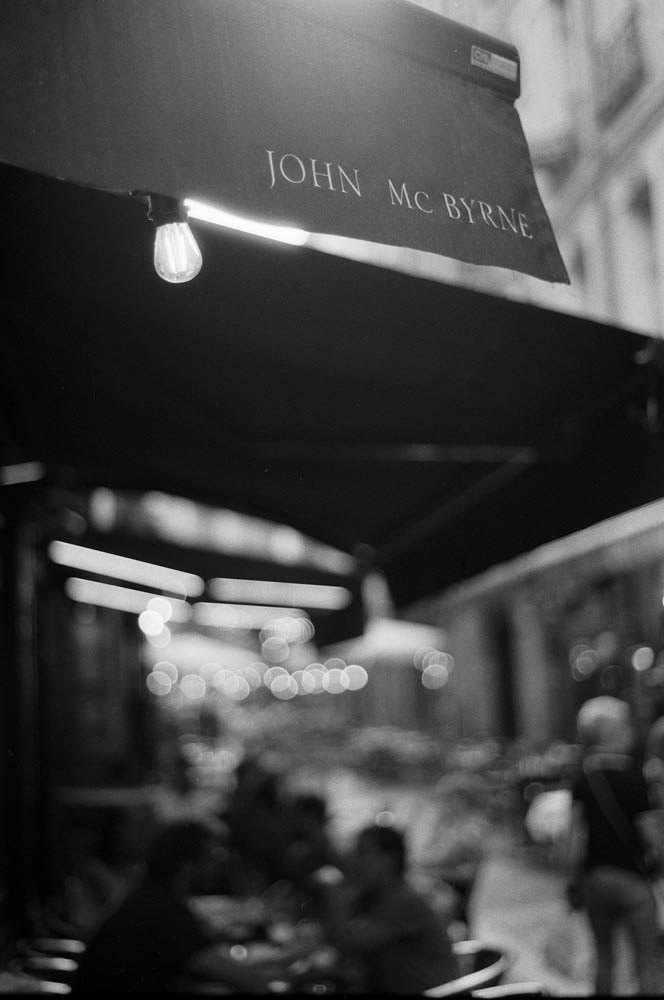
The X100F Photos

The Pentax ME Super

On the other hand, the Pentax ME Super is all about slowing down. There’s no EVF, no digital screen, and definitely no autofocus. Instead, you rely on a split-prism focusing system and aperture-priority mode. It forces you to be deliberate with each shot, a process that I find incredibly satisfying.

You’ll often hear film photographers talk about being more “in the moment” when shooting on film, and that’s exactly how I feel with the ME Super. The process of carefully composing each shot, setting exposure manually, and waiting for the film to be developed encourages patience and thoughtfulness.

For this outing, I paired the ME Super with Kodak Portra 160, a film that’s become known for its natural skin tones and soft, warm colors. Paired with the 50mm f/1.7 lens, this combination creates images with that unmistakable film character—shallow depth of field, soft highlights, and rich colors.

Lenses and Sensor Size

One of the most noticeable technical differences between these two cameras is their lenses and sensor sizes. The X100F features a 35mm equivalent f/2.0 fixed lens, while I usually use the 50mm f/1.7 on the Pentax. On the sensor front, the X100F has an APS-C crop sensor, giving it a narrower field of view compared to the full-frame 35mm film in the Pentax.

This technical difference goes beyond field of view. The Pentax ME Super has fixed ISO based on the film I choose, so I need to plan ahead for the lighting conditions I’ll be working in. In contrast, the X100F allows me to adjust ISO on the fly, providing flexibility in rapidly changing environments. This is something digital photographers have come to rely on, and it’s undeniably convenient when shooting in variable light.

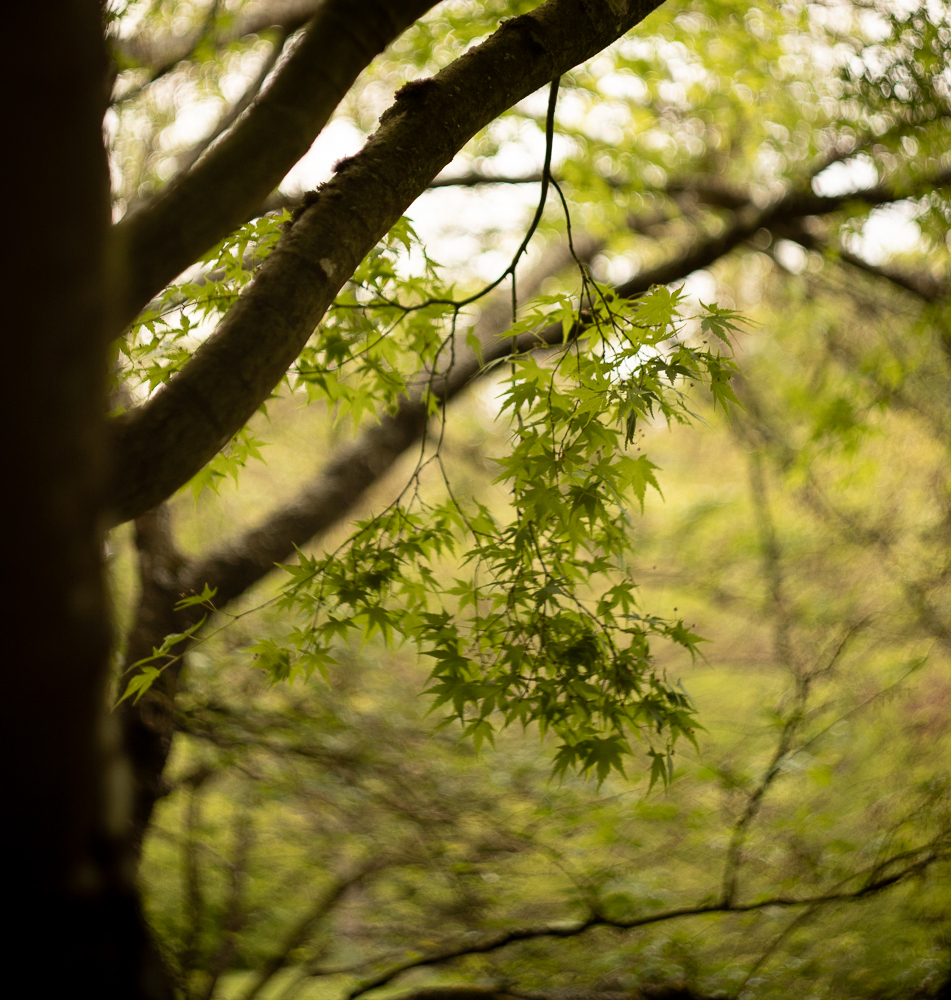
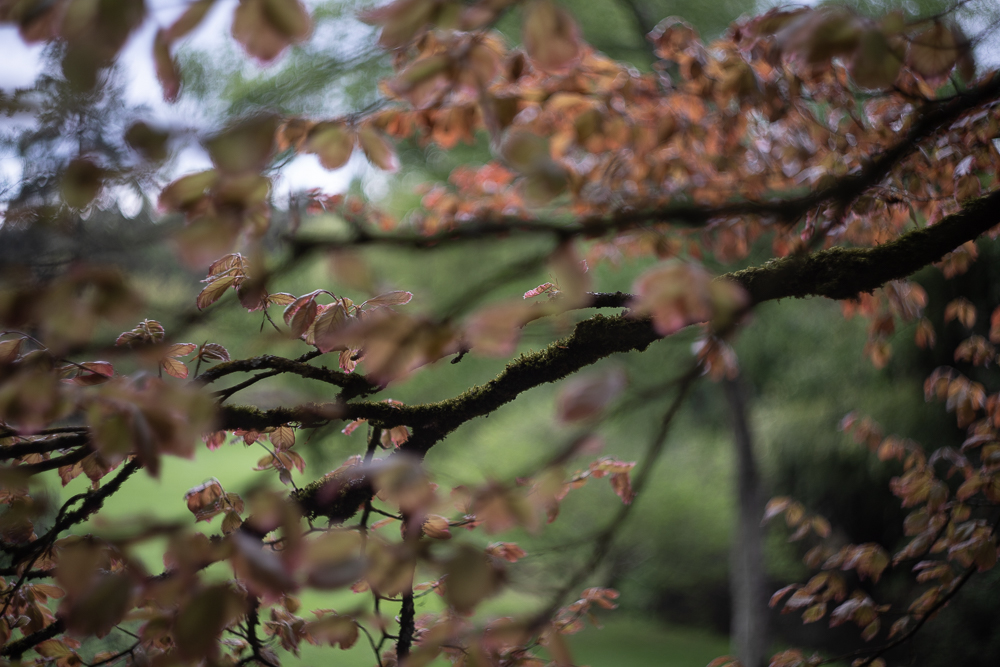
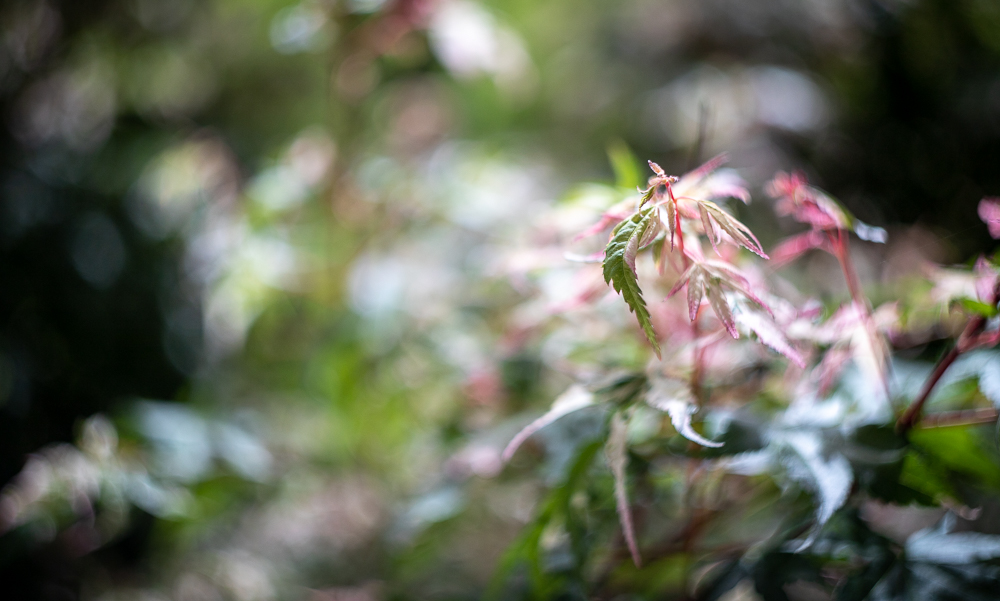
The Pentax ME Super photos

Comparing the Images

Now, the big question: which is better, the Pentax ME Super or the Fujifilm X100F? Honestly, neither. They’re different tools for different purposes. Whether you’re drawn to the organic feel of film or the convenience of digital, both formats offer something unique. And that’s the beauty of photography—there’s no one-size-fits-all approach.

The sideshow feature shots from both cameras. As you look at them, you might favour one look over the other. The film shots have a warmth and texture that digital sometimes struggles to replicate, while the digital photos are sharp, detailed, and offer instant gratification. But ultimately, this comes down to personal preference, not a matter of one being objectively better.

Final Thoughts

At the end of the day, a camera is just a tool for capturing a scene in a particular way. As long as the final image is pleasing to the eye, I’d say the job is done. So don’t limit yourself to just one format—if you haven’t tried shooting film, give it a go. If you’re a film photographer who’s hesitant to try digital, maybe the X100F will ease that transition with its analogue-like feel.

More than anything, I encourage you to enjoy the process, whether it’s with film, digital, or both. Get out there, take your time, and remember that photography isn’t just about the images you capture—it’s about the experience.


Post Scriptum:
For those of you new to my blog, welcome! I cover everything from camera reviews to photography tips and techniques. Whether you’re a seasoned photographer or just starting out, there’s something here for you. Feel free to leave your thoughts or questions in the comments below—I’d love to hear from you!

Prime Lenses: Elevating Your Photography Beyond the Basics – Part II


In my last article we explored the prime lenses in my collection and how and why I use them concentrating on my own experience with each one. I started ultra wide and am now going to head towards a narrower field of view. We’ll start with the nifty fifty, go through the Helios 44-2 58mm f2, on to the 85mm f1.8, and end on the Helios 135mm f2.8.

50mm f1.8 – the nifty fifty

Be it a digital lens or one for a film camera, this focal length is considered to be the “standard” to which all the others are compared to.  I have already mentioned my initial set from 1987 where the Pentacon 50mm f1.8 was fitted onto my Praktica MTL3.  It is the lens with which I learnt photography.  Why is it considered the “standard?”  Conventional wisdom would suggest that the view offered by the lens is the closest to the human eye.  This explains why Robert Doisneau used it extensively in his documentary photography.  Henri Cartier-Bresson is known for his ability to capture decisive moments in street photography. The 50mm focal length, with its natural perspective and good depth of field, was perfectly suited to this approach. It is also one of the more simply constructed lenses and yet still offers a great shooting experience be that digital or film shooting.

Helios  44-2 58mm f2.0 

This is one of those lenses that one hears about and has a certain mythology.  It is known  most for its swirly bokeh which you can see in the images in the slideshow below.  I think mine must have cost around 50 Euros so in my mind I was thinking, you can’t go far wrong.  This swirliness adds interest to any photograph be it in an oriental garden, on in portraits.  Just enough to make the viewer have a closer look and fall even further in love with your capture.  It’s an old soviet lens and fairly solid as you can read in the article I wrote about the Helios and the Canon 6D mark II.  It is the first of my “portrait” lenses.

We’ve done the bokeh bit, now let’s talk about the focal length.  When in the studio I will start using my 50mm, but this is always ready in my bag.  But it’s not just a portrait studio lens, and I have used it on outings in Nantes.  As all “telephoto” lenses, it separates the background from the subject, and brings forward the subject to the fore.  I haven’t used it on my Praktica film camera yet and should probably do so very quickly.  It would be a shame not to after all.  As it stands I have to use an adapter for my Canon and another adapter for my Fuji XT2.  With the crop sensor on the Fuji it magically turns into an 85mm equivalent.

Canon 85mm f1.8

This is the most classic portrait lens and allows me to take a step back compared to using the 50mm.  Again, the bokeh on this lens is lovely and so creamy that it could give a rotund older gentleman a heart attack if it were cake.  But it’s not cake, so everything is fine.  When I’m in the studio I can concentrate on the eyes and by the time the portrait gets to the ears we’re in creamy bokeh territory.

However, some photographers will take this lens into the street for street portraits.  It’s not a huge lens, and thus less creepy, and allows the photographer to take a step back and still feel close to his subject.  This distance between photographer and subject contributes to a more natural interaction between photographer and model, reduces the feeling of being cramped or intrusive, and leads to a more natural interaction, which in turn leads to more natural posing and a more relaxing experience for everyone.

Helios 135mm f2.0

This is the largest of my “everyday” primes and back in 1987 it was in my bag to bring the world even closer than I could with the nifty fifty.  I was a beginner back then.  And didn’t realise the potential of telephoto lenses.  The approach is much the same as for the 85mm but allows even more distance, and is great for those intimate shots that can capture the alluring side look.  In landscape it can help you pick out details in the landscape that you can’t get closer to for practical reasons, and bringst that background that much closer to the foreground.  For those of you who don’t like manual focussing, you might want to give this one a miss.  This was a lens from an age before autofocus came along.   However on my Fujifilm XT2 this transforms into a rather snazzy 200mm lens due to it’s APSC sensor and 1.5 crop factor,  which would be a lot cheaper than a more modern equivalent, and with the focus peaking on mirrorless cameras, this can be a very convincing argument.

Conclusion.

Primes can generally be considered to be a higher quality option.  With their simpler constructions, they can offer sharper images   They generally have larger apertures, allowing for ease of use in lower light, and providing that creamy, sexy bokeh that everyone keeps mentioning.  By adding a limitation to the creative process they can help the photographer become a more deliberate and mindful craftsman, and concentrate more on composition.

However, even though individually lighter than most zooms, their collective mass may be more important if you constantly want to have every single option available in your bag.  You will be changing lenses more often, when having more to choose from.  Never forget that you are the person carrying them around.  So choose carefully, be deliberate, and plan ahead.   The results will be worth it! 

Prime Lenses: Elevating Your Photography Beyond the Basics – Part I


Introduction

This article is a follow on from my last article discussing the various merits of zoom and prime lenses.  Today I’m going to try and give a more indepth look into this world of primes.  The lenses that I will be discussing are my own and I have experience with them.  I will be talking more about how “I” use them and how they affect “my” photography, be that the actual photos or the photographic experience.  All the really techy stuff is available on Google;  I’m trying to give you an idea of the sentiments that I have when using the various lenses.  That said, let’s get into the nitty gritty.  I will go through each lens giving you details on how I use it, how “they” say I should use it, and start from the widest to the longest focal length.  This was turning into a longer article than usual, but since there’s a lot to cover, it will become a two part article.  Again mother, I will be talking shop, so consider yourself warned again… Sounds fair?  Let’s go!

Fisheye lens (TT Artisans 7mm f2.0 manual focus lens)

My fisheye lens (7mm so a 11mm full frame equivalent) is the one I use with my Fujifilm XT2.  It is a super wide lens made by TT Artisans, and its main claim to be included in my collection is that it was affordable.  Or at least affordable compared to some of the lenses out there.  However it doesn’t feel cheap on the camera.  It’s manual focus, but I can focus very closely (minimum focus distance is 0.125 metres) and the whole shot will be sharp.  It’s ultra wide so it gives a great level of distortion, which I love, but others might not.  If you can manage to get your horizon level, then you might not get as much distortion as you could by just raising the view 10° higher than the horizon. I love the effect that I can get from it.  It’s definitely a niche lens, and the price I would have to pay for something similar for my DSLR would be silly money.

16mm f2.0 (Fujifilm brand lens with autofocus 24mm equivalent for full frame lenses)

This was the first lens I bought for my Fujifilm XT2.  This 16mm lens’ full frame equivalent would be 24mm.  Why did I buy it?  Well, I already had a 35mm equivalent lens on my X100F, and thought that the difference between 24mm and 35mm would allow me to go wider and get more into my scene whilst avoiding the distortion of the fisheye lens. A particular outing sticks in my mind and was when I used the lens to take photos of the modern architecture on the Île de Nantes.  The wide angle of view (hence the name wide angle lens) was perfect for this kind of street landscape photography.  Would I use it for close-up portraits?  Only if I want to elongate people when taking a shot from low down on the ground looking up.  Would it be good for classic street photography?  Possibly as a compliment lens to my 35mm equivalent lens on my X100F.  Do I regret acquiring it?  Not at all and I particularly like its wide angle of view.

28mm f2.0 M42 mount lens for the Praktica MTL 3 film camera

I started my photographic journey with this film camera and only bought this lens much later.  I had my 50mm f1.8 (nifty fifty) and this was my first venture into a wider lens.  Could I see a massive difference straight away?  No.  But I no longer felt the need to move further back to get the view I wanted into frame.  Moving back with  a camera on your eye and banging into a building and saying sorry to the building is not the way to go, however British you may be.  The Leica Q (a very sexy little thing) uses this 28mm lens and is aimed at street photographers who have enough money to buy a Leica.  The same goes for the Richo GR II but without the need to sell a kidney.  There is a great debate on the Internet talking about the difference between the 28mm and 35mm lens for street photography, which tries to polarise everyone.  I try to stay as neutral as possible in these kinds of controversies but I do use my 35mm lens more.  Do I still like the 28mm format?  Yes.  Is it very different from the 24mm format?  Not hugely, but I tend to worry less about distortion .  I should probably go out and run a roll of film and see how I feel afterwards.  I remember the need to go in close to avoid capturing too much in the frame with this lens, but that is not a factor that could deter me from using it.

23mm f2.0 (X100F lens equivalent to the 35mm for a full frame camera)

The 35mm lens is the classic for street and documentary photography.  It was the lens used by a majority of newspaper photojournalists in the 1970’s, 1980’s and 1990’s.  This might explain its influence on my own photography.  I remember when the Independent first came out and the high quality of photojournalism.  I think that if Fujifilm decided on the 35mm equivalent for their fixed lens cameras then there’s probably a very good reason for it.  Through my use of the X100F for street and documentary photography I have become very accustomed to the view it gives me of the world.  It’s not just for the street though.  Even as a sole travel lens it allows me to capture details of a trip, as well as wider views to tell my story in more detail. It’s brilliant as a lens for environmental portraits and is wide enough to always give contect in the frame to the main subject.  If you try to do close up photography with portraits you might notice some distortion but if that happens just move ever so slightly backwards, reframe, and the problem should no longer be one.

In my next article, we will go higher up the focal lengths and discuss the narrowing field of view that they offer and explore how they bring the background forwards. As for this article, all the information laid out is equally as valid for film or digital photgraphy.

Prime vs Zoom Lenses: Choosing the Right Lens for Your Photography


Good evening Dear Reader.  We’re back delving  into another series of articles where I will talk shop.  Mother, if that doesn’t interest you then consider yourself warned.  I will, as the title of this article suggests, be talking about the differences between zoom and prime lenses.  I too, many moons ago, was a beginner photographer, and just starting out with a Praktica MTL3, with a 50mm F1.8 lens, and a Helios 135mm F2.8 lens.  An SLR because in 1987 a DSLR did not exist.   This was my first lot of “gear.” That was then and this is now.  2024.  When buying a “starter” camera, “they” will try and flog you, or offer in a bundle what has become known as the ubiquitous “kit lens.”  Otherwise you will be gazing upon a “huge” array of lenses with some “huge” prices to go with them.  This will generally be included in the more “accessible” range of cameras.  It certainly was for my Fuji XT2 18-55mm zoom lens (24-70mm equivalent for full frame sensor).  Don’t get me wrong, I use my 18-55 lens on my Fuji XT2 and like using it.  BUT, when I bought that camera I bought a 24mm equivalent prime lens for it.

This raises the question about what is a prime lens and what is a zoom lens.  A prime lens is a lens that has a fixed focal length.  A zoom lens allows you to vary this focal length and “zoom” in and out.

Advantages of Prime Lenses

Superior Image Quality

You will generally find that you can obtain a “sharper” image with a prime.  Some of the older lenses and ones that we used in film photography are slightly softer, but we were fine about it then, and this quest for modern sharpness seems to have become more important.  In digital photography, this new and thoroughly modern technology will lead to less distortion, and chromatic aberration, which is indeed an aberration where you might get a blueish outline around the subjects in your shots.

Wide Aperture Capabilities

I touched on the concept of aperture in my Photography 101 article.  The aperture is the hole that allows light to expose the film or your camera sensor.  The larger aperture (indcicate by a smaller f number) allows two things.  More light to hit the film, therefore allowing us to shoot in lower light,  and the separation of the subject from the background by getting that “creamy” bokeh beloved by so many of us. 

Compactness and Portability

The “average” prime lens is more “compact” than the average zoom lens.  Effect number one of this is that you can fit more primes into your camera bag and it will probably be lighter.  Think about what I said in my street photography article.  A camera with a smaller lens is also less threatening than having a massive thing thrust in your face.  Being less threatening is always good, and makes the photographic experience more pleasant for everyone.

Creativity and Artistic Expression

When using primes every shot becomes more deliberate.  The choice of which prime to use becomes more important.  You “zoom” with your feet and not with the lens. I have talked about this mindfulness in my photography tutorial series.   

Advantages of Zoom Lenses

First of all we have to talk about what a zoom lens is.  Well, it’s a lens that allows you to zoom.  Sorry about that, I couldn’t help myself. On a more serious note, it is a lens which glides through a series of focal lengths on the same lens.  I have three zooms for my DSLR, a 16-35mm f4, a 24-70mm f4, and a 70-300 f4 – f5.6, and the 18-55mm (24-70 full frame equivalent) kit lens for my Fuji XT2. With three lenses I am covered from 16mm to 300mm, which for me is a big deal.  My 16-35mm has me covered for wide angled vistas of the Place Cambronne in Nantes, and those distorted obligatory bike shots, to general street photography.  My 24-70 f4 even has a macro function offering me even more versatility.  I would class it as my events lens and can double for street photography, and even street portraits.  It’s a veritable work horse of a lens and was what I used when I talked about spring.  My 70-300 lens is for when I can’t get near enough to my subject without spooking it, be that my children messing around next to the river, or taking shots of cormorants sunbathing on the river Erdre in Nantes.

Convenience and Ease of Use

In my previous paragraph I talked about the different focal lengths that I have with each zoom lens.  At the moment in my camera bag I have my Fuji X100F and its 35mm equivalent f2 lens and my Canon 6D Mark II and my 24-70mm f4 lens.  It means carrying less equipment and being prepared for a variety of shots when on the streets or taking photos for my work.  It also provides for less “faffing about” which is something I love to avoid in general, unless I am prepared mentally and ready for it.

All-in-one Solution

Instead of having a different lens for each situation, I have a solution in my bag that allows me to adapt.  Why buy three lenses when I can have a multitude of possibilities with just one lens?  They might seem expensive, but when you are not a professional, cost is something that has to be taken into account, otherwise you have to be very good at communication with your spouse justifying all these purchases.  Happy wife, Happy life.  Happy Husband, we’ll see about that!

Image Stabilisation

In the last paragraph, I talked about stable marital life, and on my zooms I have image stabilisation, which will allow me a more stable shooting of an image.  In the Photography 101 article I talked about having an exposition of nothing lower than the focal length.  IE with a 50mm lens I should not shoot lower than a 50th of a second to avoid camera shake and therefore a sharper image.  This stabilisation offers me about 4 stops extra to play with, be that having a longer shutter speed, or having a larger aperture and therefore getting more in focus in my image.  

Conclusion

I have talked about how this photography lark is all about give and take.  This is so true in the exposition triangle where everything is a question of balance, but also true in the case of lens choice.  Some will be more expensive but give you more control, and others will offer you more ease of use and versatility. You are the one who ultimately has to decide on what camera gear you need (more than want).  What is most important to you?  How will the lens help you?  What is your budget?  

When all these questions are answered honestly then you will be well on the way to having the kit you need, to do the type of photography that you want to do.  

What would I advise a novice for their first acquisition?  I would say the nifty fifty.  The 50mm is closest to what the eye sees.  This prime generally offers an opening of F1.8 which gives you that sexy bokeh.  

Ultimately the choice is yours alone.  But this simple guide may help you reflect and question yourself and allow you to make a deliberate well thought out decision.  The most important thing is to get out there with your camera, start making memories and training that beautiful eye of yours!