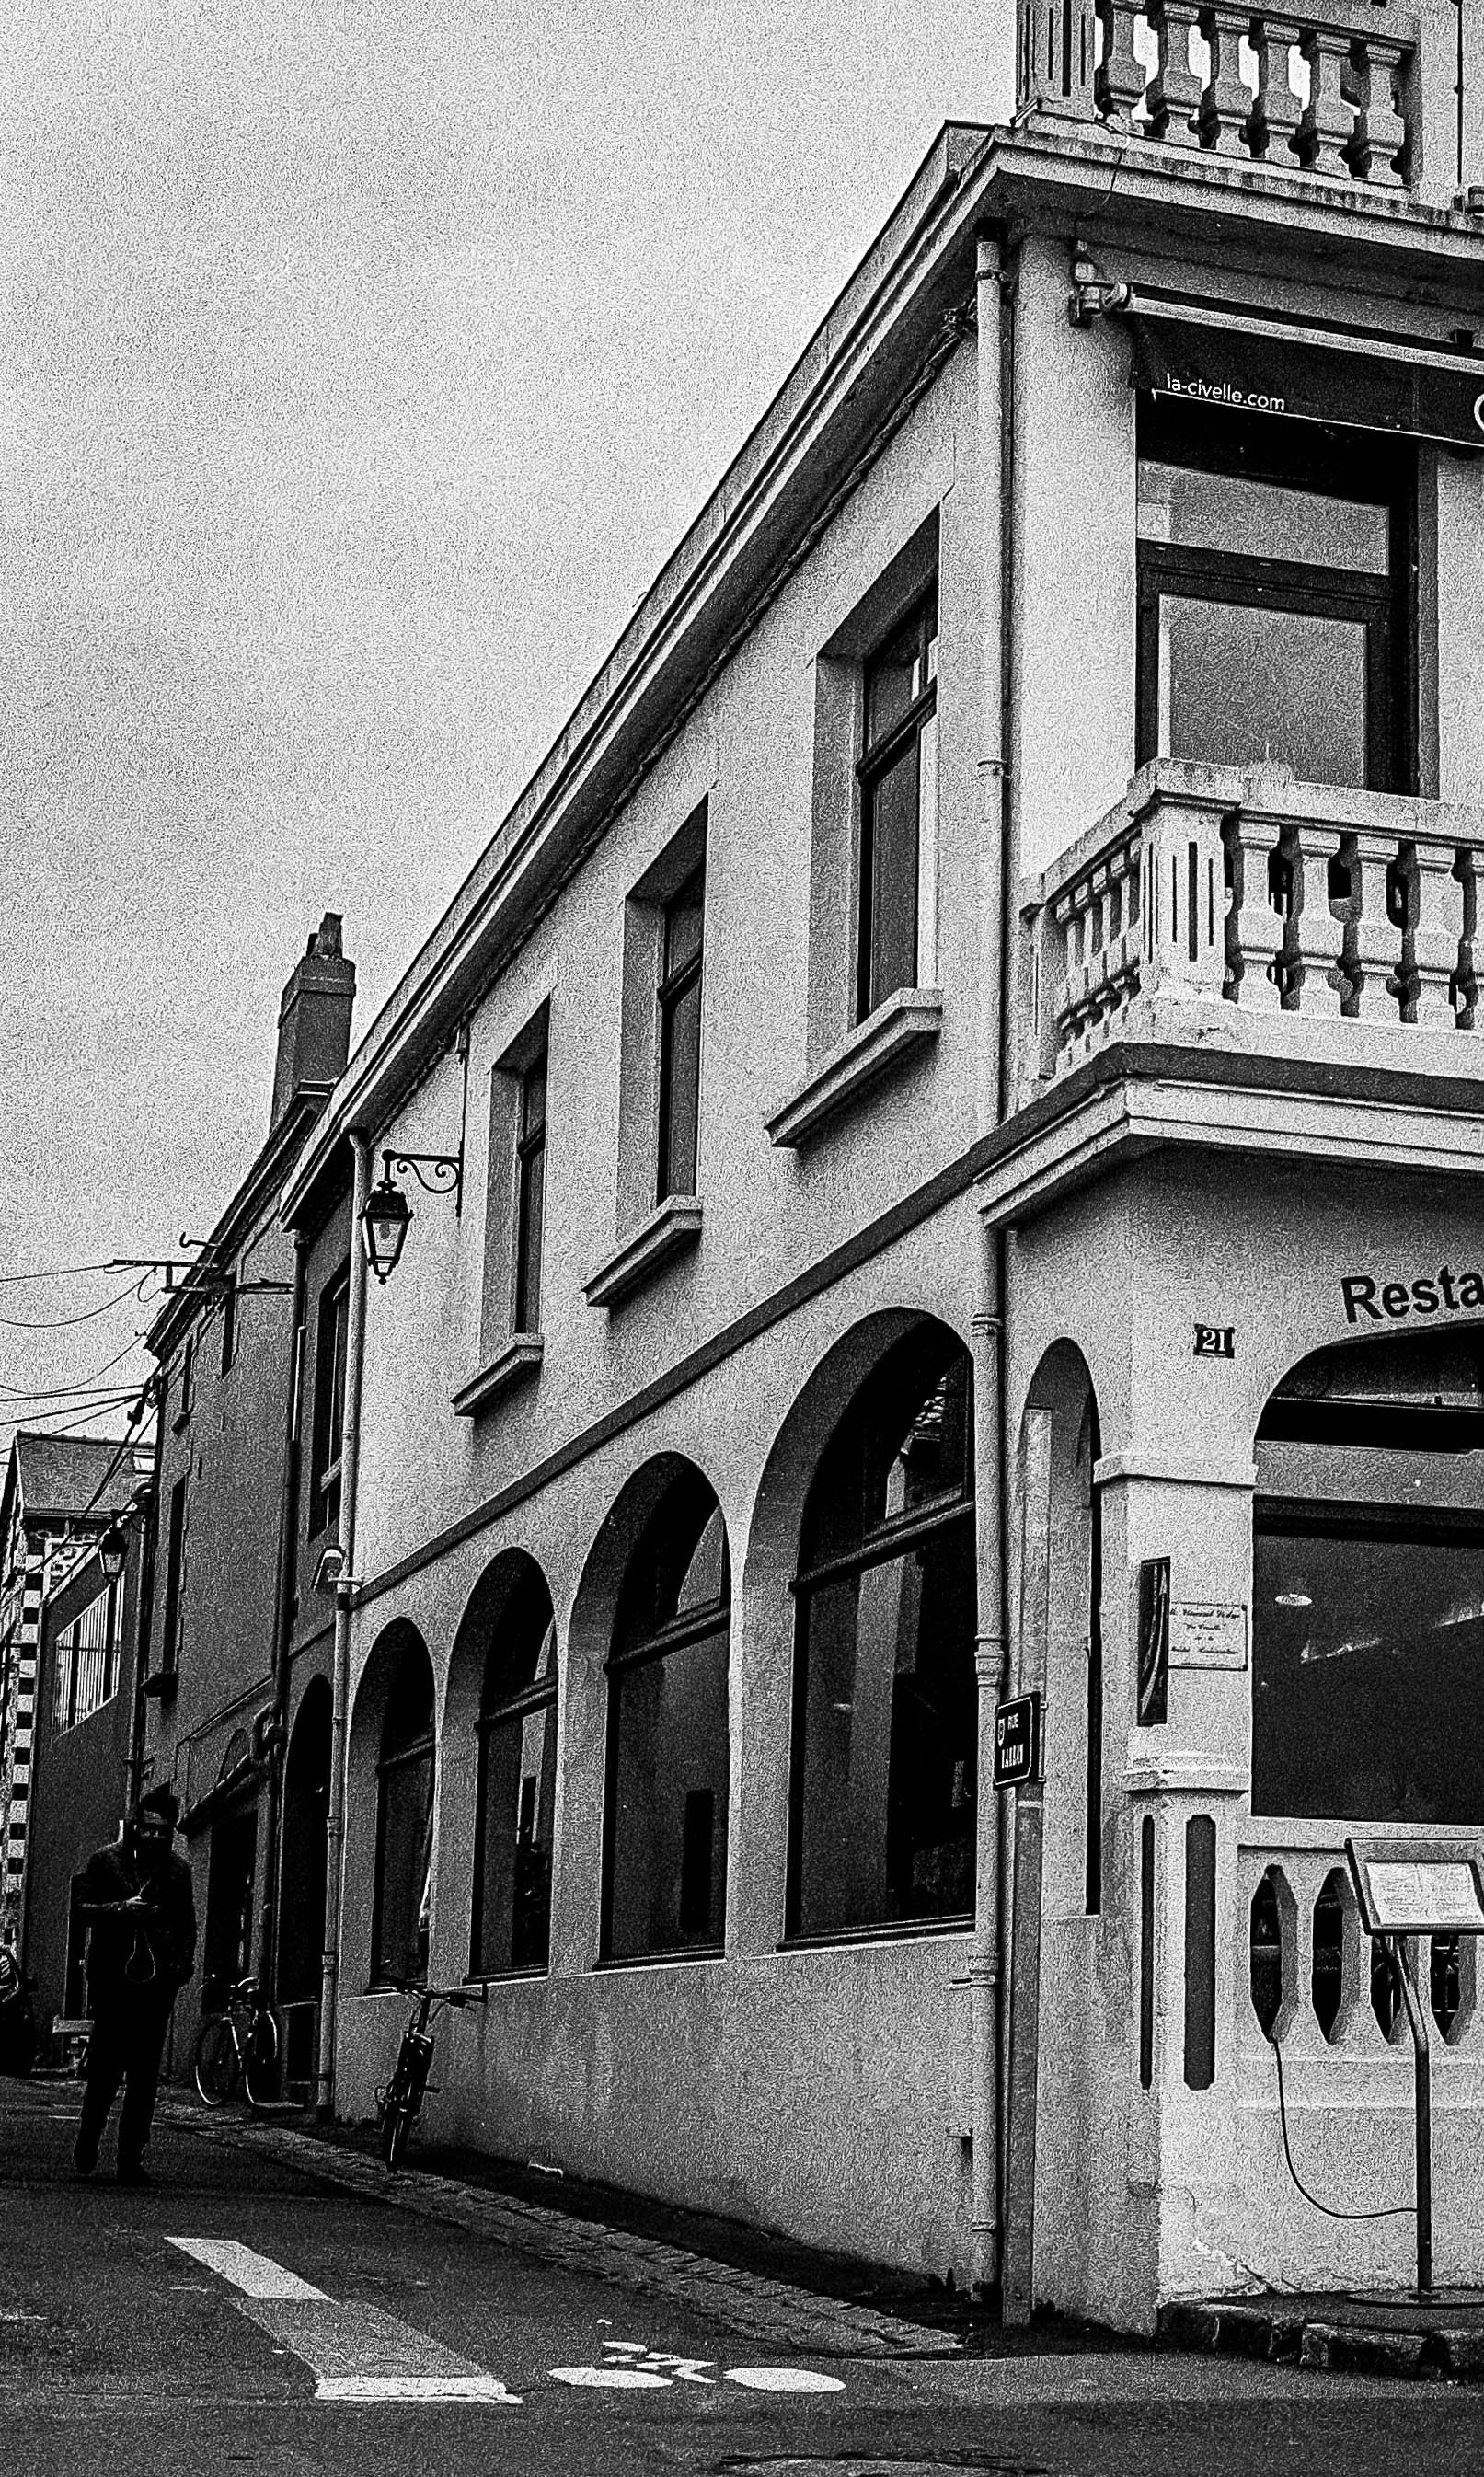
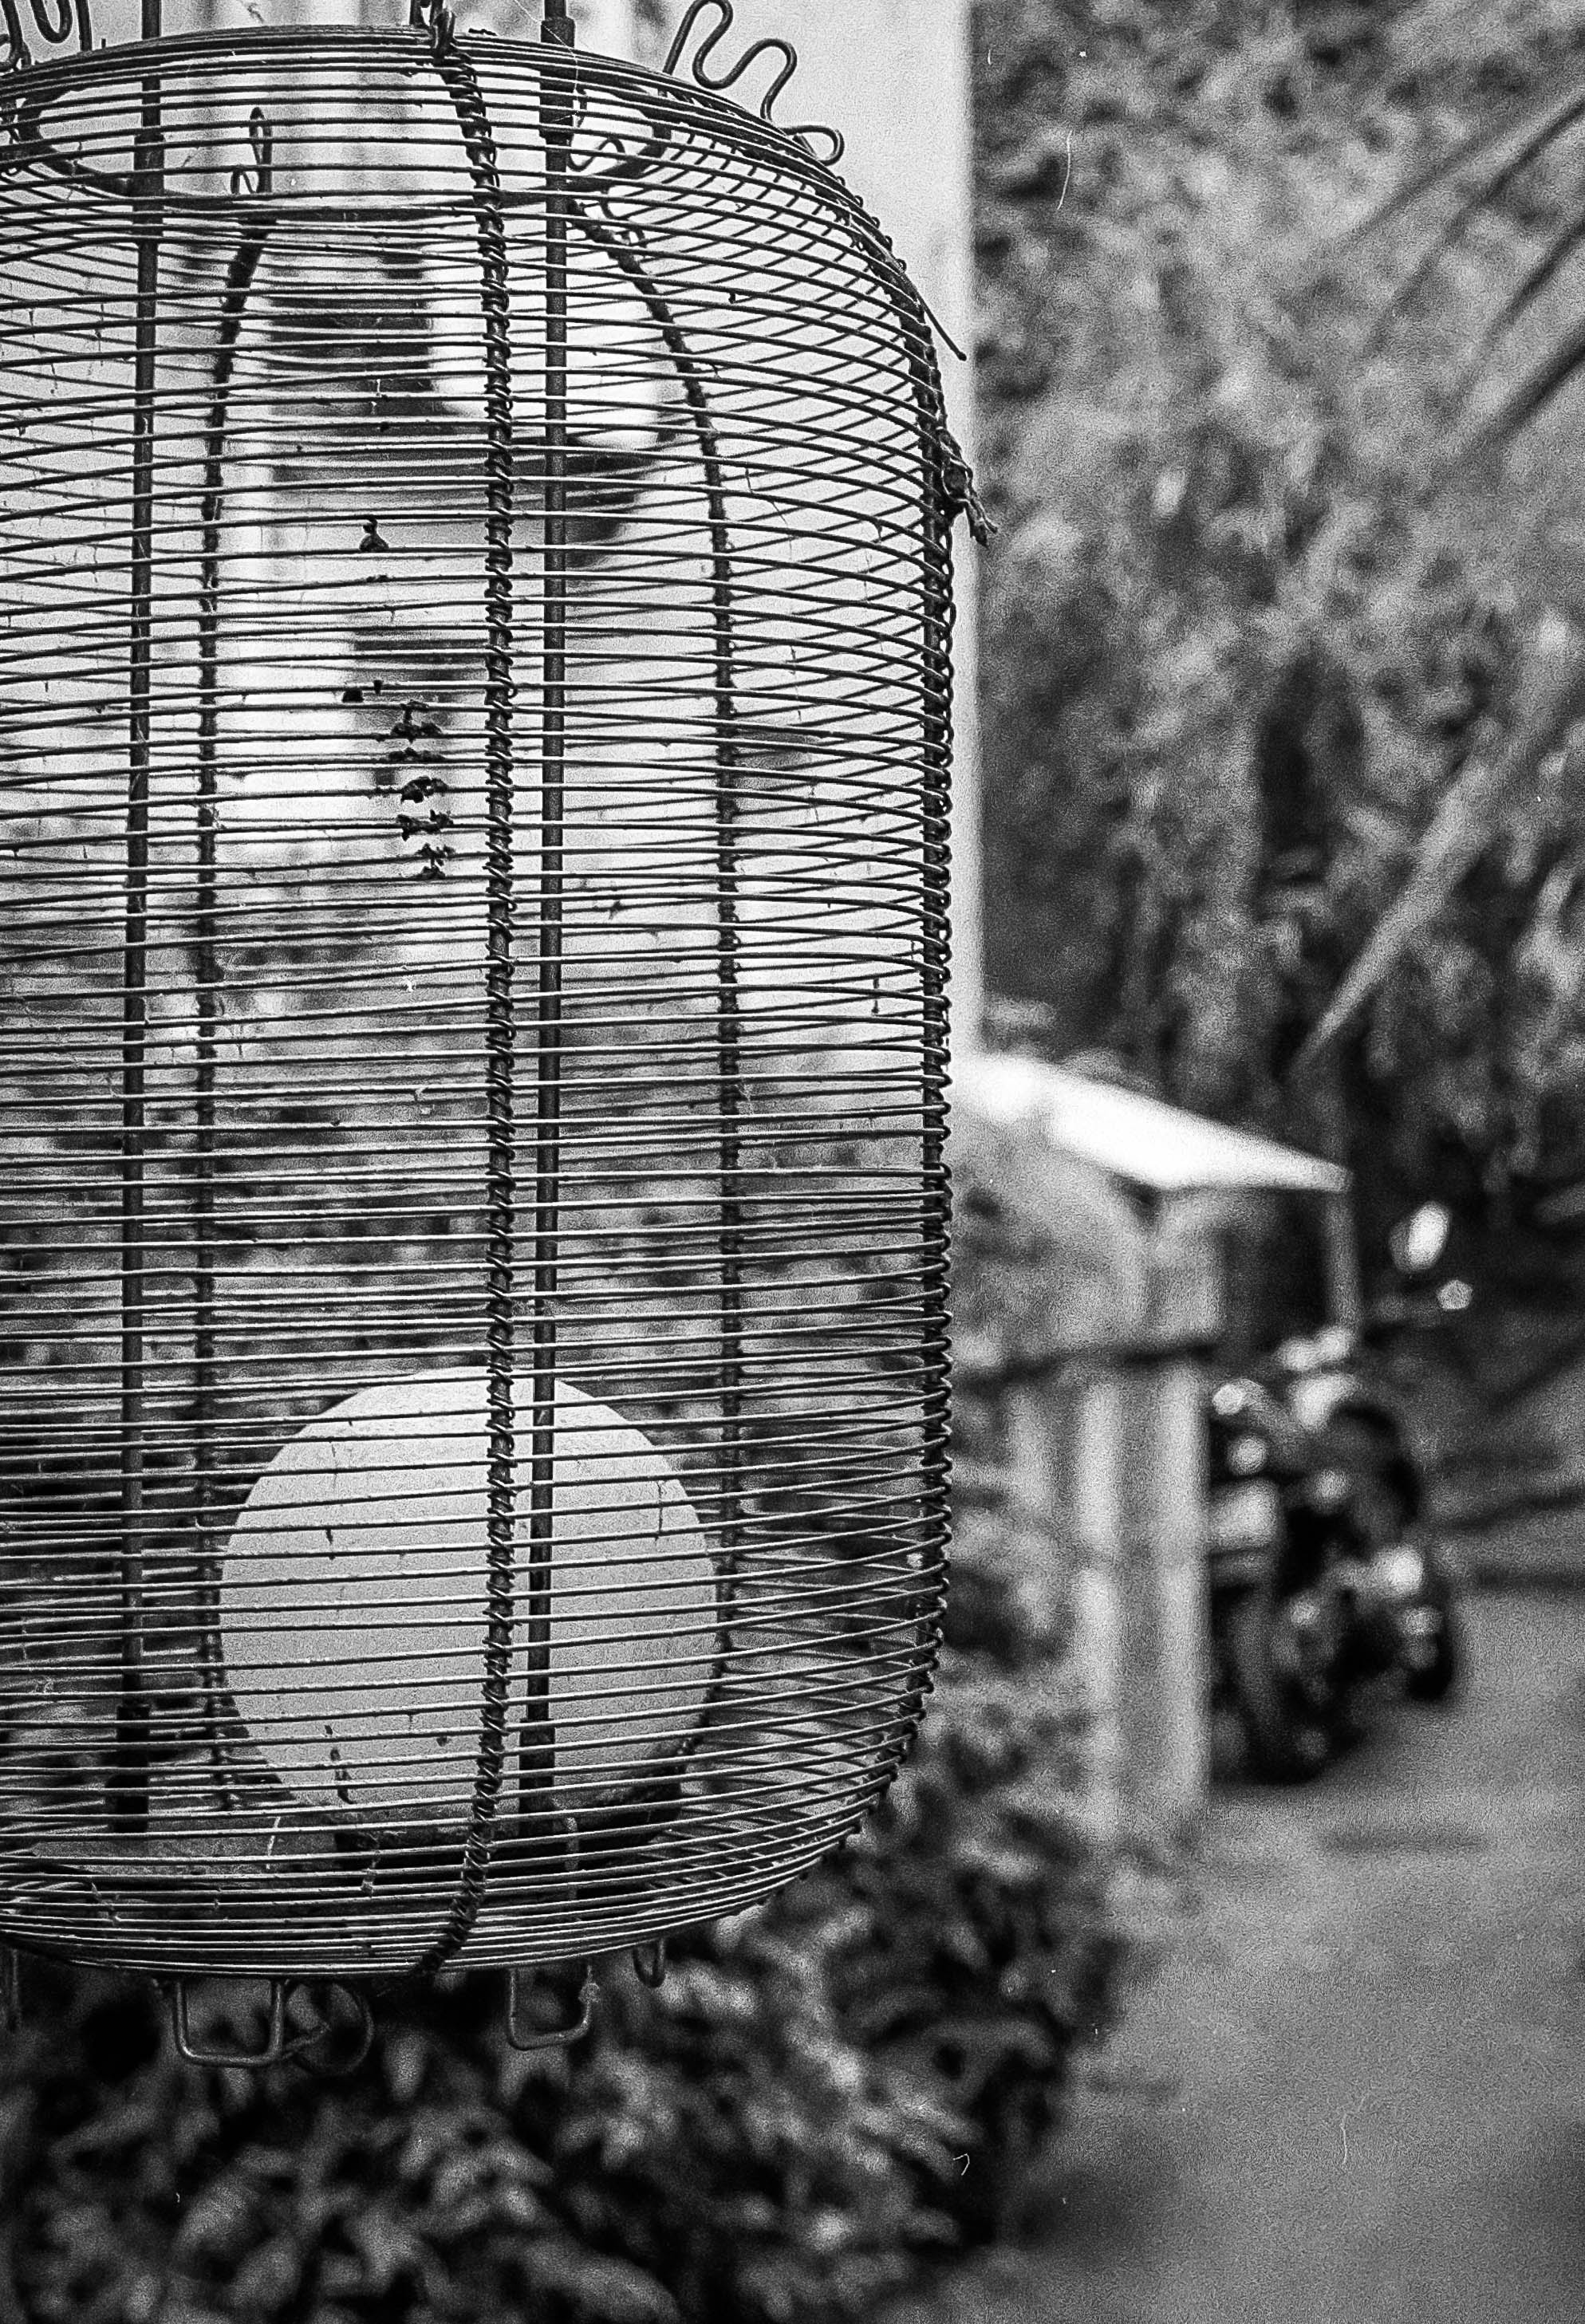
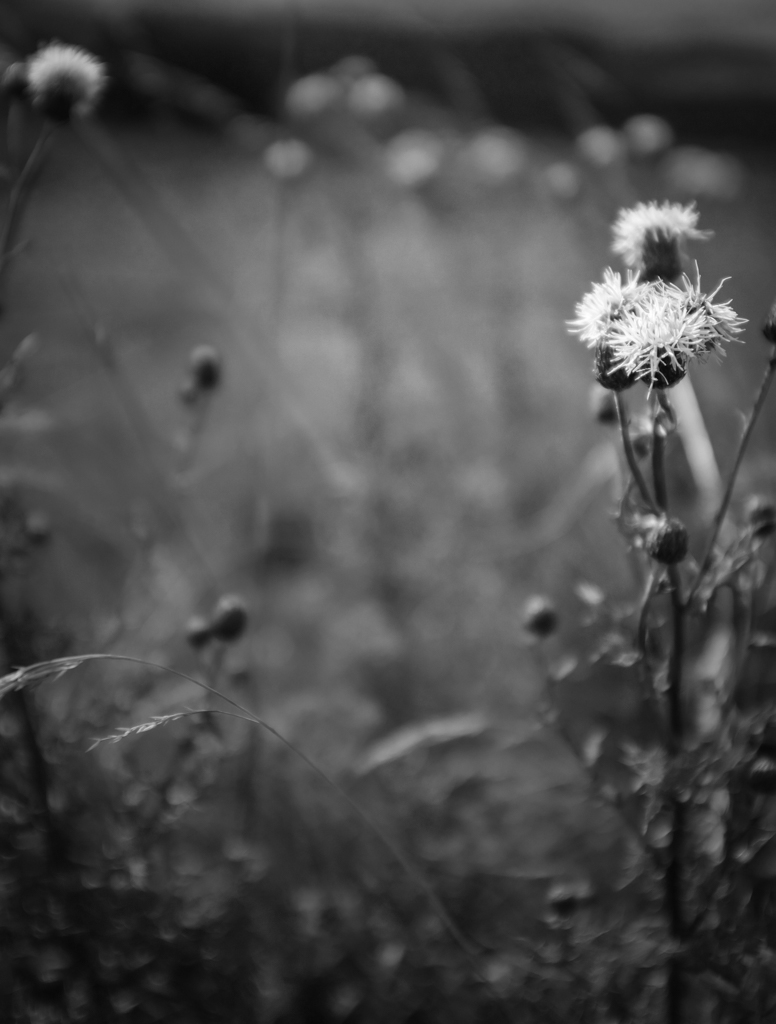
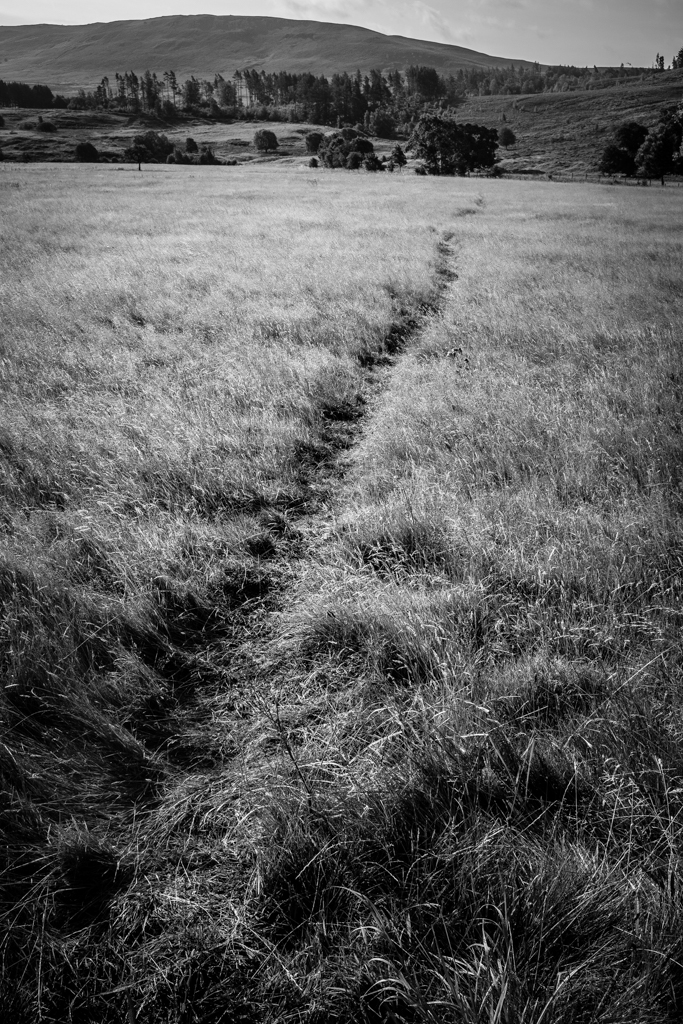
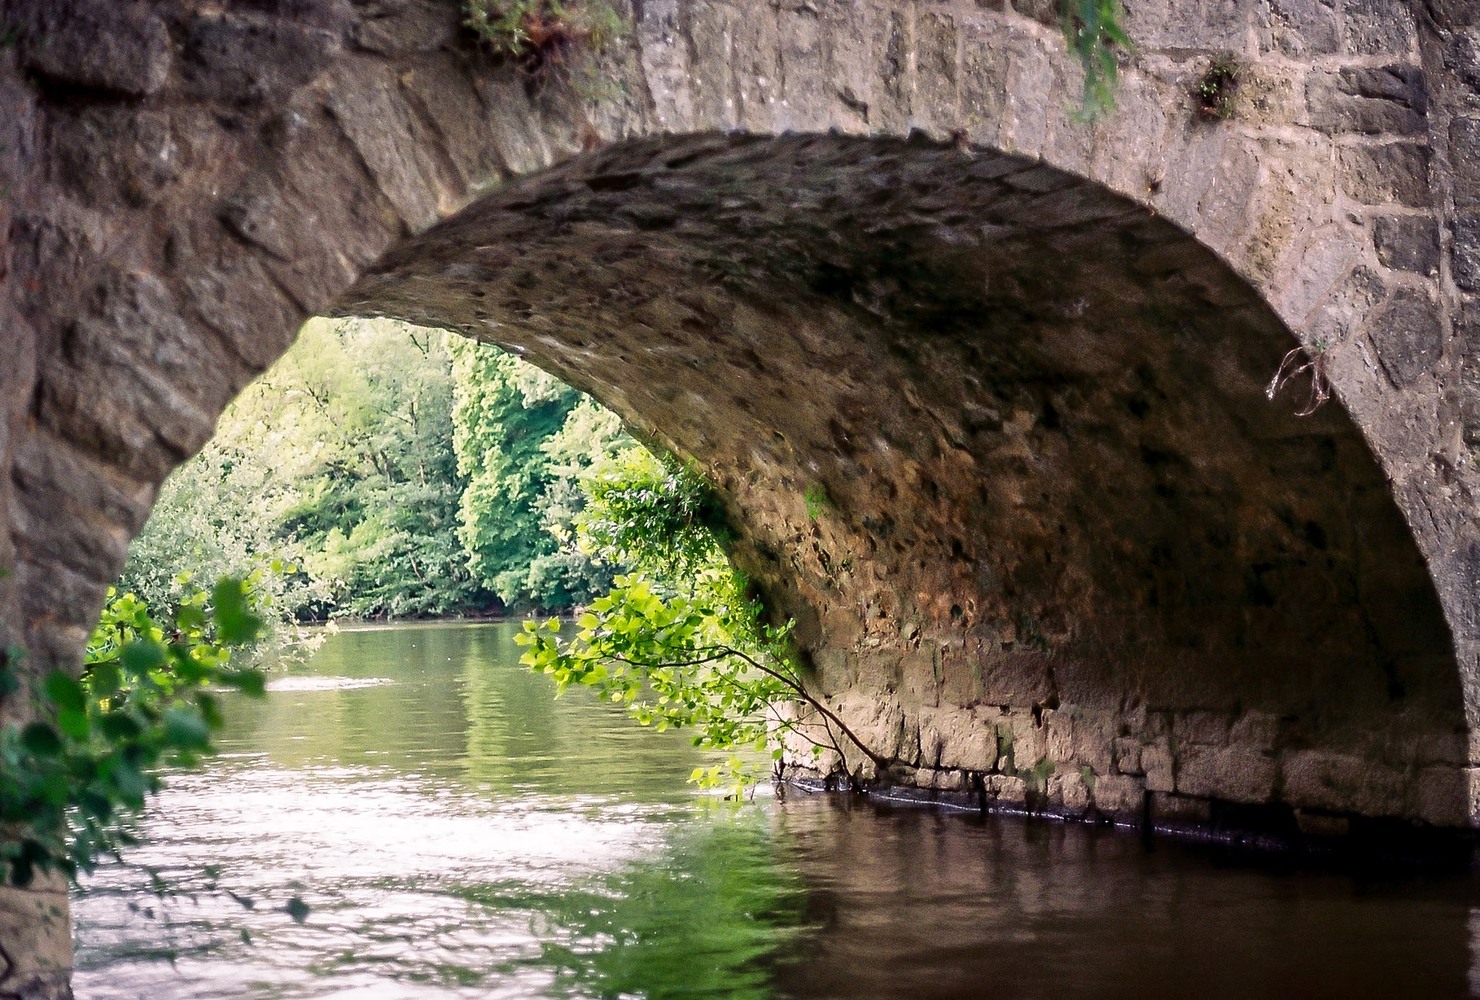
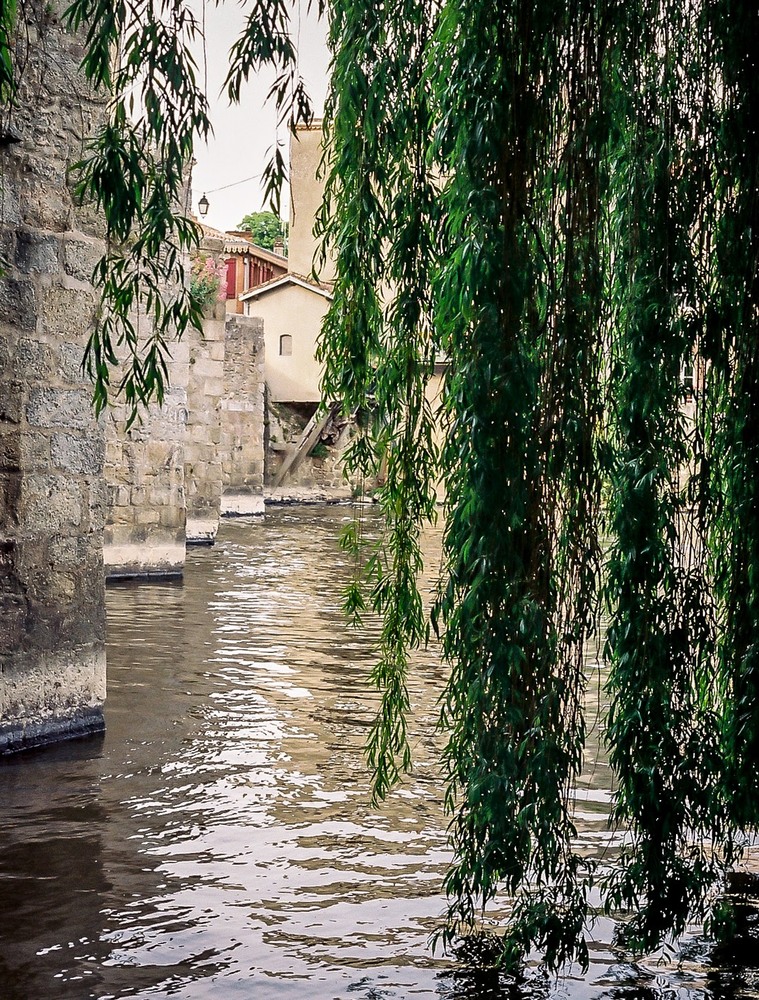
This was another Ian and Kate day. Similar in concept to the Ian and Killian day, but a day where I can dedicate myself solely to Kate. She’s fifteen now of course, but I should spend more time with her. If she’ll let me of course. At the time she was only seven—simpler times where I could make her happy with just a nice tea, a boat trip across the river, and just wandering around exploring the intricate streets of an old fishing village on the “bords de Loire.” There are no cars in the narrow streets, and the children can run wild.
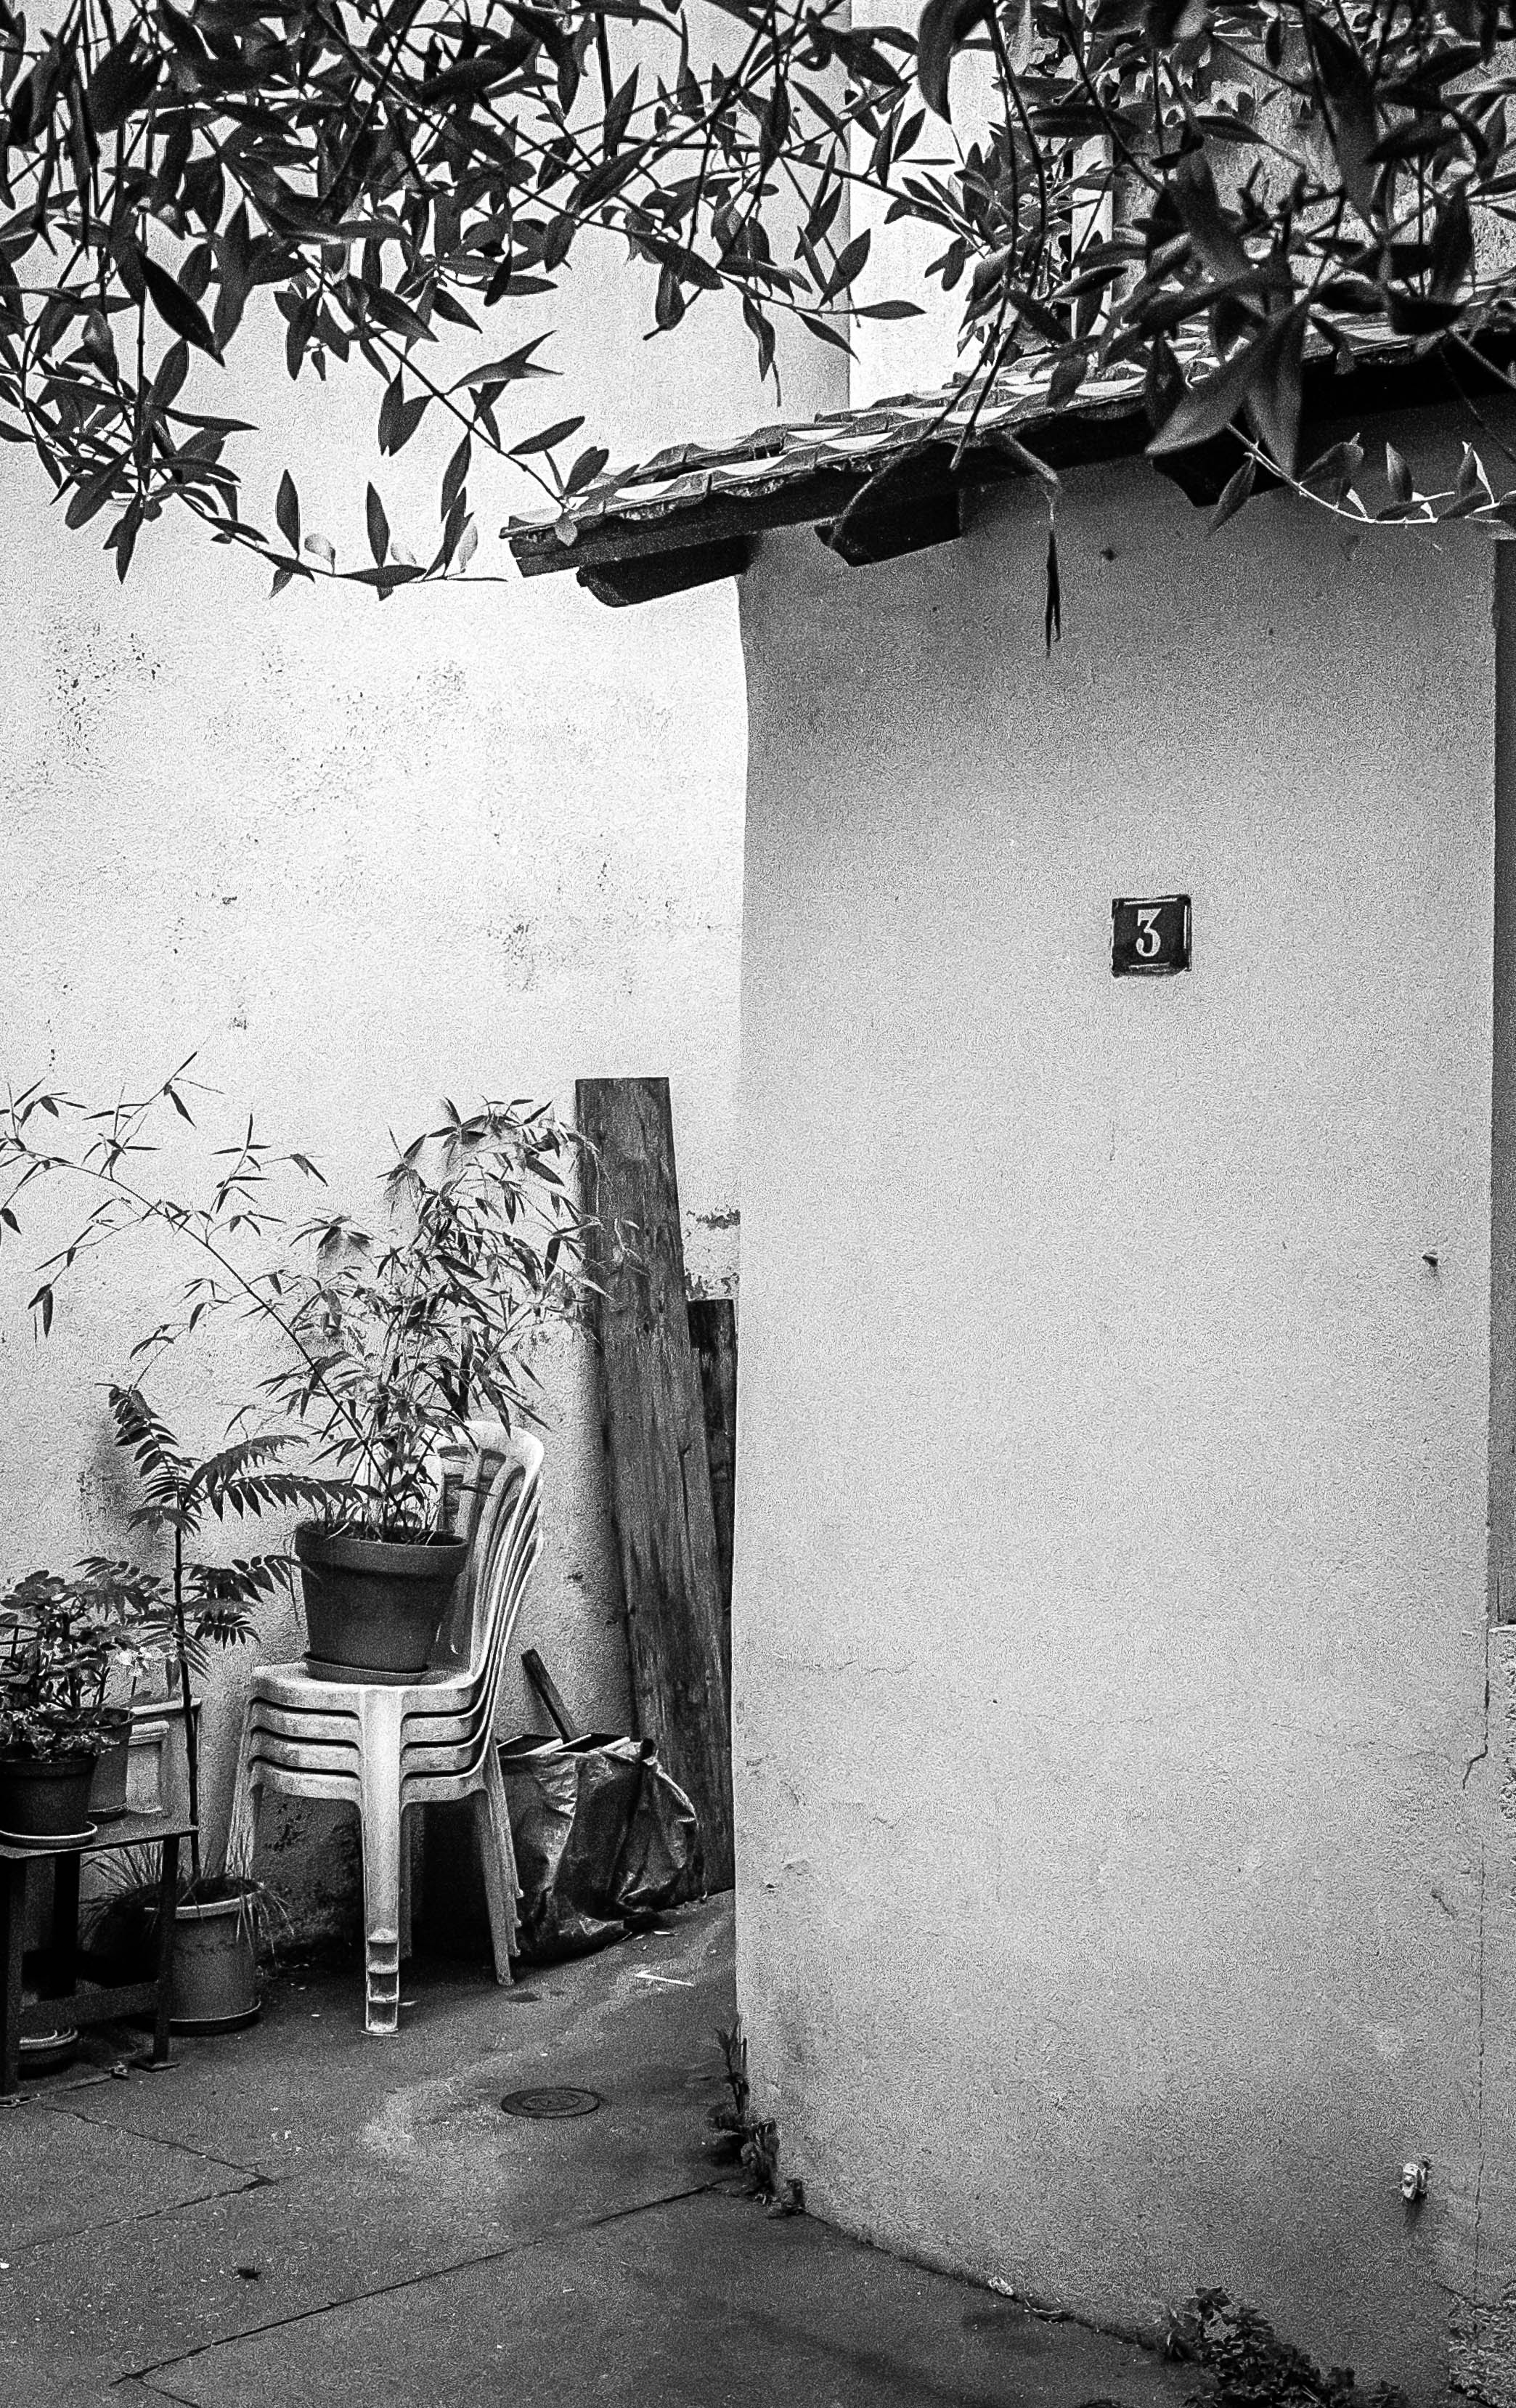
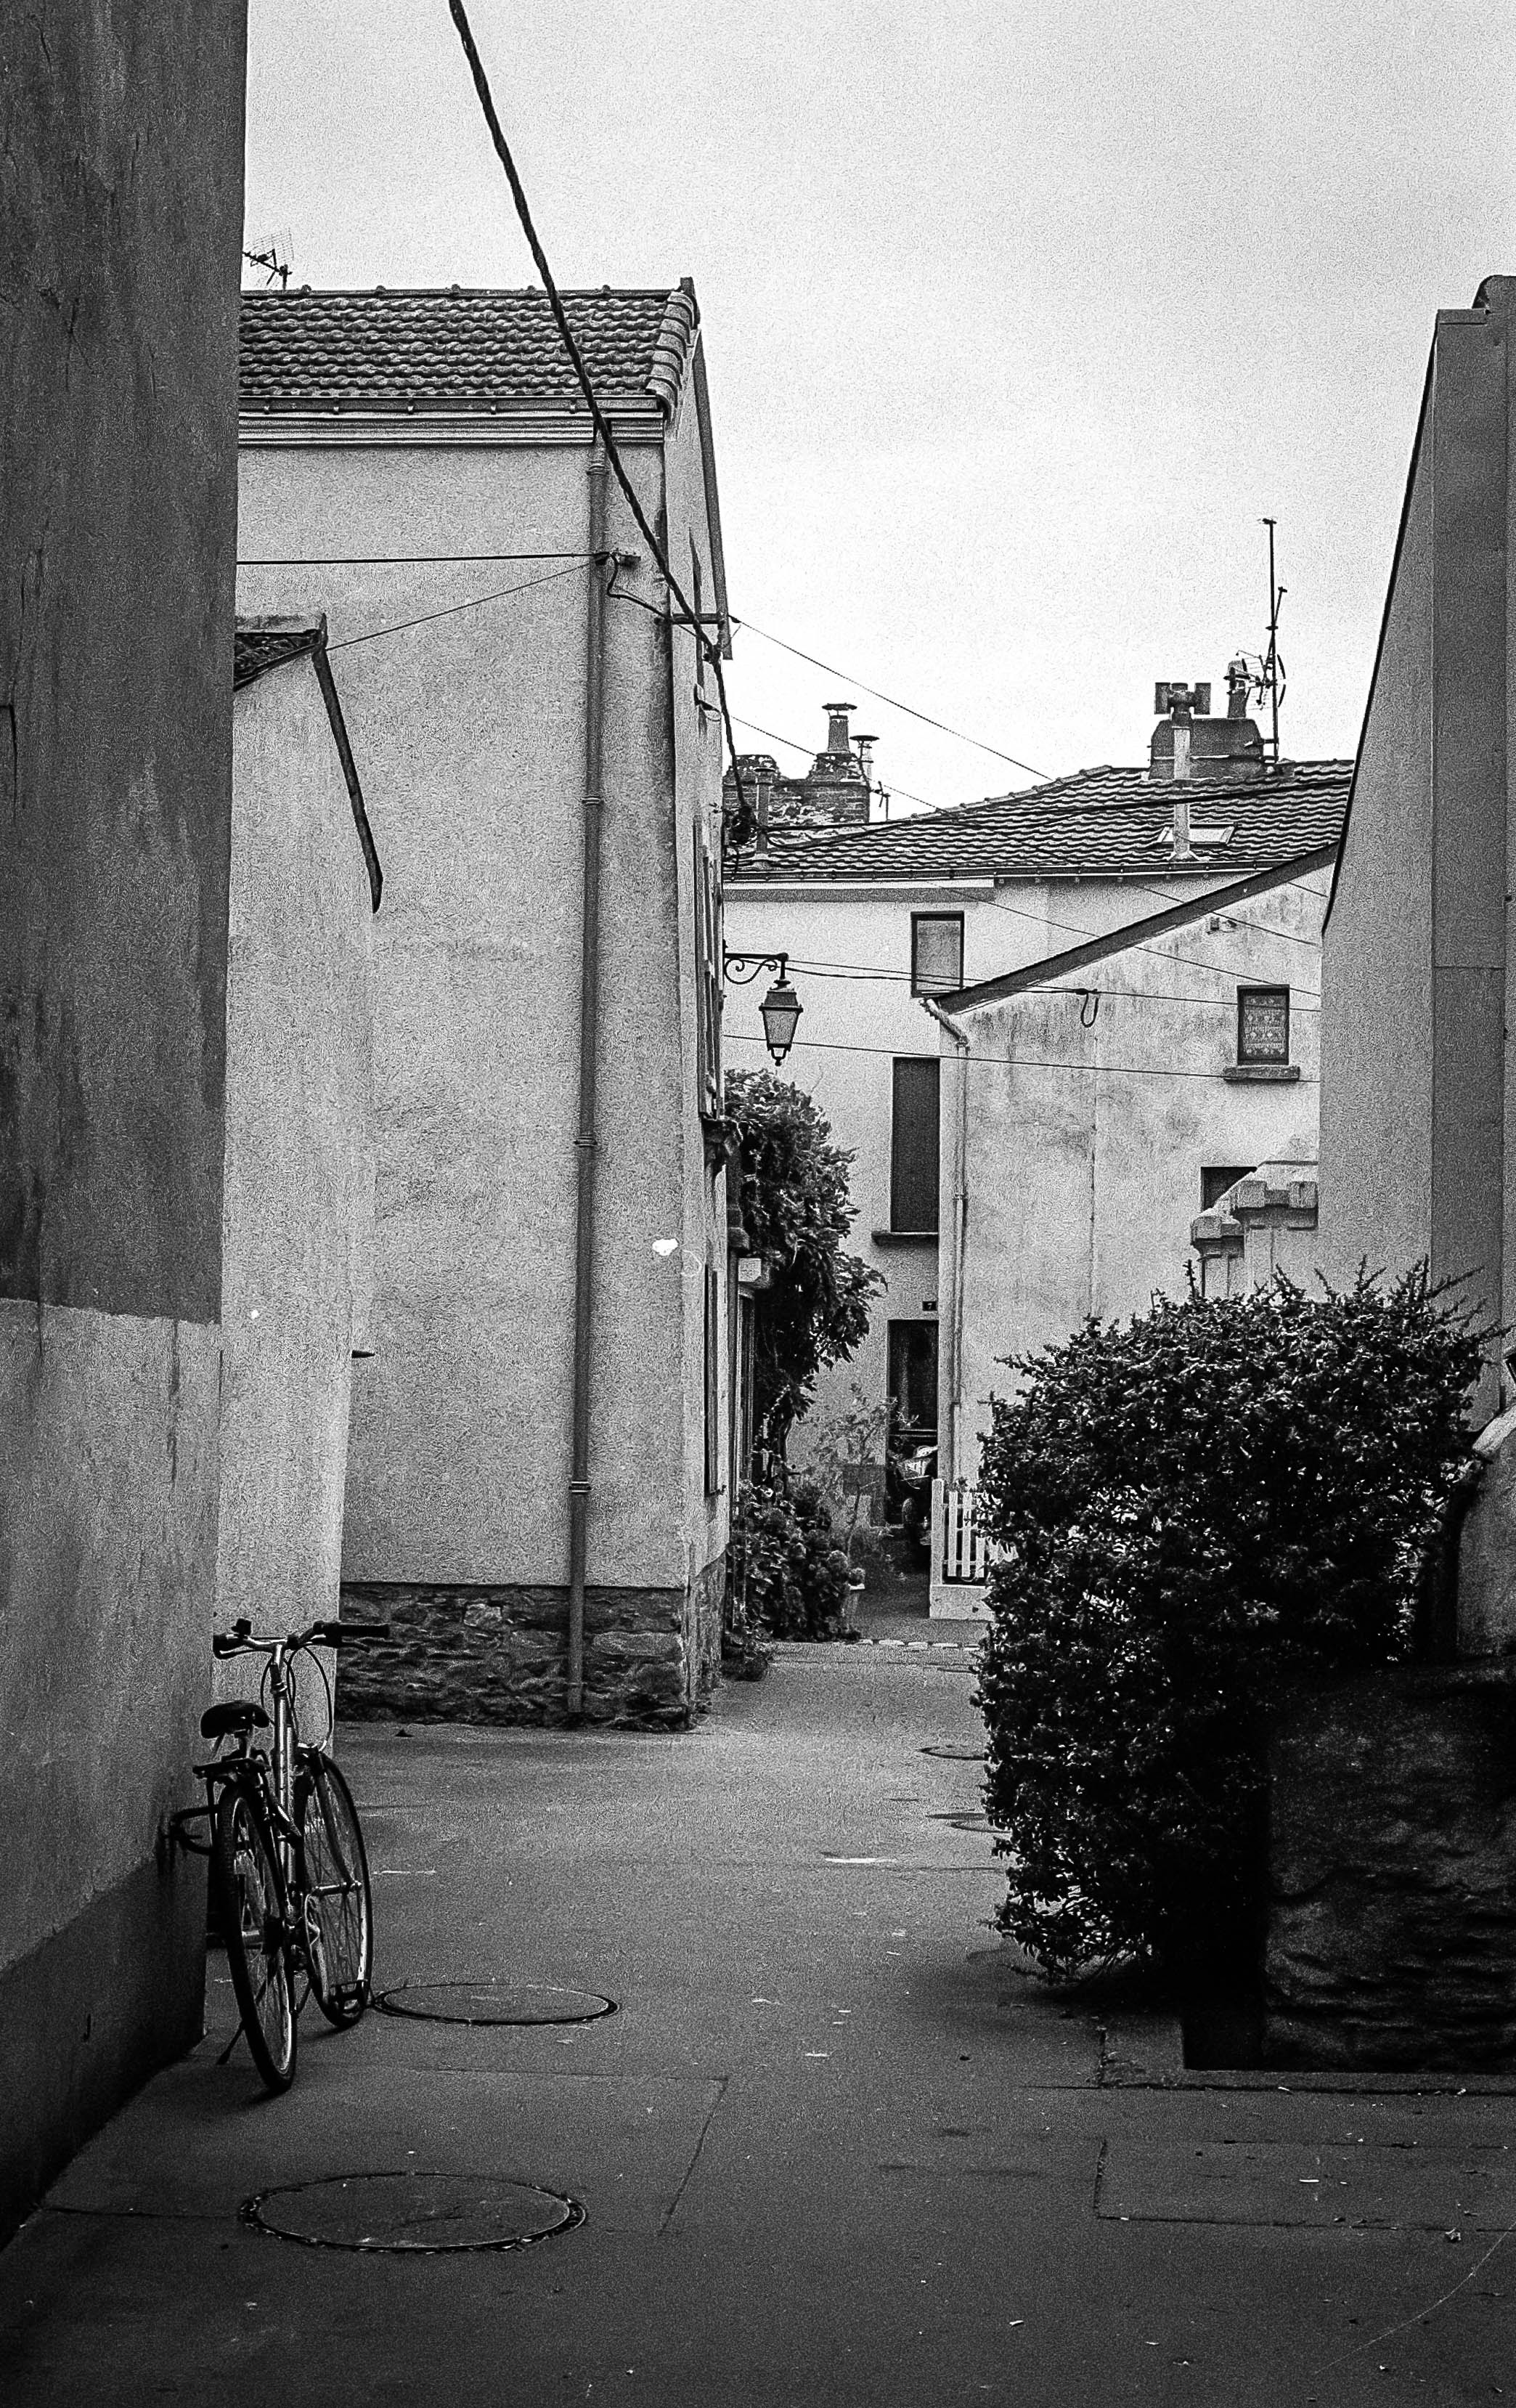
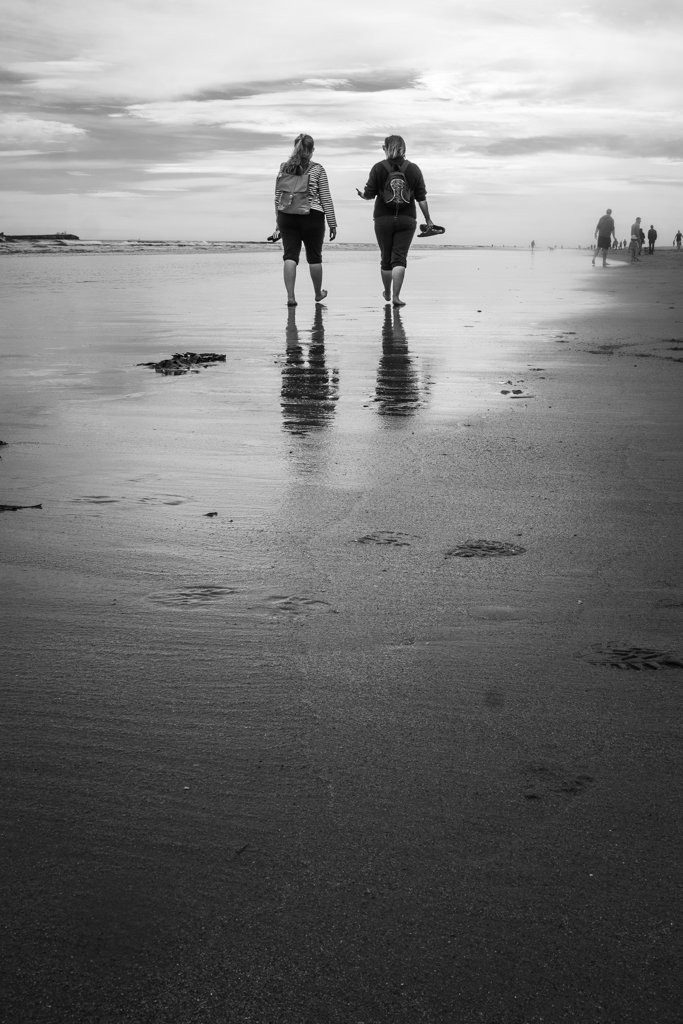
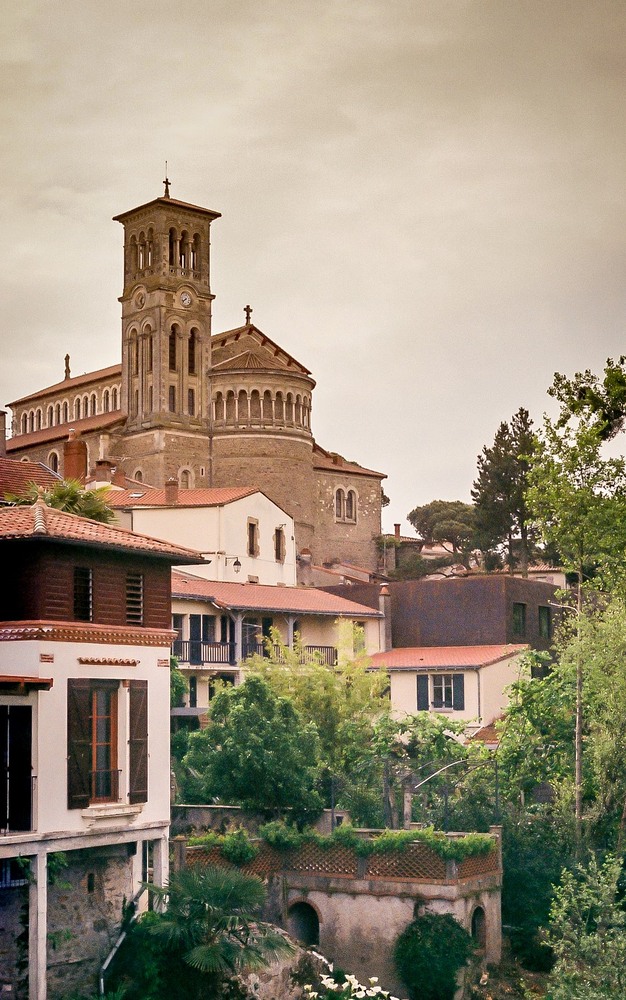
This day was one spent in Trentemoult, that rather colourful village that you can see here. The colours are intense and provide a great backdrop for portrait photography. So of course I went in with a film camera and black and white film. Which only goes to show that when you photograph a location, however colourful, and take away the distraction of that colour, you have to really concentrate on composition, texture, and forms. I couldn’t rely on colour for my photos today. But I was sure that I could reveal some good photos despite that.
So what do you do? You just try and capture some moments of your daughter messing around and being a perfectly normal seven year old. I tried to capture her exploring the streets and being absorbed by the whole ambiance of the place. She became part of the scenery, and blended in perfectly.
I was just there purely to observe and record the day on film, with one eye in my camera and the other on Kate. It was a good day.
Looking back at those moments reminds me of how quickly time seems to slip by without me realising that I am getting older. She of course is slightly older, and possibly slightly less “insouciante” or carefree, but my love for that girl is still as strong as ever.
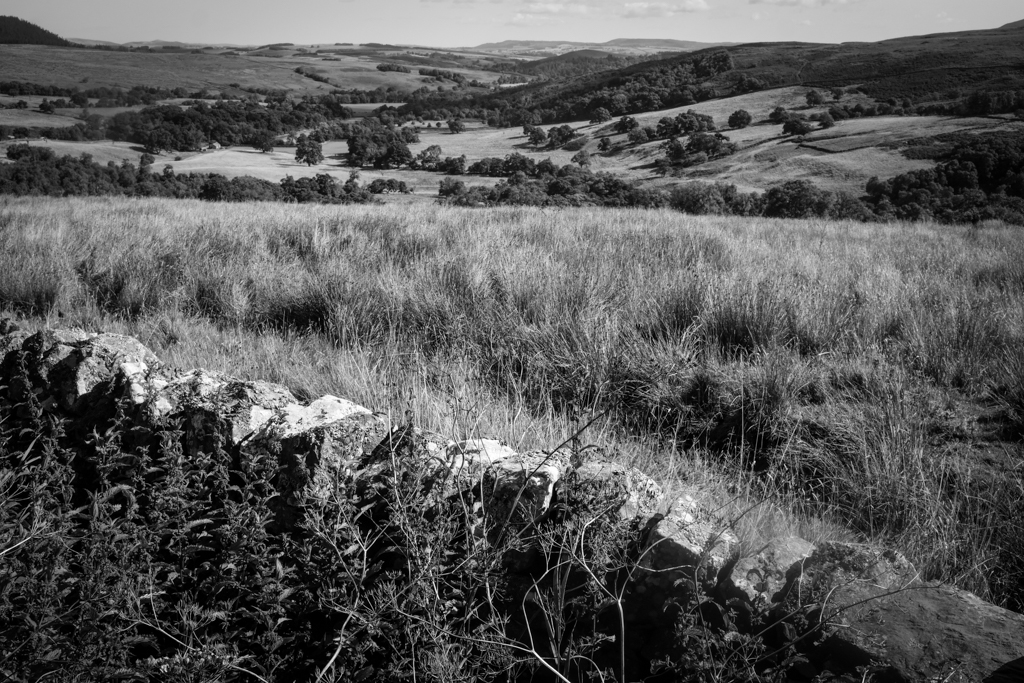
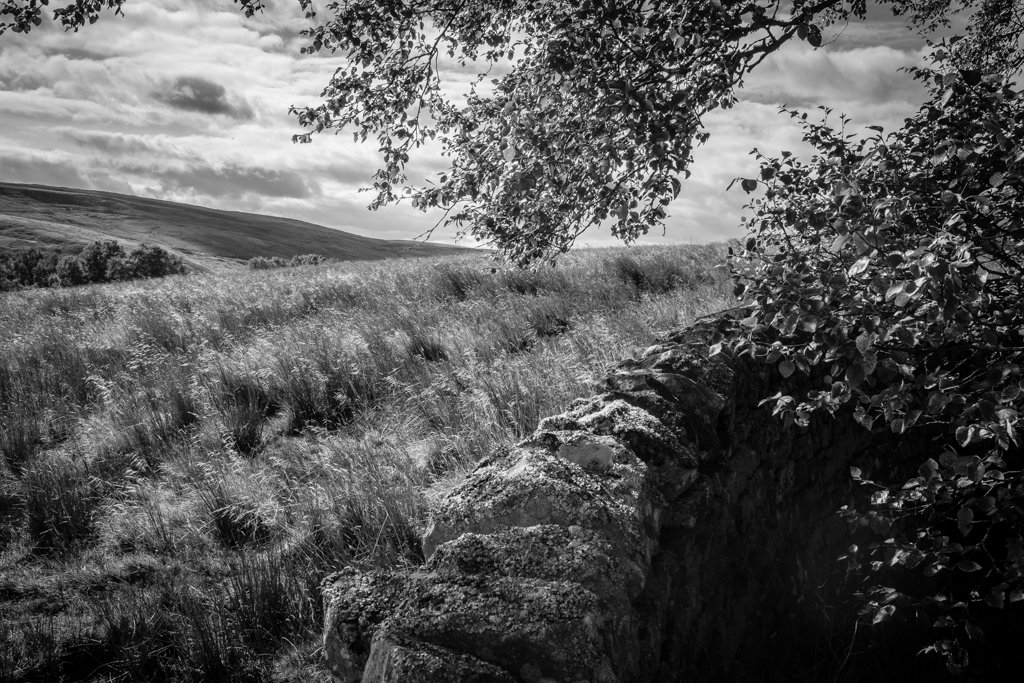
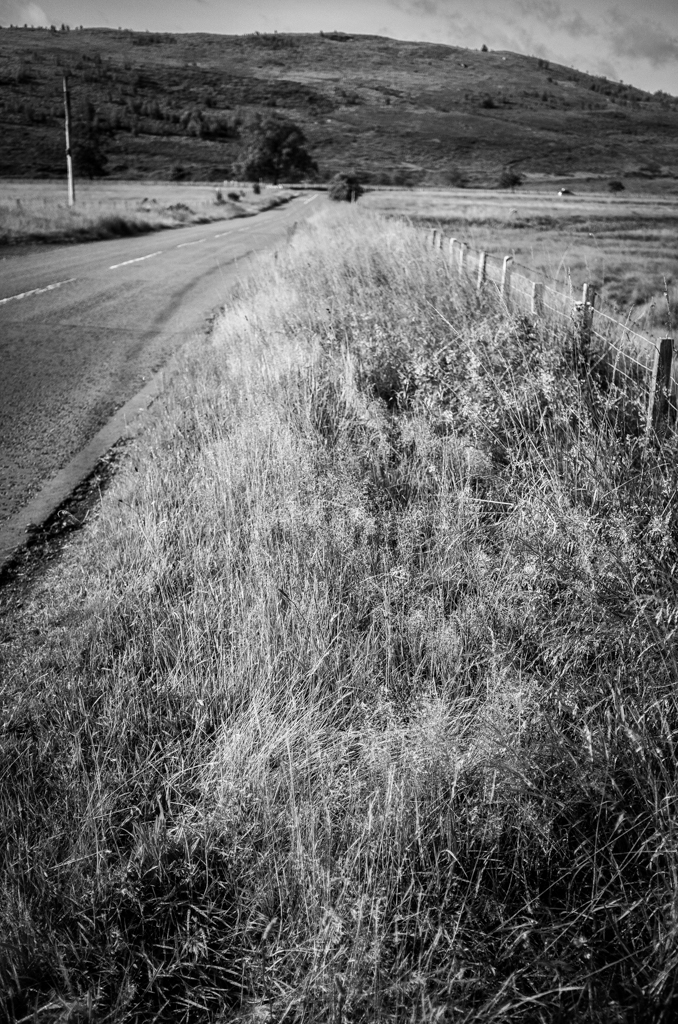
My usual approach to black and white photography is to shoot directly in black and white, either using black and white film or the Acros film simulation with my X100F. When using the X100F on this UK trip, my EVF displayed the black and white shot using Acros with a red filter—my go-to simulation. This method puts me in a black-and-white “frame of mind” from the outset.
However, this time I decided to break from my usual practice and experiment. I did something I normally advise against—starting with the intention to create color images and only considering black and white later. I chose the Classic Chrome film simulation instead of Acros, focusing on capturing the vibrant colors of the Northumbrian countryside. It was all about breaking free from my black-and-white routine. Both color and black-and-white photography have their place, but for this trip, I wanted to prioritize one over the other. Still, wouldn’t it be intriguing to compare both approaches?
Back in France, as I prepared the images for my black-and-white Instagram feed, I began to wonder if some of the colorful shots might also work in black and white. Initially hesitant—given my emphasis on shooting with intention and purpose—I decided to embrace the experiment. I was breaking one of my own rules, yet the idea intrigued me.
Reviewing the color shots, I considered which might translate well into black and white. I look for images with texture and varying tones rather than just color. My composition is usually solid since I’ve already edited my color images, including reframing and straightening as needed. With digital RAW files, converting to black and white and producing different versions is straightforward. As they say, the goal is to produce images that reflect how they made you feel, not just how you saw them. This is why I convert my images to black and white—they capture more of the emotional essence.
Opening Adobe Lightroom on my PC, I saw the familiar images on my screen. My editing approach may seem finicky, but it’s effective. While the simplest way to convert an image to black and white is to slide the “saturation” slider to the left, this often results in a flat, lifeless image. Instead, I use a more nuanced approach to control various color tones in the black-and-white image. This technique helps preserve depth and character, ensuring that each image maintains its visual impact even without color.
Here’s how I approach black-and-white conversion in Lightroom:
Black and White Profile: Sets the overall tone and mood of the image.
Clarity: Enhances texture and detail for a more dynamic appearance.
Contrast: Adjusts the range between light and dark areas, adding visual interest.
Color Sliders: Modifies the luminance of specific colors to bring out different tones in the black-and-white image.
Highlight Tool: Adds subtle vignetting and balances highlights for a polished finish.
So, why convert to black and white after shooting in color? For me, it offers a classic, timeless aesthetic, and challenges me to create a “better” image by focusing on composition and texture without the distraction of color. This approach pushes me to craft photographs that rely on fundamental elements, enhancing their overall impact.
Impact is at the heart of photography. While I cherish the colors of the Northumbrian countryside and am eager to learn how to use color more effectively, I also deeply value the strengths of black-and-white photography. It’s about transcending color to create images that resonate through composition and texture.
But there’s something more personal about these black-and-white conversions. Perhaps it’s because I broke my own rules this time around, allowing color to take center stage and letting the black-and-white images emerge later. These images weren’t planned with black and white in mind—yet, despite that, or perhaps because of it, they feel even more special to me. Sometimes, going against what you think you know leads to unexpected results. And, in this case, those results resonate even more deeply.
Isn’t impact what we strive for in our photography? Don’t get me wrong—I love the colors of the Northumbrian countryside and am on a quest to learn how to use color more effectively. But I do believe in the strength of the fundamentals offered by black-and-white photography. Sometimes, breaking your own routine brings surprising rewards.
Is film photography too expensive? Think again! Many assume that shooting film is a hobby reserved for the wealthy, but it doesn’t have to be. With the right approach, you can enjoy the unique aesthetic and creative process of film photography without breaking the bank. In this article, I’ll share my personal experiences and tips for saving money on film, developing, and gear, proving that the joy of film is accessible to everyone.
Often, even the tiniest things can spark a desire to write. In the infamous world of internet comment sections, people can have different opinions—a good thing, as it makes us reflect on our own positions. It challenges our perceived wisdom and questions us in ways that can be disarming. What’s obvious to me might not be to someone else.
I was talking to an Australian lady, likely of my generation since our photography journeys started the same way—with film. Except this lady has gone fully digital, keeping her film cameras as a reminder of her film days being over. Less hassle, less expense, less stress, and less “faffing about,” she said.
At first, I was taken aback. I love the film aesthetic in my photography. I like the predictability of film grain, as opposed to digital noise. But most of all, I’m in love with the process. I love the slower pace of film photography—none of this “spray and pray” nonsense. I appreciate how I become more mindful when shooting film, as each shot counts. I like the way an old film camera looks around my neck. And as the internet meme says, “I know about photography. I’ve been initiated into the exclusive circle of purists.”
The lady talked about the prohibitive prices of film and labs, which, let’s be honest, is a valid point.
Costs of Digital vs. Film Photography
I’ll talk about my kit and initial outlays compared to my film expenses. I bought my latest two digital cameras in late 2017 and 2018. My X100F cost around €1400, and my Canon 6D Mark II around €1200. I spent about €300 on a teleconverter for the X100F, and I probably have about €2500 worth of kit for the Canon, including speedlites, lenses, and filters. Then there’s the Fujifilm XT2, bought second hand for €400, with a couple of lenses totaling around €500.
This kit, though older, works well and is largely sufficient for my needs. As mentioned in my article “I Want It, But Do I Need It?”, I’d like a Leica, but do I need one? Would I refuse one if someone gave me one? Heck no! You can see the results throughout this site, and the images are great.
Let’s move on to film. Yes, if you love that Kodak Portra look, you’ll be spending a pretty penny. I have a certain nostalgia for the days when the prices hadn’t doubled. But—and this is important—not all film photography has to be done using Kodak Portra. There are more accessible films, especially black and white, that cost less. A roll of Fomapan 100 costs me around €5.50. So for less than the price of a pint of Guinness, I can get 36 shots. For a little more, I can go with Kentmere or even Ilford black and white film. I still have one roll of Portra left and a pack of five Tri-X medium format rolls.
Developing at Home
Ah, but then you have to send them to a lab to be developed. Again, a valid point. The cost for developing colour film where I go is less than €7 per film. I’ll share a little secret: I invested in a kit to develop my films at home. It cost about €140 initially, but now all I worry about is buying the chemistry. Yes, €30 for a developer seems steep, but I can develop 16 to 24 films with a bottle, depending on the dilution. I also invested €250 in a film scanner to produce digital files for editing.
Collecting Film Cameras
You might have noticed that I’ve talked about film but not film cameras. I started collecting a while back before hipsters raised the prices in the secondhand market. The most I paid for a film camera was just over €100, and the cheapest was €15. These film cameras are generally solid, and the lenses are great. The technology, though a little less modern (understatement of the year!), still works, and older cameras don’t even need batteries. And even those that do, the batteries last for ages. None of this “Do I have spare batteries for the X100F?” nonsense.
Each shot is taken on a brand new “sensor,” compared to shots on a digital sensor. And less dirt gets onto this sensor.
The Joy of Film
Don’t get me wrong, I love digital photography for its convenience and spontaneity. I can see my images right away and get instant feedback and gratification. With film, that gratification isn’t instant. You have to be patient and wait, but for people of my generation, that might be infuriating, it’s something we grew up with and accepted. I continue to accept it.
I enjoy using a machine sometimes older than me, knowing the image quality will be there. I know that with a certain film, I’ll get a certain result. I like the slower pace. If you visit the Film Photography page or the Film Archive page, you can decide for yourself if it’s worth the hassle, the expense, the stress, and the “faffing about.” I think it is, and I maintain that film has as much a place in photography as it ever did.
The Future of Film
Does film have a future? I think it does. Leica has relaunched the M6, Pentax has the new Pentax 17, and Kodak has the Kodak Ektar H35. The disposable cameras of yesteryear are still being produced and it has become the fashion to us them at weddings for that affordable yet classic look of film. Film photography continues to be popular with Gen Z and millennials. Case in point: my 25-year-old son nicked one of my Kodak Retinette 1B’s and a roll of film. I suspect my daughter might have her eye on one of my film cameras, too.
One thought came to mind whilst answering one of comments with the person saying that they “will never go back.” I am old enough to remember when microwaves fist came out. They were sold to us as being thoroughly modern and machines that could do everything so quickly and conveniently. Except they couldn’t. For certain tasks on the kitchen they are wonderful and far exceed the way we “used” to cook. But they can’t do everything. They have their place in the kitchen. And will always will do. But a slowly simmered boeuf bourguignon that infuses its odours through the kitchen will always have a special place in my heart. Much like using film to capture my images…
Welcome back to the film archives. Today I’m going to share some photos of the first reel from my “new” Canon AE1. Well, not new, but certainly new to me. The Canon AE1s were produced between 1976 and 1984. It is one of those iconic cameras and at the time I must have paid about 50€. When I say iconic, I really mean iconic. It is a shutter speed priority camera using Canon’s FD lenses. I used it an awful lot that summer. I liked it so much that I even bought a second one that I ended up giving to a photographer friend.
Colour
To some people of my generation they represent their first cameras, and were so popular. Talking of popular, the photographs from this part of the archive are from the very popular and photogenic town, Clisson. Also you will have noticed that the photos are in colour. Which only goes to show that not all film photography is black and white photography.
Clisson, as you can see in the photos, is one of those beautiful French villages that oozes Gallic charm. It also exudes a certain Italian charm, and is known for its Italian style architecture.
Canon AE1
I have both a Canon AE1 and AEI Program. The AE1 is the big brother of the AE1 Program, and doesn’t have a program mode, but as you can see from the photos it still works a treat.
Feature
Canon AE-1
Canon AE-1 Program
Differences
Release Year
1976
1981
AE-1 Program released 5 years after AE-1
Exposure Modes
Shutter Priority AE
Shutter Priority AE, Program AE
Program AE added to AE-1 Program
Metering
Center-weighted Average
Center-weighted Average
No difference
Shutter Speeds
2s – 1/1000s
2s – 1/1000s
No difference
Viewfinder Display
LEDs
LEDs
No difference
Film Speed Setting
Manual
Manual
No difference
Self-timer
Yes
Yes
No difference
Depth of Field Preview
Yes
Yes
No difference
Motor Drive Compatibility
Yes
Yes
No difference
Other Notes
First Canon SLR with microprocessor; revolutionary for its time
Simplified controls for easier use; appealed to wider audience
AE-1 Program aimed at beginners and enthusiasts
As you can see there’s not a huge differece between the two. The major difference being the Program option, and the other allowing for easier changing of the ASA film sensitivity setting.
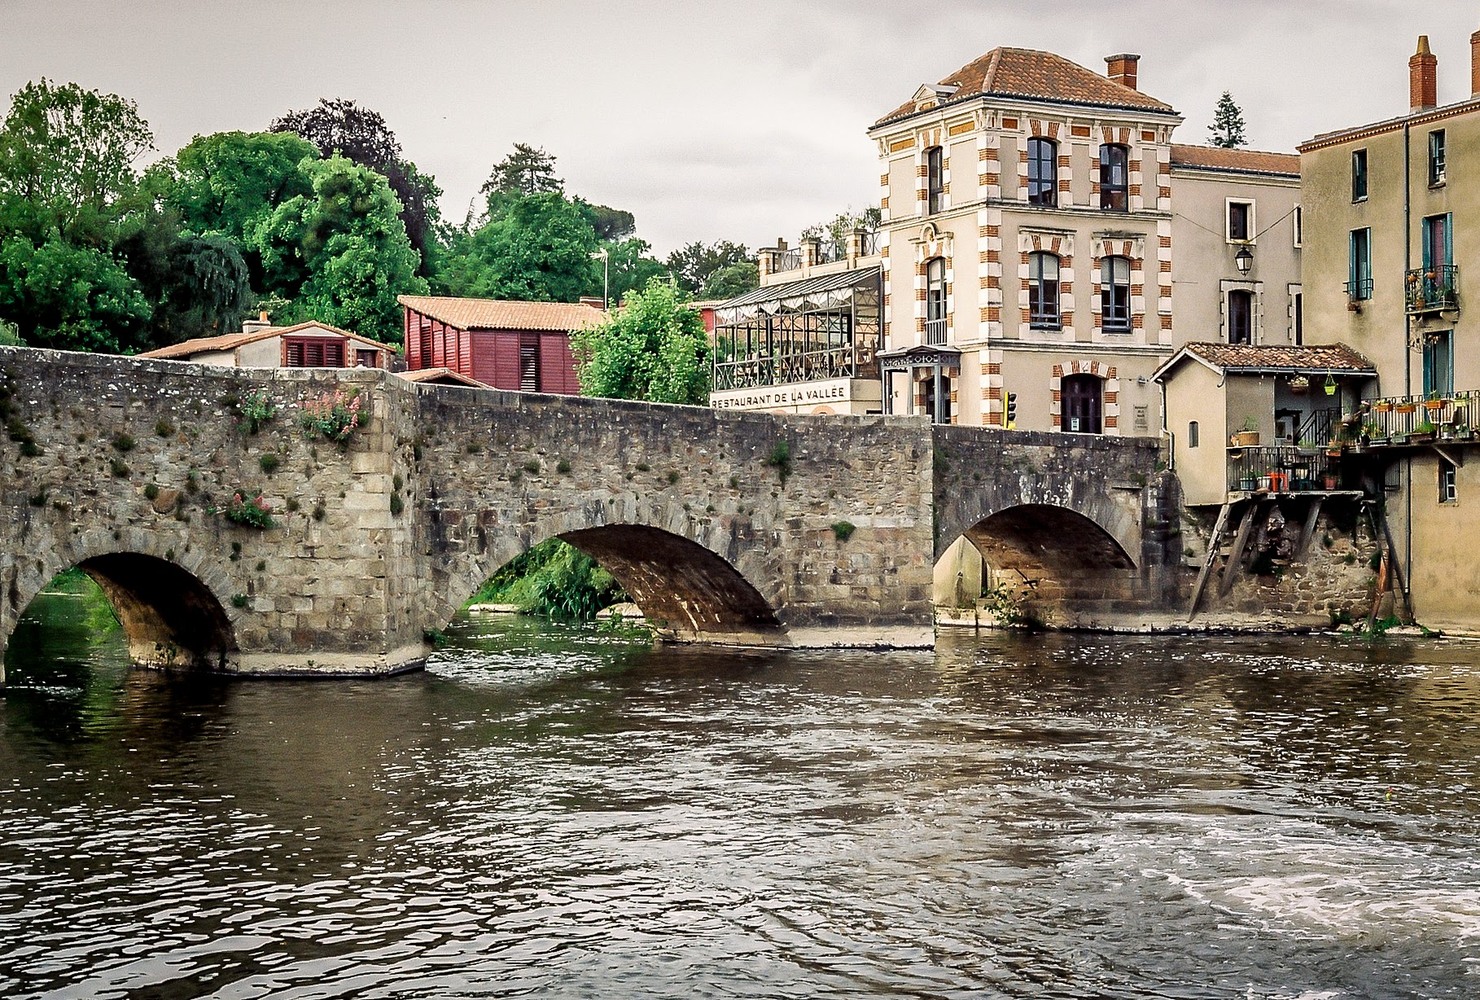
On the day in question I must have parked just next to the river and concentrated on this picturesque area. You can see the castle, the bridge, and the river, all making for a peaceful spring moment.
I think the film was Fuji Superia, and I just wanted to use colour. Thetones are slightly muted and warm, and the flowers, trees and plants were just screaming out to be photographed. I remember the excitement of loading the film into this “new” camera, and the novelty of simply using an iconic camera.
Here is what fuji tells us about the film:
FUJICOLOR SUPERIA X-TRA400
An all-round general purpose, high-performance, high speed color negative film delivering truly fine-grain. Superb for snapshots or action, in low light with flash, outdoors or indoors. Ideal for general use with compact zoom lens cameras.
Excellent skin tones For beautiful, clear people-shots.
Fine grain Great results even when enlarged.
High-speed Superb results, whatever the shooting conditions.
Sensitivity and Film Sizes ISO : 400 Film Sizes : 135 : 36 exp.
When using digital, it’s so difficult to get that particular film look, and using film and an older camera just changes your whole outlook. The fact of not having your image straight away leaves you with that anticipation that we all used to feel when we sent off our films to the lab.
Give film a try. There are still cheap film cameras out there, and your photography experience will be totally different. I certainly appreciate it.
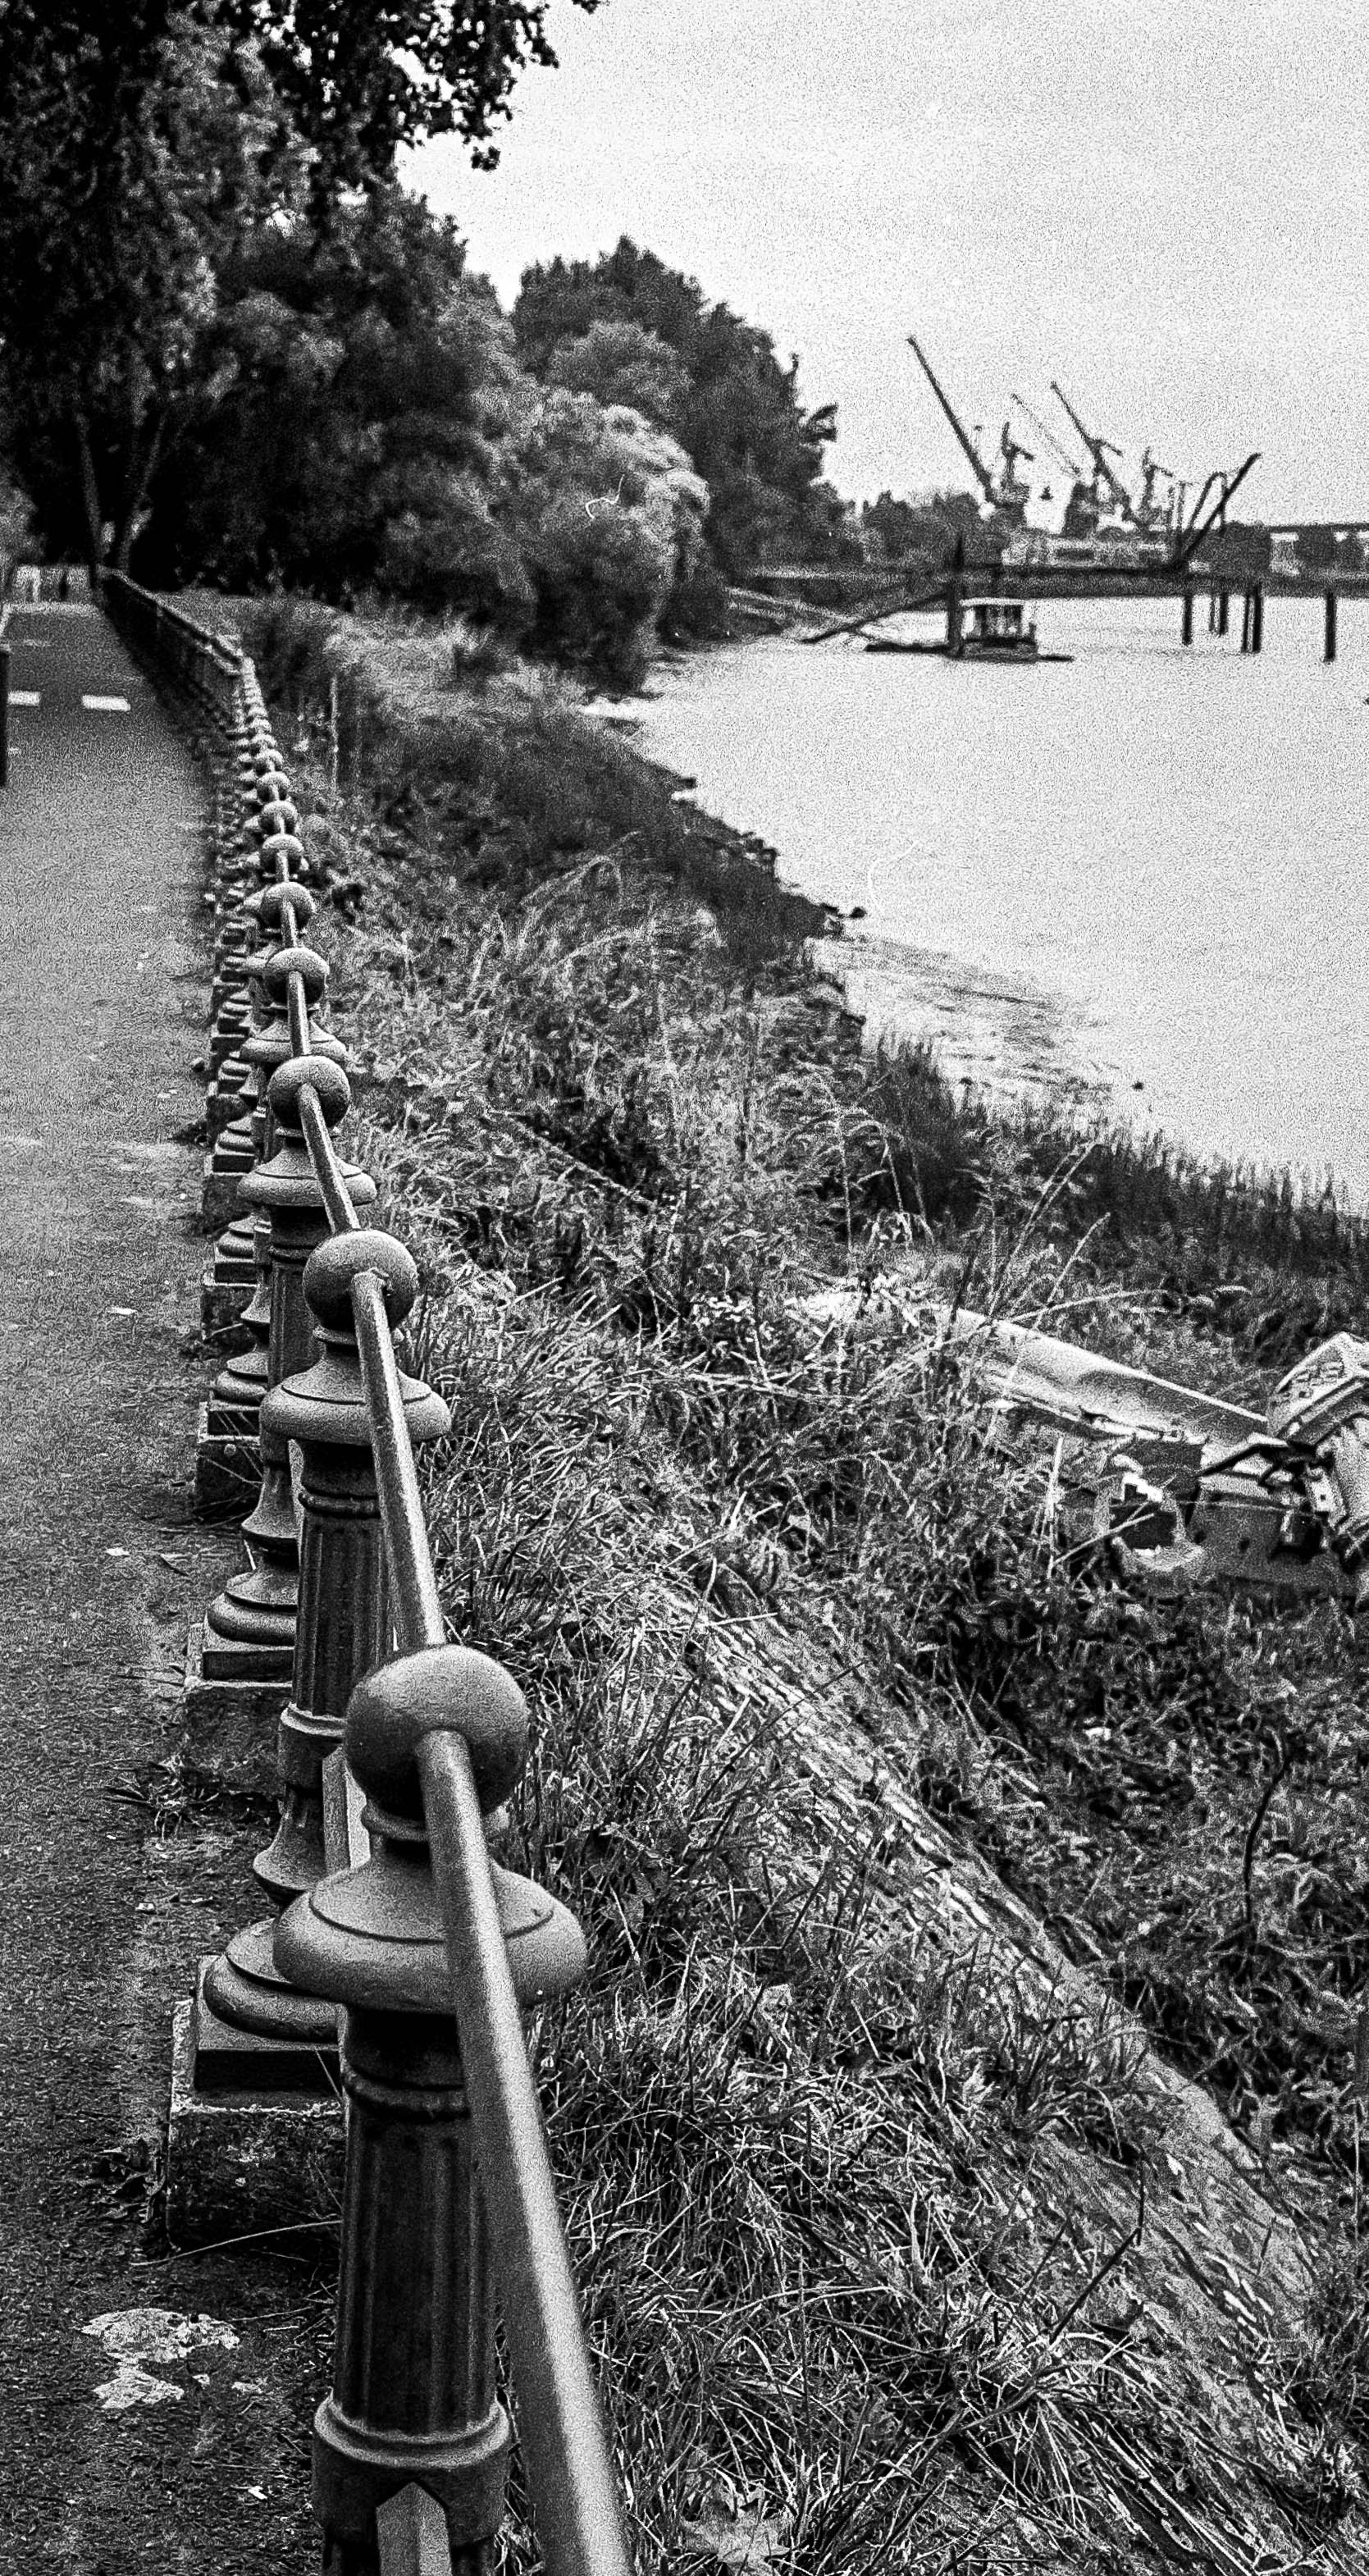
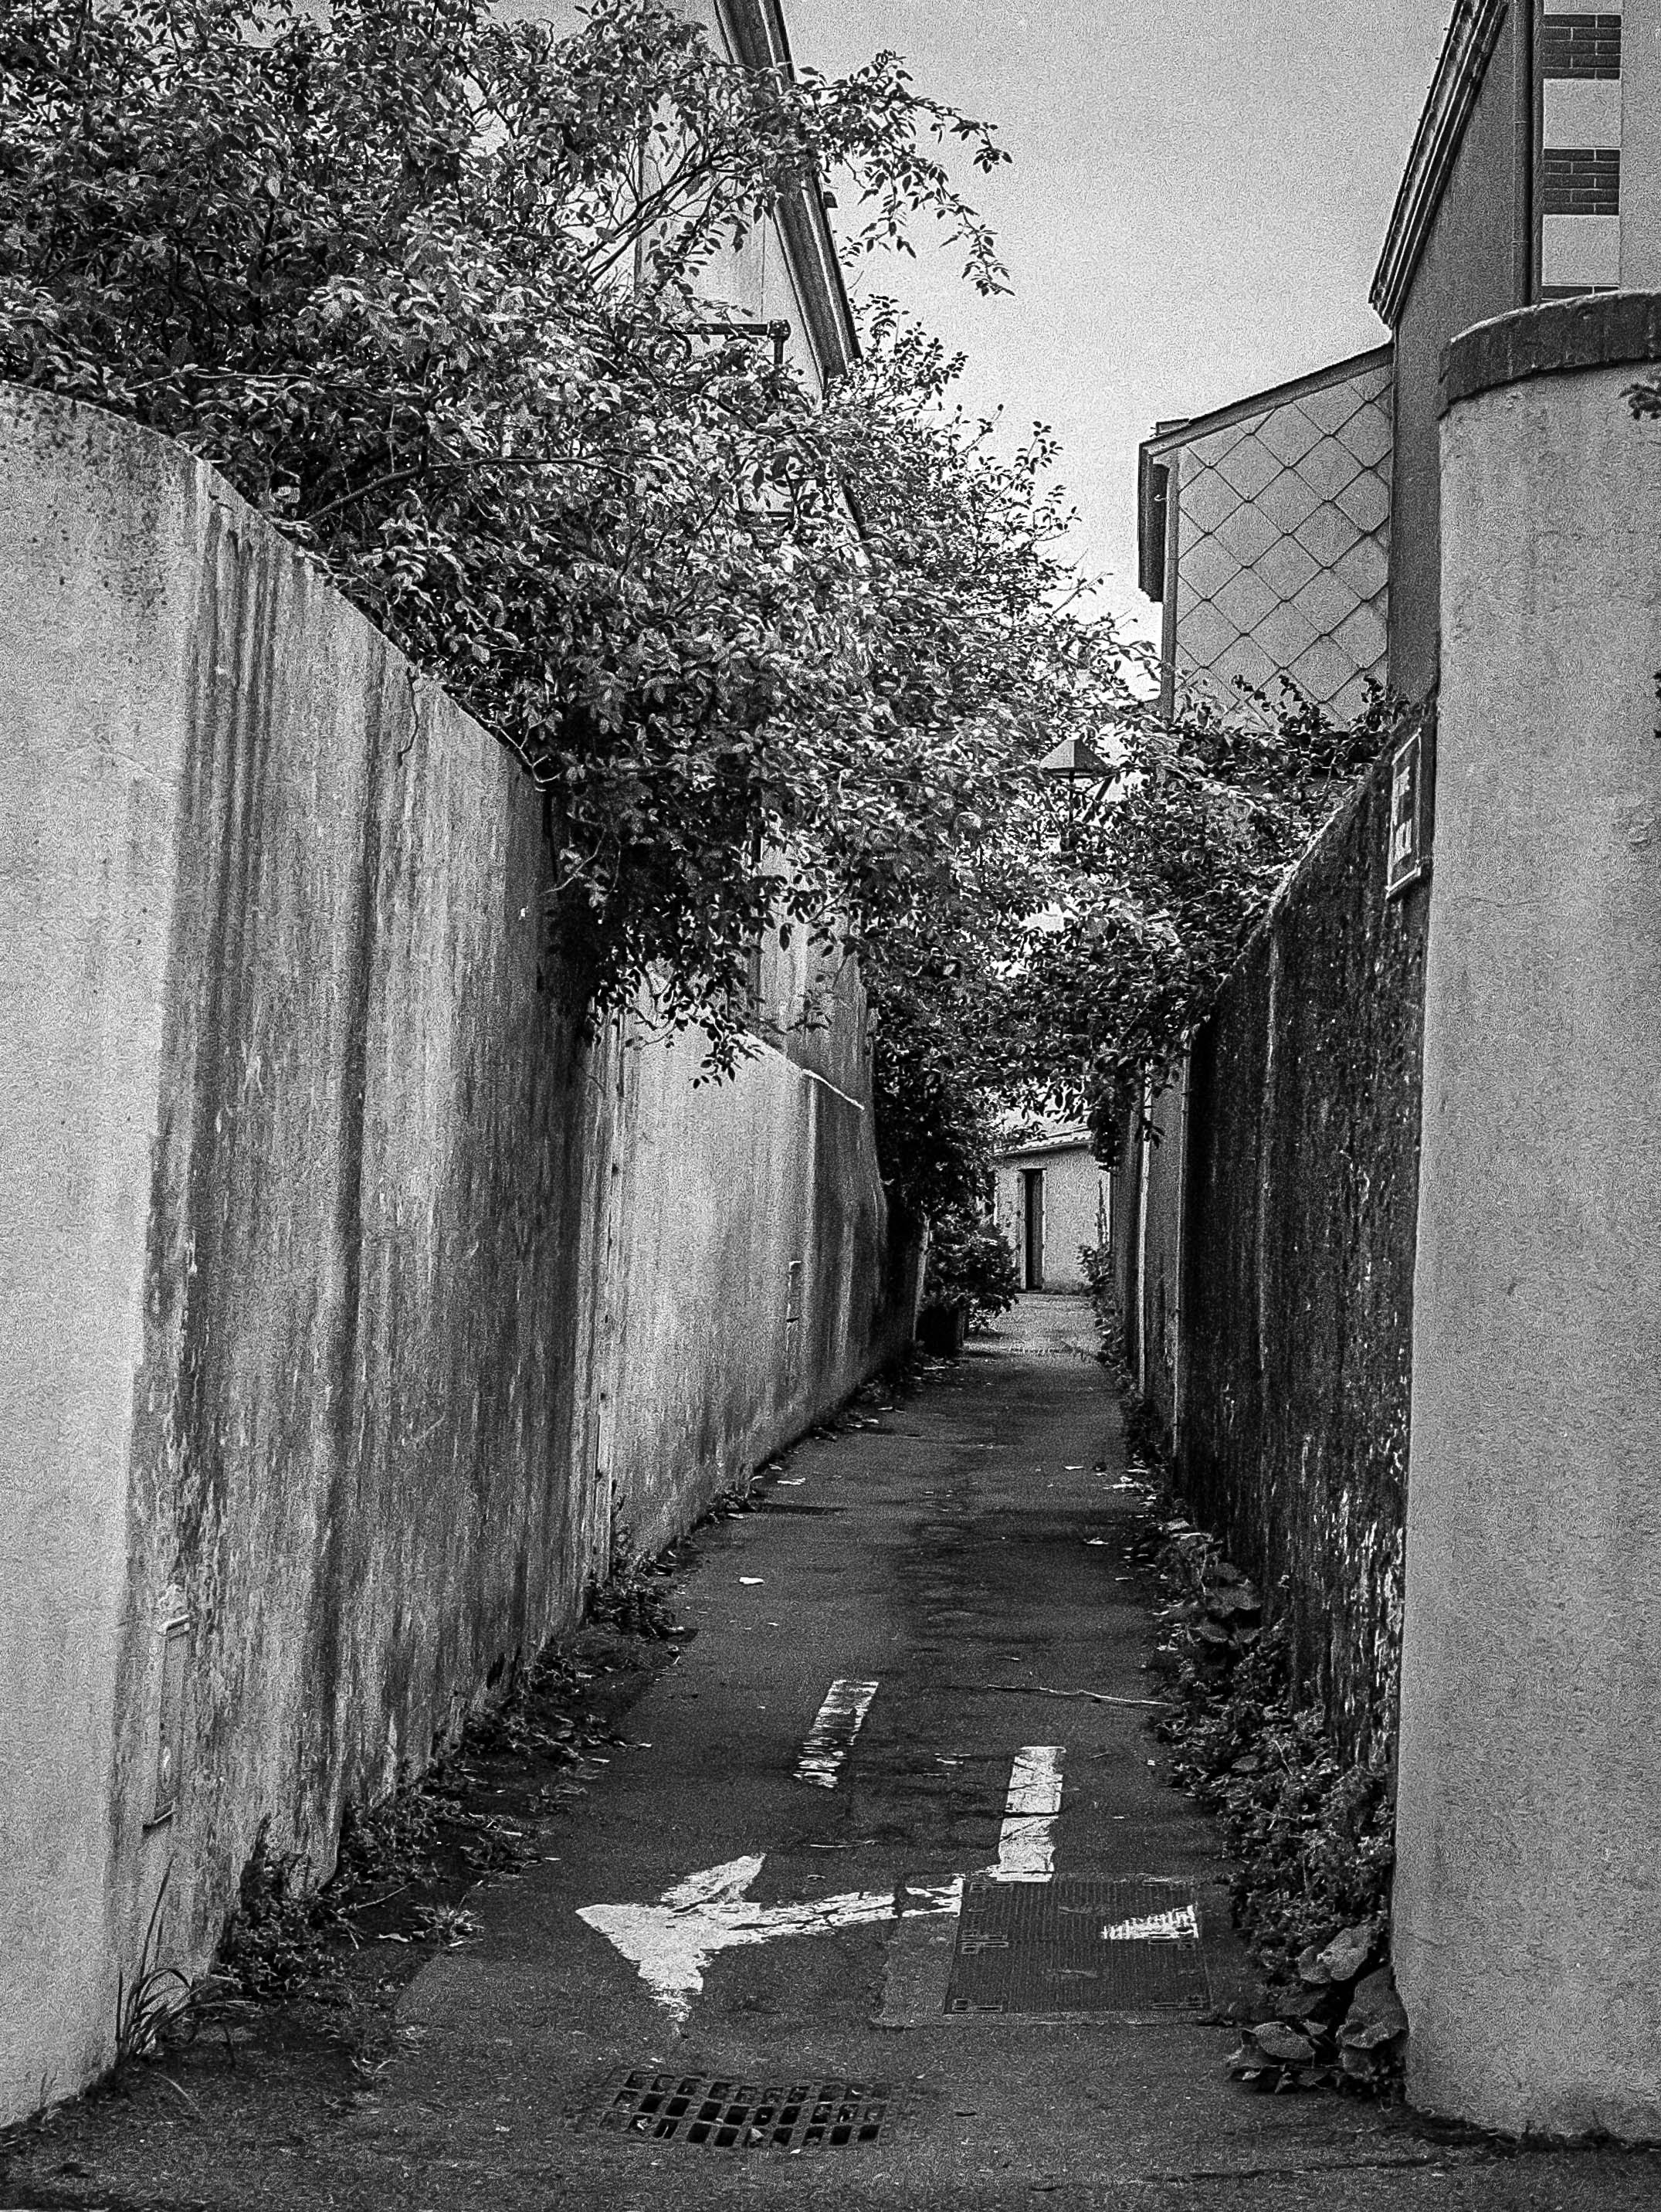
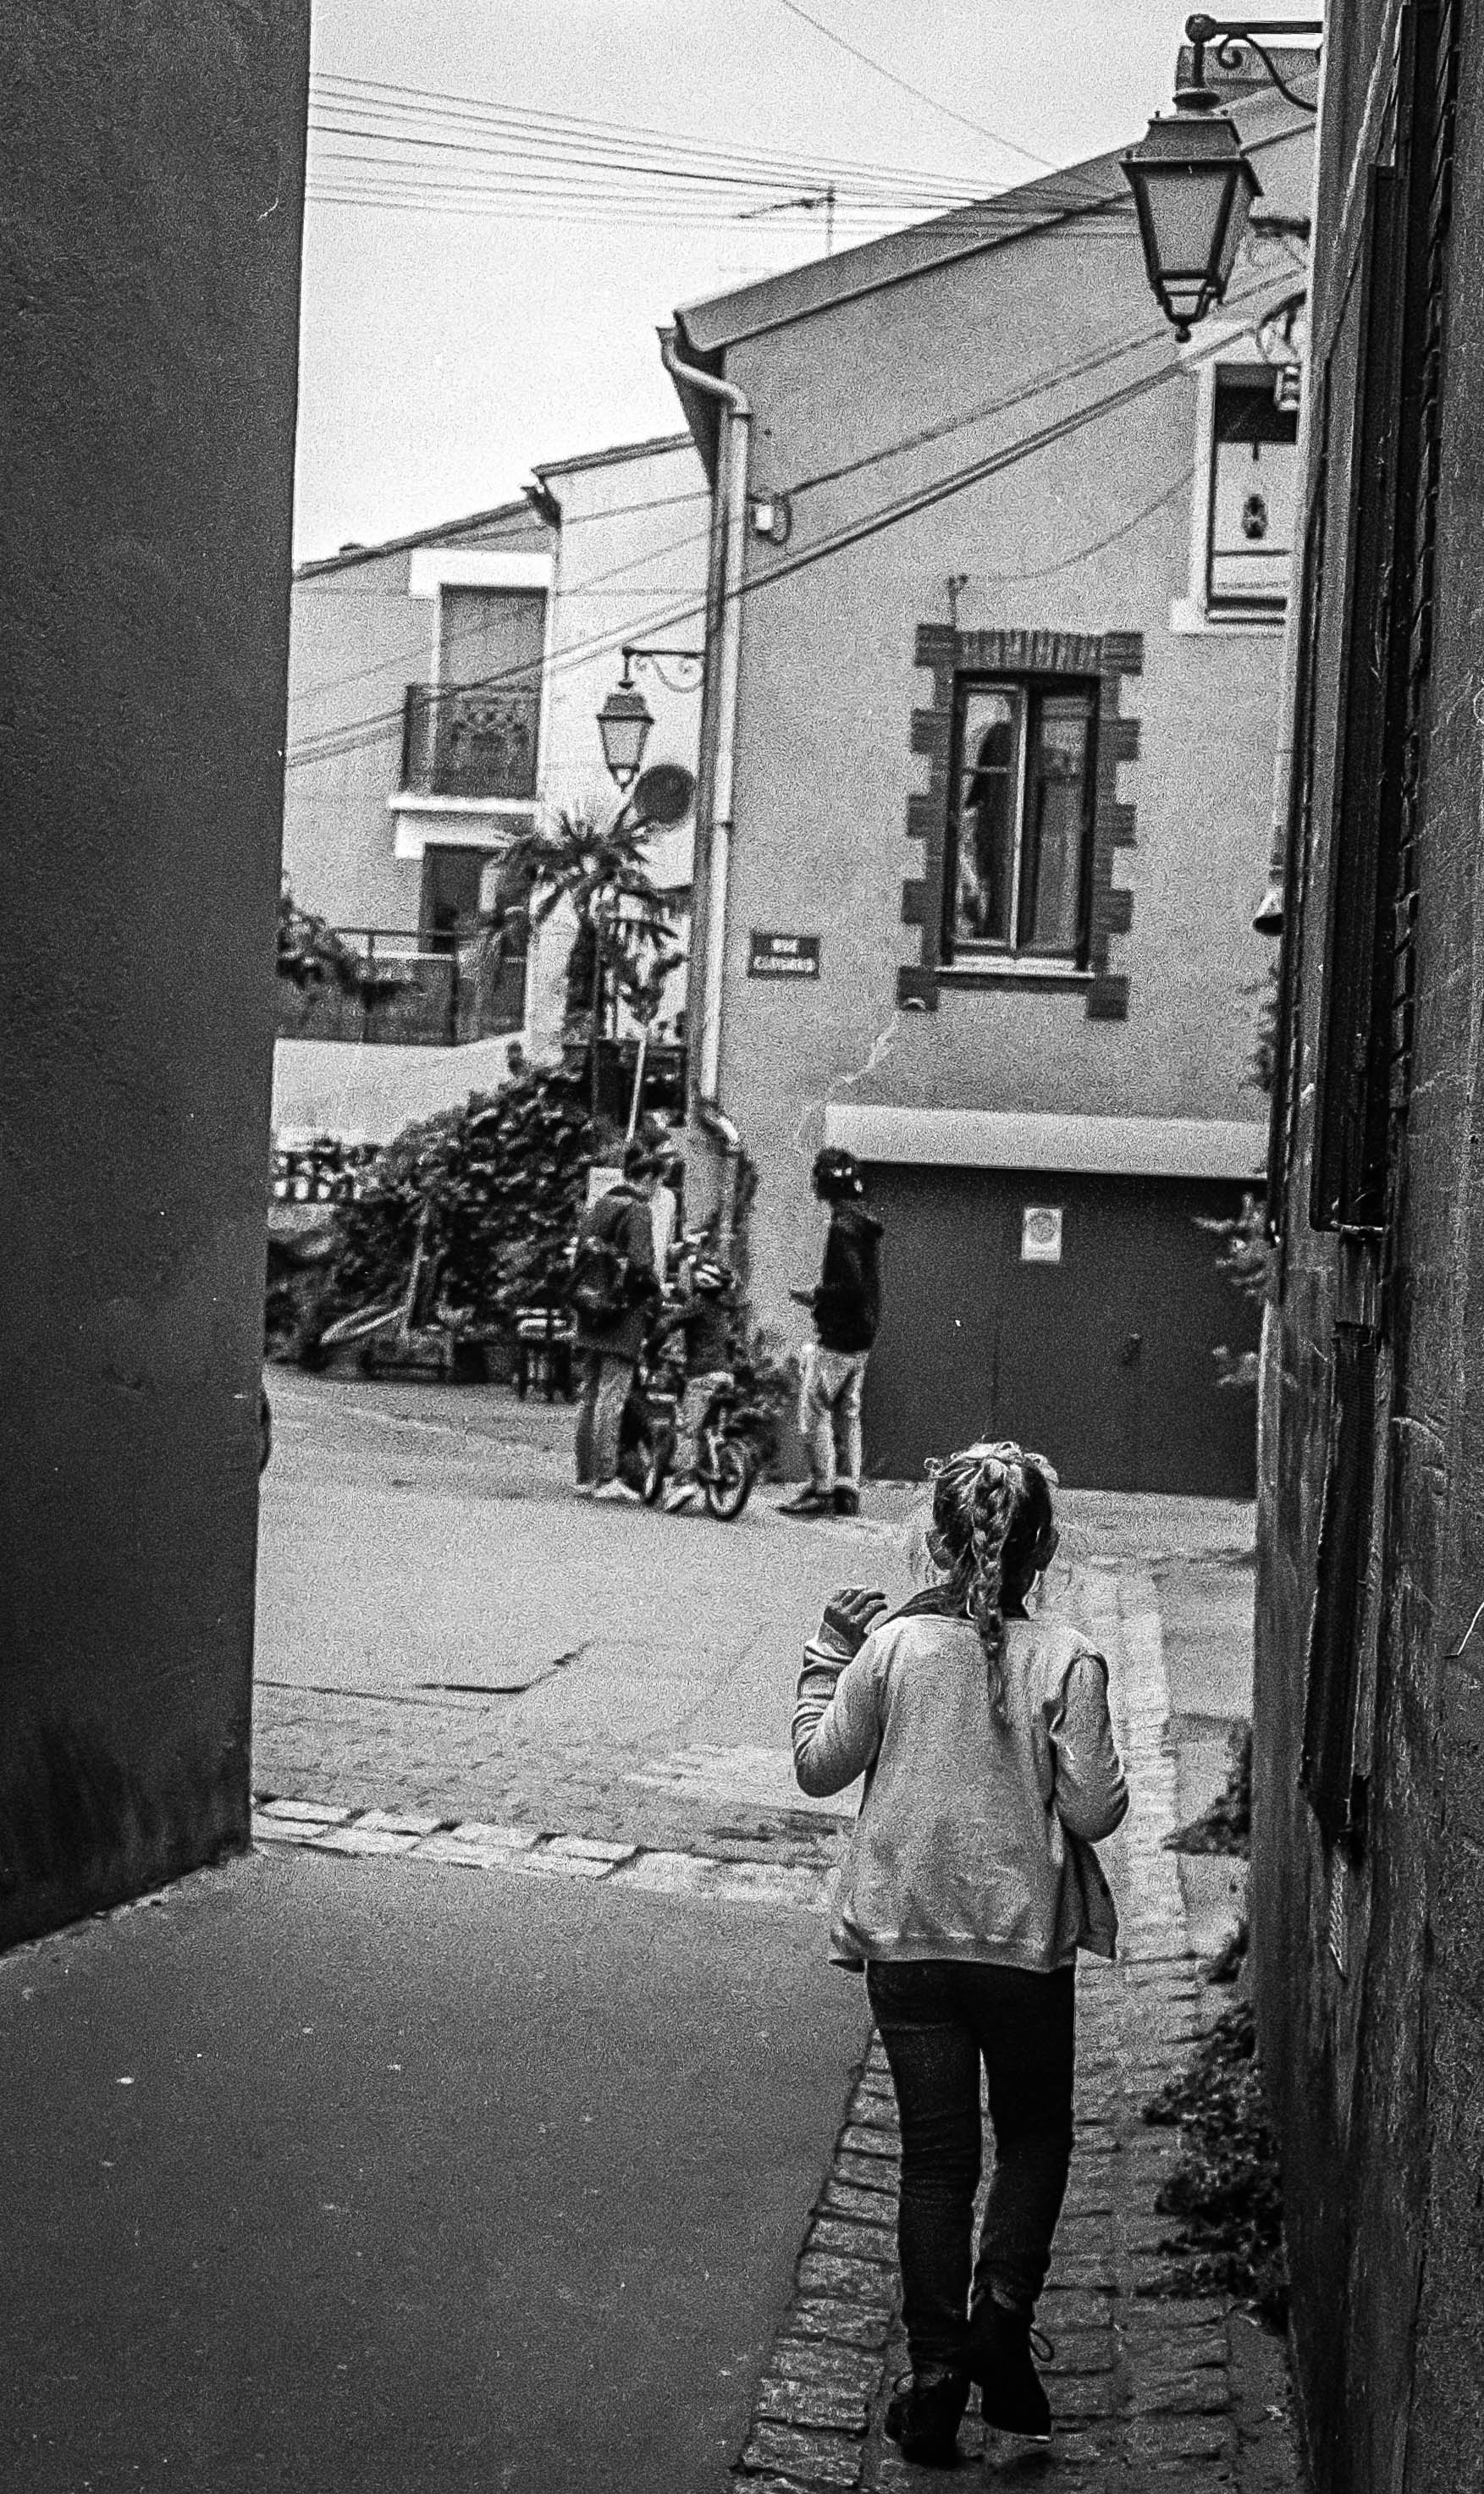
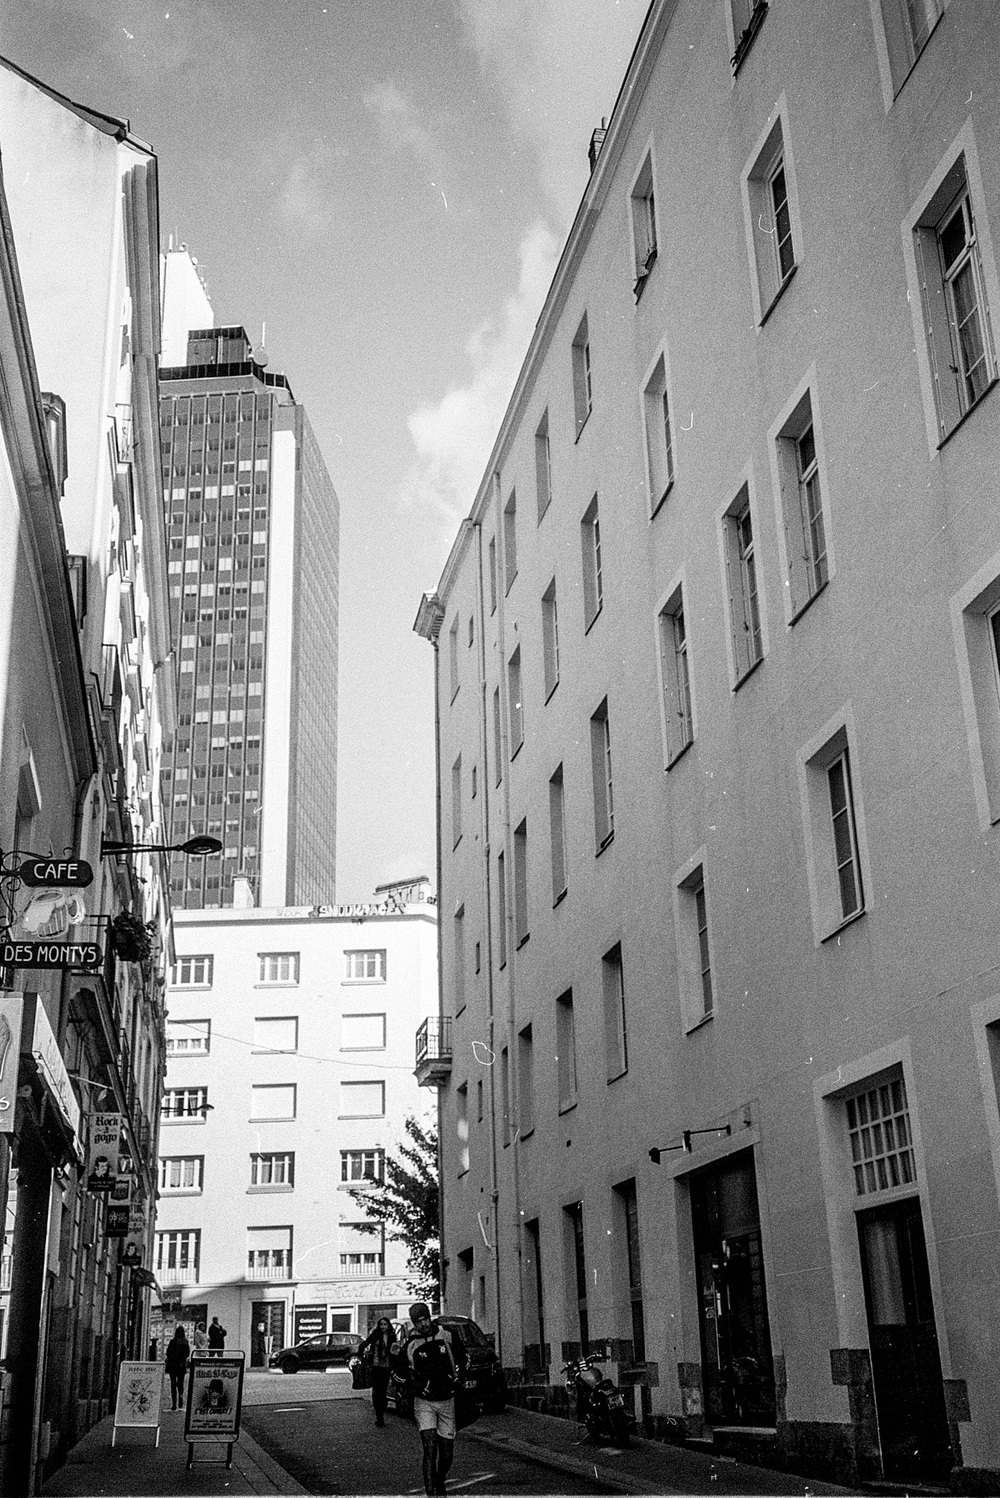
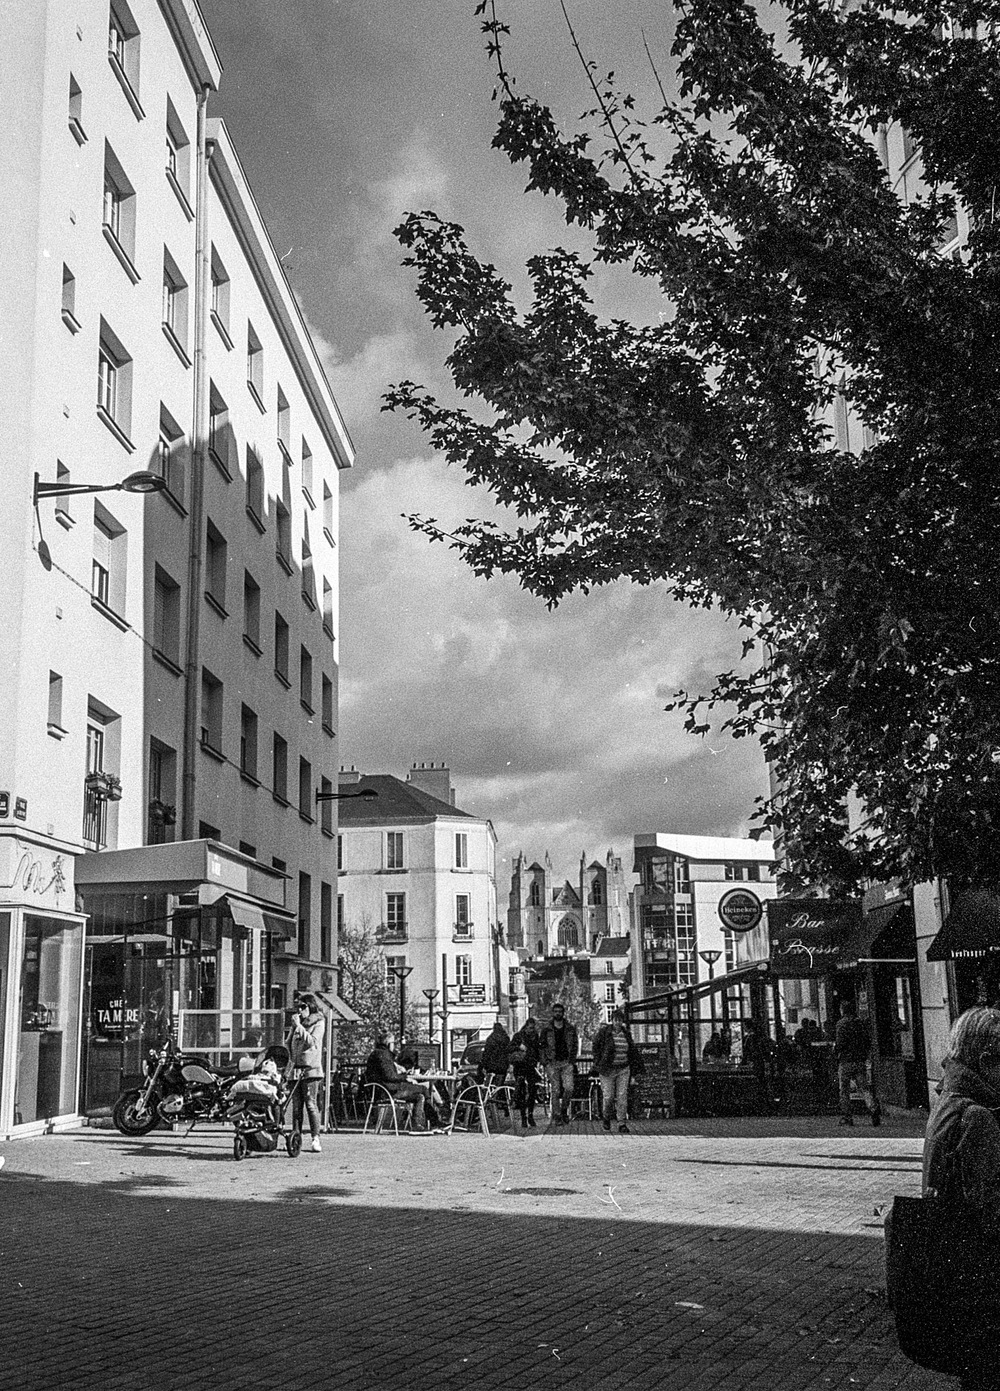
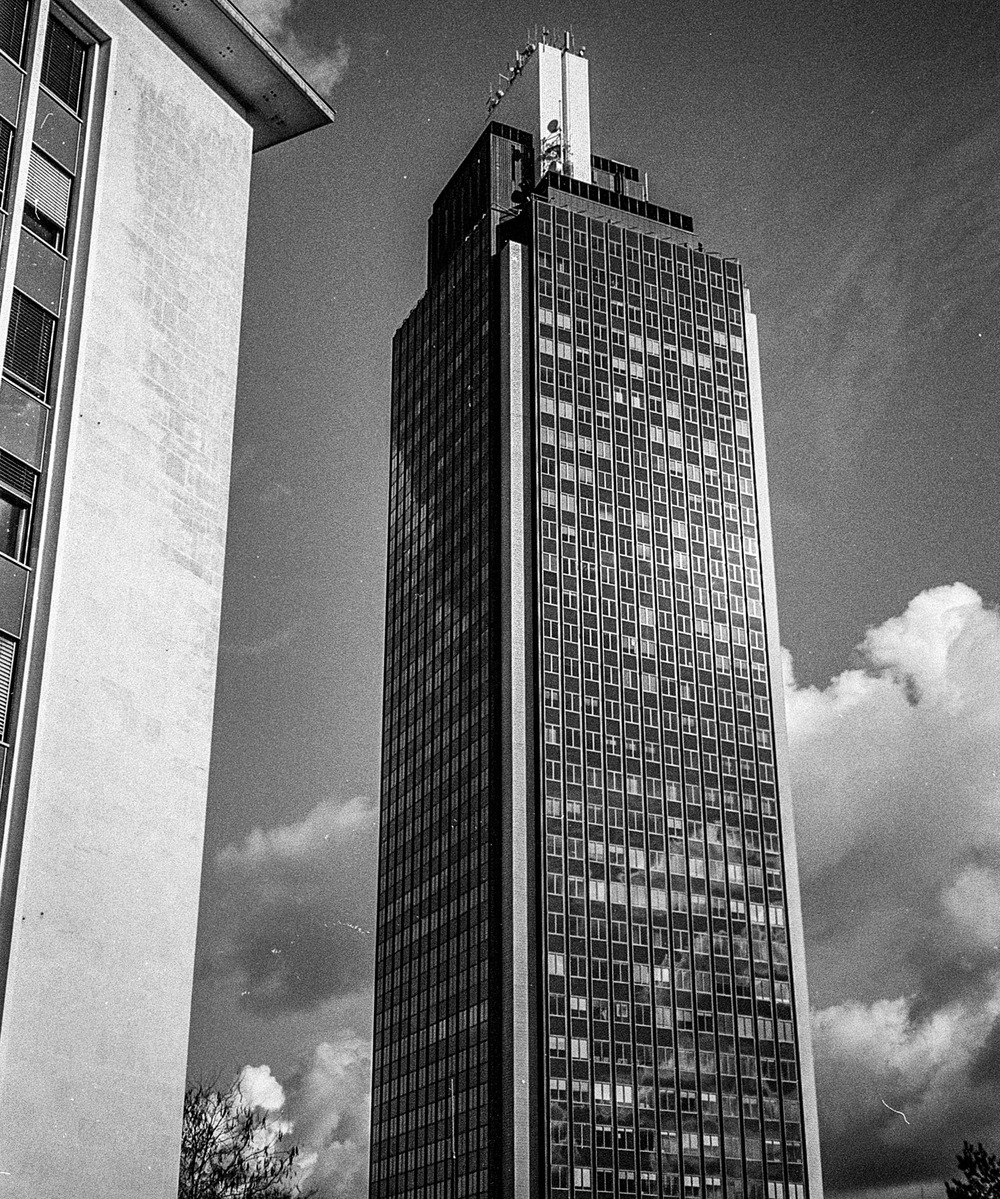
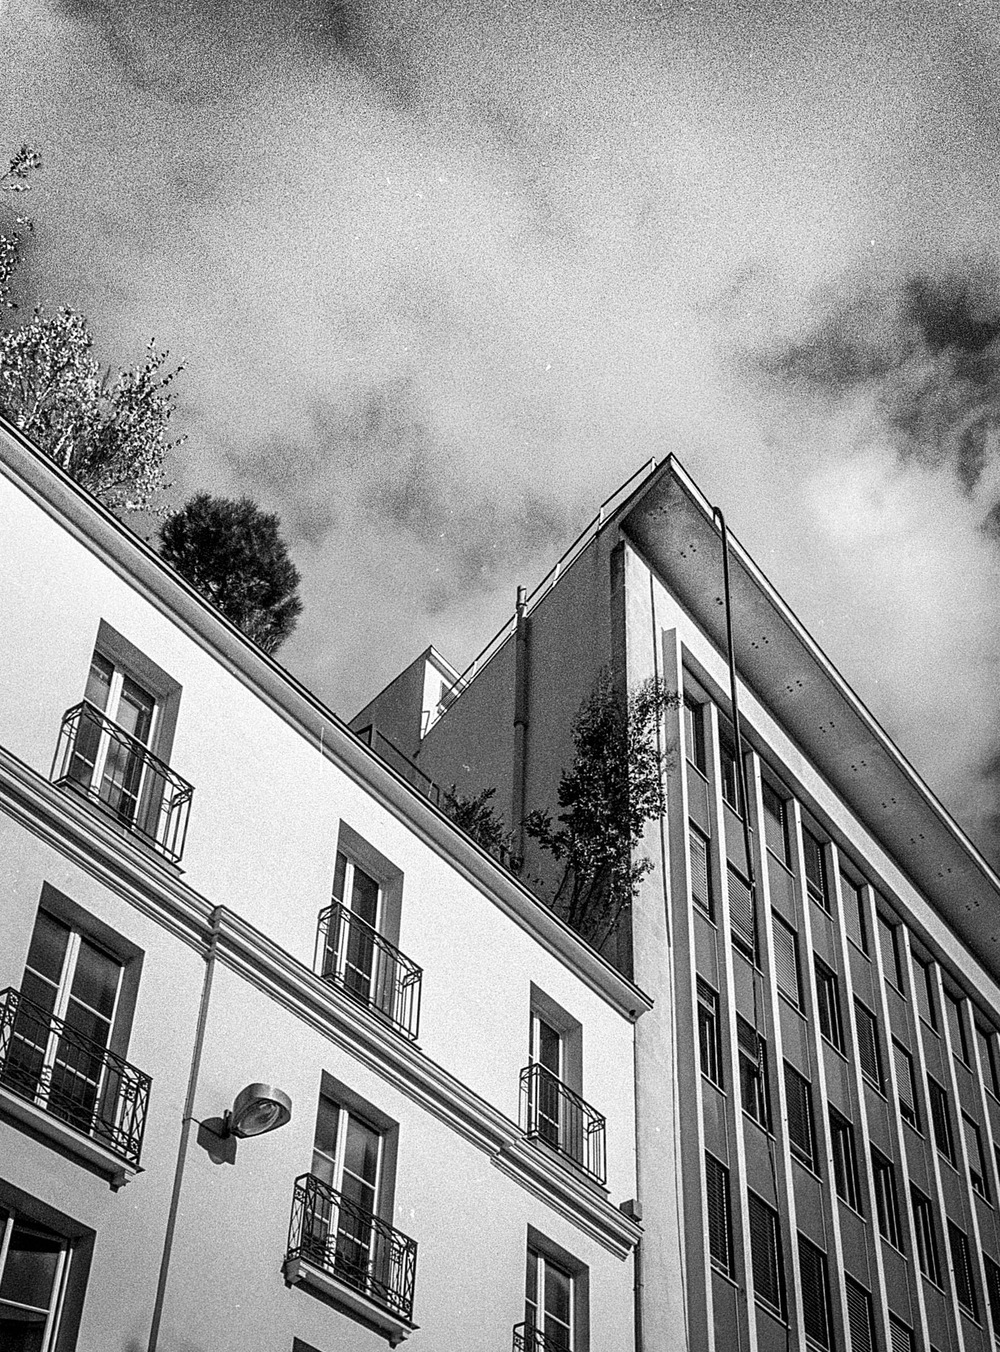
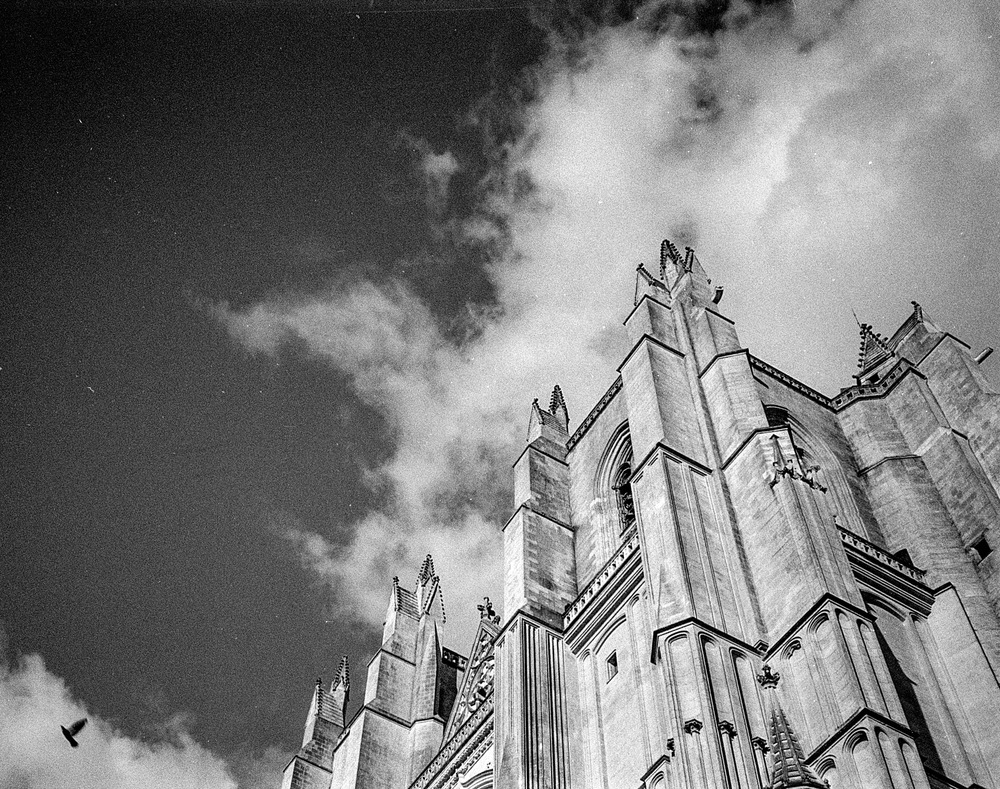
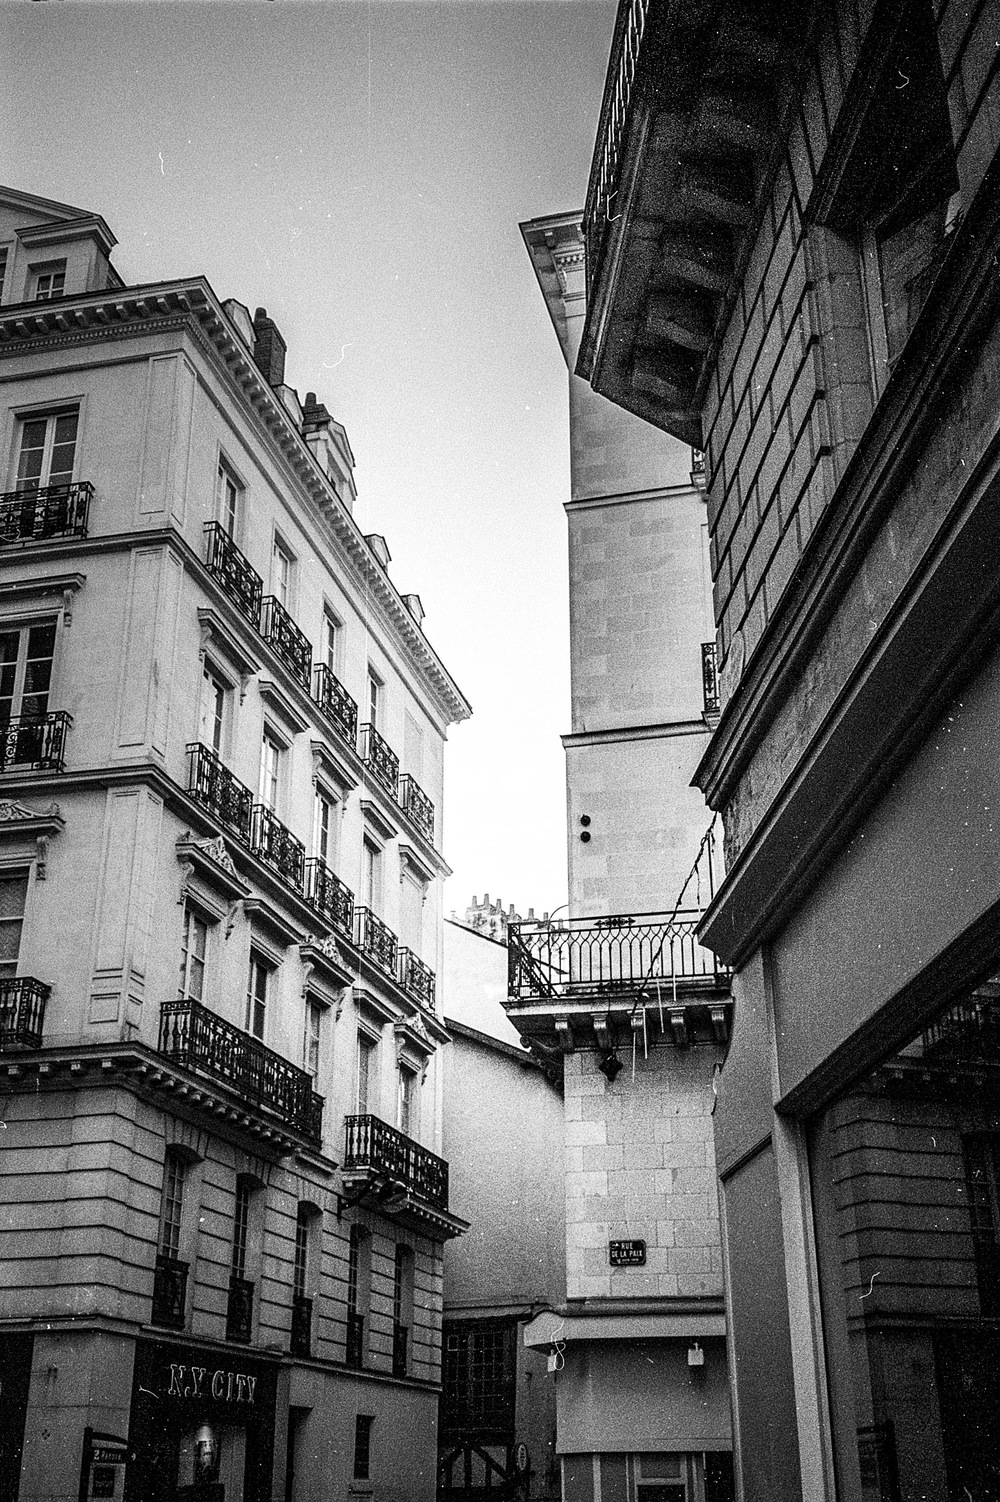
Following our last trip to Carnac, the film archive now has a look at Nantes in the autumn of 2016. These photos offer a glimpse into how I approached photographing a city back then, and if I’m being totally honest with you, still do. I treat the city much like a model on a photoshoot. The goal is to capture not just the physical landscape, but the essence and atmosphere of a place, allowing viewers to get a feel for the city simply by looking at the images. In this series of pictures, Nantes reveals herself and her architecture, resplendent in the autumnal sunshine.
Over time, I have come to know the city and appreciate her architecture. Buildings are not only a reflection of the architect but also of the people who live in them. They add character to the city, allowing her personality to shine through. I enjoy looking at the lines, and the shapes of them. They inspire me. They tell the story of the people who, either work, or live in them. They are not just mere edifices.
You will notice as we go through the archives, I might not respect the timeline slavishly. My aim is to give you an aperçu of my world at the time through film. I know you will be able to take this affront in your stride and not hate me!
We’ll go from the bains douches municipales, through to the Sainte Croix church, to the Stalinian 1950’s architecture of the Social Security building, passing by the odd shop, Hausmanian architecture, and even a shot looking towards the Cathedral.
In my previous articles, we’ve embarked on a journey to understand the basics in photography. I have talked about exposure, set out some of the “rules” of composition, and even delved into the world of colour theory. Today, I’d like to introduce you to the rule of odds and the rules of space, two fundamental elements that will take your photography to the next level.
Before we talk about these new concepts, let me reiterate the importance of building a solid foundation. Just as we did with framing, negative space, and colour theory, it’s crucial to master each concept before moving on to the next. Take your time to learn and apply these principles in your photography journey. The other four articles will stay up, and you can read them at your leisure.
The Rule of Odds in Photography
The rule of odds is a composition guideline that suggests using an odd number of subjects or elements in your frame, typically three or five, rather than even numbers. Why? Because odd numbers tend to create a more balanced and visually pleasing composition.
When you use the rule of odds, you create a natural focal point within your photograph. Our eyes are drawn to the centre subject, and the uneven arrangement adds a sense of harmony and intrigue to the image. The result? A more captivating and dynamic photo that engages your viewers. It’s all about balance.
Rules of Space: Balance and Direction
Now, let’s look at the rules of space. This concept involves how you position elements and subjects within your frame to achieve balance and direct the viewer’s gaze. It leaves space for the subject and can be used in multiple ways as a storytelling tool. It can also be used in conjunction with the other composition techniques that I have talked about in my previous articles.
Tips
Think outside the frame. What is going on outside the frame becomes as important as what is oing on inside the frame. Let’ take the picture of the guitarist. Who is he looking at? What’s going on outside the frame? Is there an audience? Where is the audience? Using rules of space the viewer will more curious and be more engaged in the photo.
Conclusion
One can talk about composition and the effect it has on photography till the cow come home. People will always bring up “composition” and will always tell you how “they” would have done it differently. In these four articles you will now know what they are talking about and be able to decide for yourself. In absolute terms, “your” photographs are about what “you” saw, and only “you” can see that. But keep the rules that we have discussed in the back of your mind, and take your photograph with purpose and being conscious about what you are doing. Mindfulness is the key.
My next article will talk about the differences between 35mm film photography and medium format photography. For film enthusiasts or anyone else who is curious you will be entering into a new world. There are, of course, trade offs between each format, and we will discover them. Maybe you’ll be bitten by the Medium Format bug too… As always Dear Reader, I appreciate your enthusiasm, and I look forward to our next exploration together. Until then, happy shooting!