Introduction
As the title suggests, I will describe my workflow when out and about. While there are surely other ways to do it, this is my method. It works and has stood the test of time. I usually wander around taking photos, then find a café to sit down and transfer my images to my phone. Everything is better with a nice cup of tea (or coffee) and a piece of cake.
Downloading Photos to Your Phone
Most cameras today can connect to phones via Bluetooth or Wi-Fi. My two Fujis (X100F and XT2) and my Canon (6D Mark II) certainly can. I enable Wi-Fi on my camera and connect it directly to my phone. Next, I open the corresponding app—Canon Camera Connect for my Canon and Fujifilm Camera Remote for my Fujis. Each manufacturer provides its own app for Android or Apple devices. Once the camera is connected to my phone, I can import my photographs, selecting the images I prefer.
Sorting Photos
Now comes the fun bit: sorting through all those wonderful shots you took and deciding which ones are worth working on and editing. When I transfer my images from my camera to my phone, the phone creates a folder for the imported photos. Different apps will put them in different places, so I’ll leave that to you to manage. As a rule of thumb, you will see them in the gallery app, which will show you your latest photos.
In the gallery app, you can sort your photos by date taken, favourite images, or the place where the photo was taken.
I will assume you have read my last few articles on Photography 101, composition, and the types of lenses available and how to use them, or at least how I use them. If you haven’t had that pleasure, then go and have a read…
Is the photo worthy of publication, and are you happy with it representing your talent as a photographer? Is the image in focus? Is the image well exposed? Does it fulfil its storytelling role? Will it add to your narrative? Or simply, do you like it enough to want to share it?
Let’s assume that you answered yes. You then get to share your image to Snapseed.
Editing in Snapseed
Starting with Styles:
I like to begin by using the “Portrait” style. It is a preset that gives the photo a subtle glow and some vignette. I just seem to like it, and when you have something you like that flatters your image, you are tempted to stick with it. Most times, this will work a treat on well-exposed images. But let’s imagine that you have exposed for the highlights and that your shadows are “too dark” and you want to bring them up a bit. Then I would go to the “Tools” section and use the Tune Image.
En aparté:
When exposing in digital photography, we expose for the highlights, as it is easy to lighten, or “bring up” the shadows, and we don’t want to “blow out” our highlights and just turn it into a mass of white. In film photography, it’s the opposite. We expose for the shadows, as film has more difficulties capturing details in the shadows especially in a photo with lots of light.
Using the Tools
As I inferred in the title, this is my workflow, and shows the way I use Snapseed. There’s a whole load of tools to stylise your image and to completely change the look of it, but I’m more of a “less is more” disciple when editing. Also most apps out there will have similar tools, so you can carry this knowledge with you across the board.
Crop Tool:
One thing I learnt early one is to KISS, i.e. Keep it simple stupid. Sometimes I will have an element in my photo that distracts from my subject. With the crop tool I can just crop the image and make it disappear. I can also use the crop tool to format the image to fit certain social media post settings. I’m thinking about you Instagram and Facebook. Try searching google for social medi formats and you will be inundated with results.
Healing Tool:
Sometimes the crop isn’t enough to take away distracting elements from our photo. You might have a beautiful shy and want to get rid of that Jumbo Jet in the sky. One way of doing that is to wait until the Jumbo Jet has flown away, but let’s say that it’s too late… Using the healing tool will clone part of the image and replace the Jumbo Jet that just wants to noticed and validated man! To get the best results it’s better to zoom into the image and have a smaller area to work on.
Tune Image:
This is where I do the basic edits, bringing up the shadows or bringing down the highlights. I usually keep it to that. At a push, I will bring up the brightness if the photo has been underexposed. Somtimes I will add a little contrast but I tend not to use the other tools. I don’t want to denautre the photograph.
Rotate Tool:
We should always try and keep our horizons straight, except when making the conscious decision not to. The rotation tool tries to straighten what it thinks should be straight. It generally works quite well, but you do have total control as well as a grid to check the lines in your photo.
Brush Tool:
This is where we can do our burning and dodging. You can choose to highlight a certain area and darken others to emphasise your subject. This brings the photo to life. There are tutorials galore on YouTube that go into more detail than I will in this “basics” article.
Black and White Tool:
Welcome to the world of black and white conversion. It’s a process that a majority of my photography goes through. You can, of course, just use the saturation tool in the “Tune Image” section, and you will get a monochrome image. But you can do so much more.
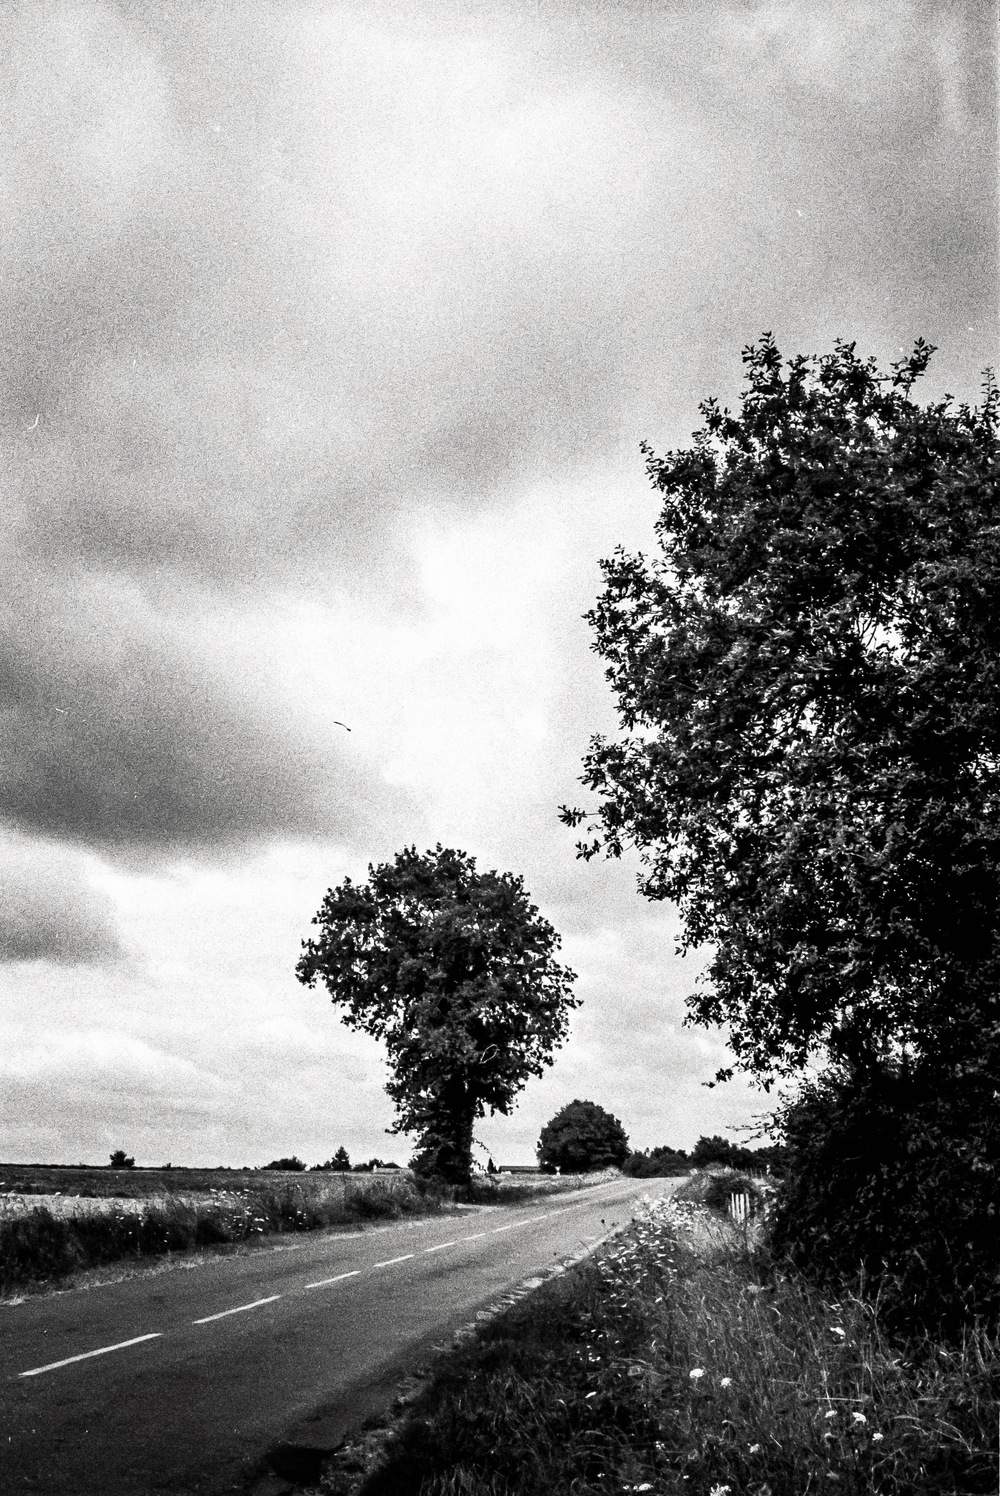
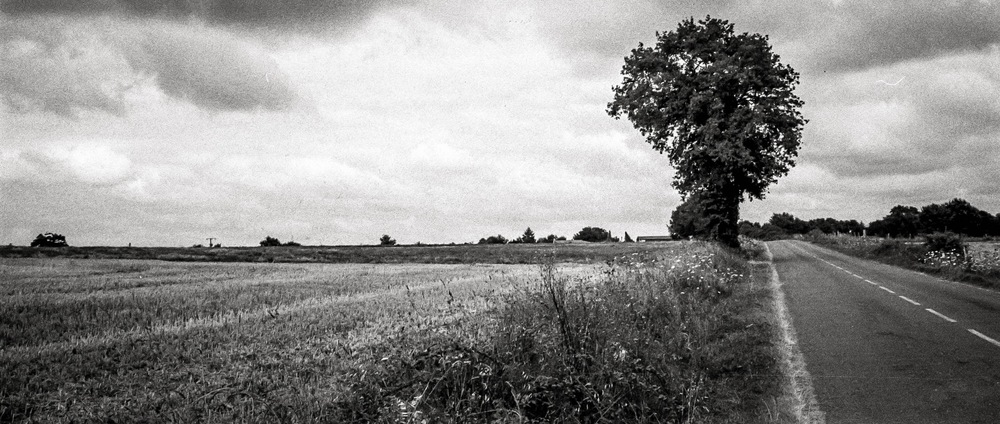
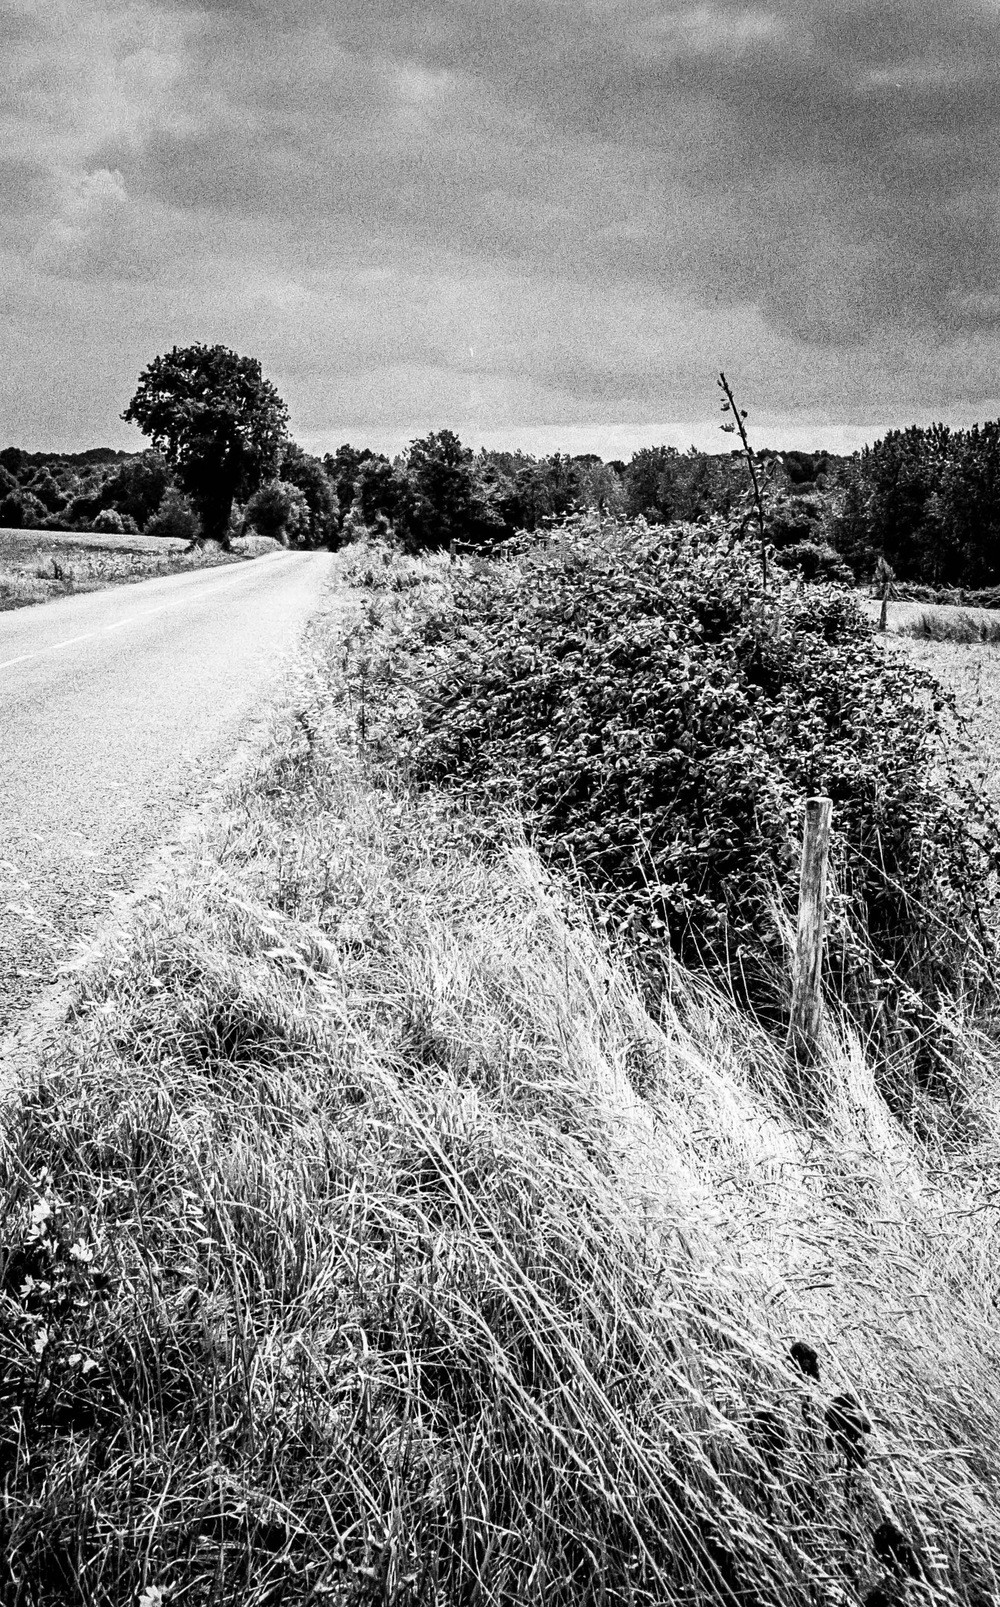
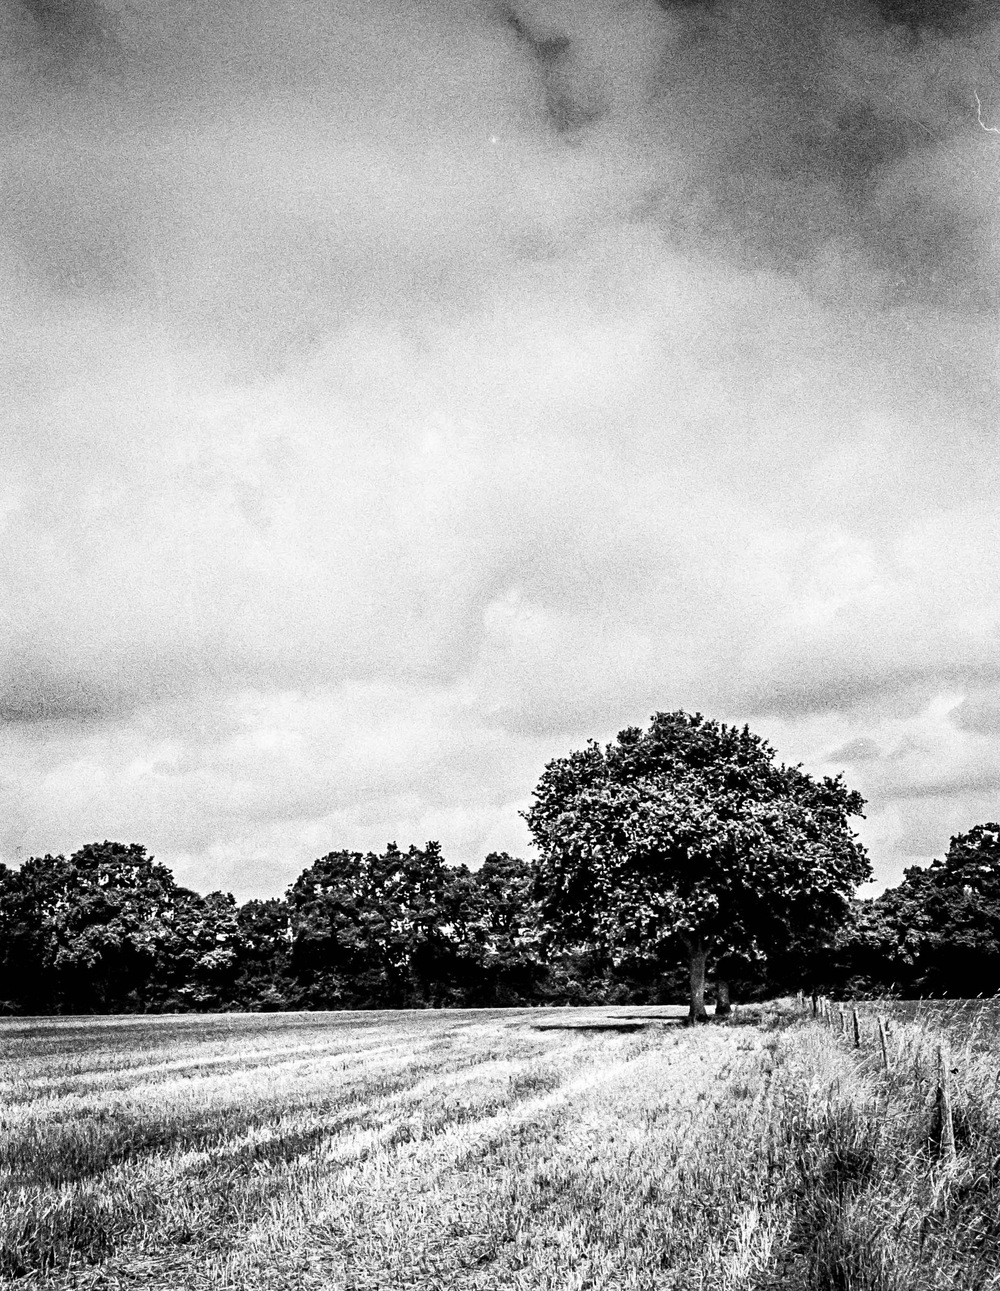
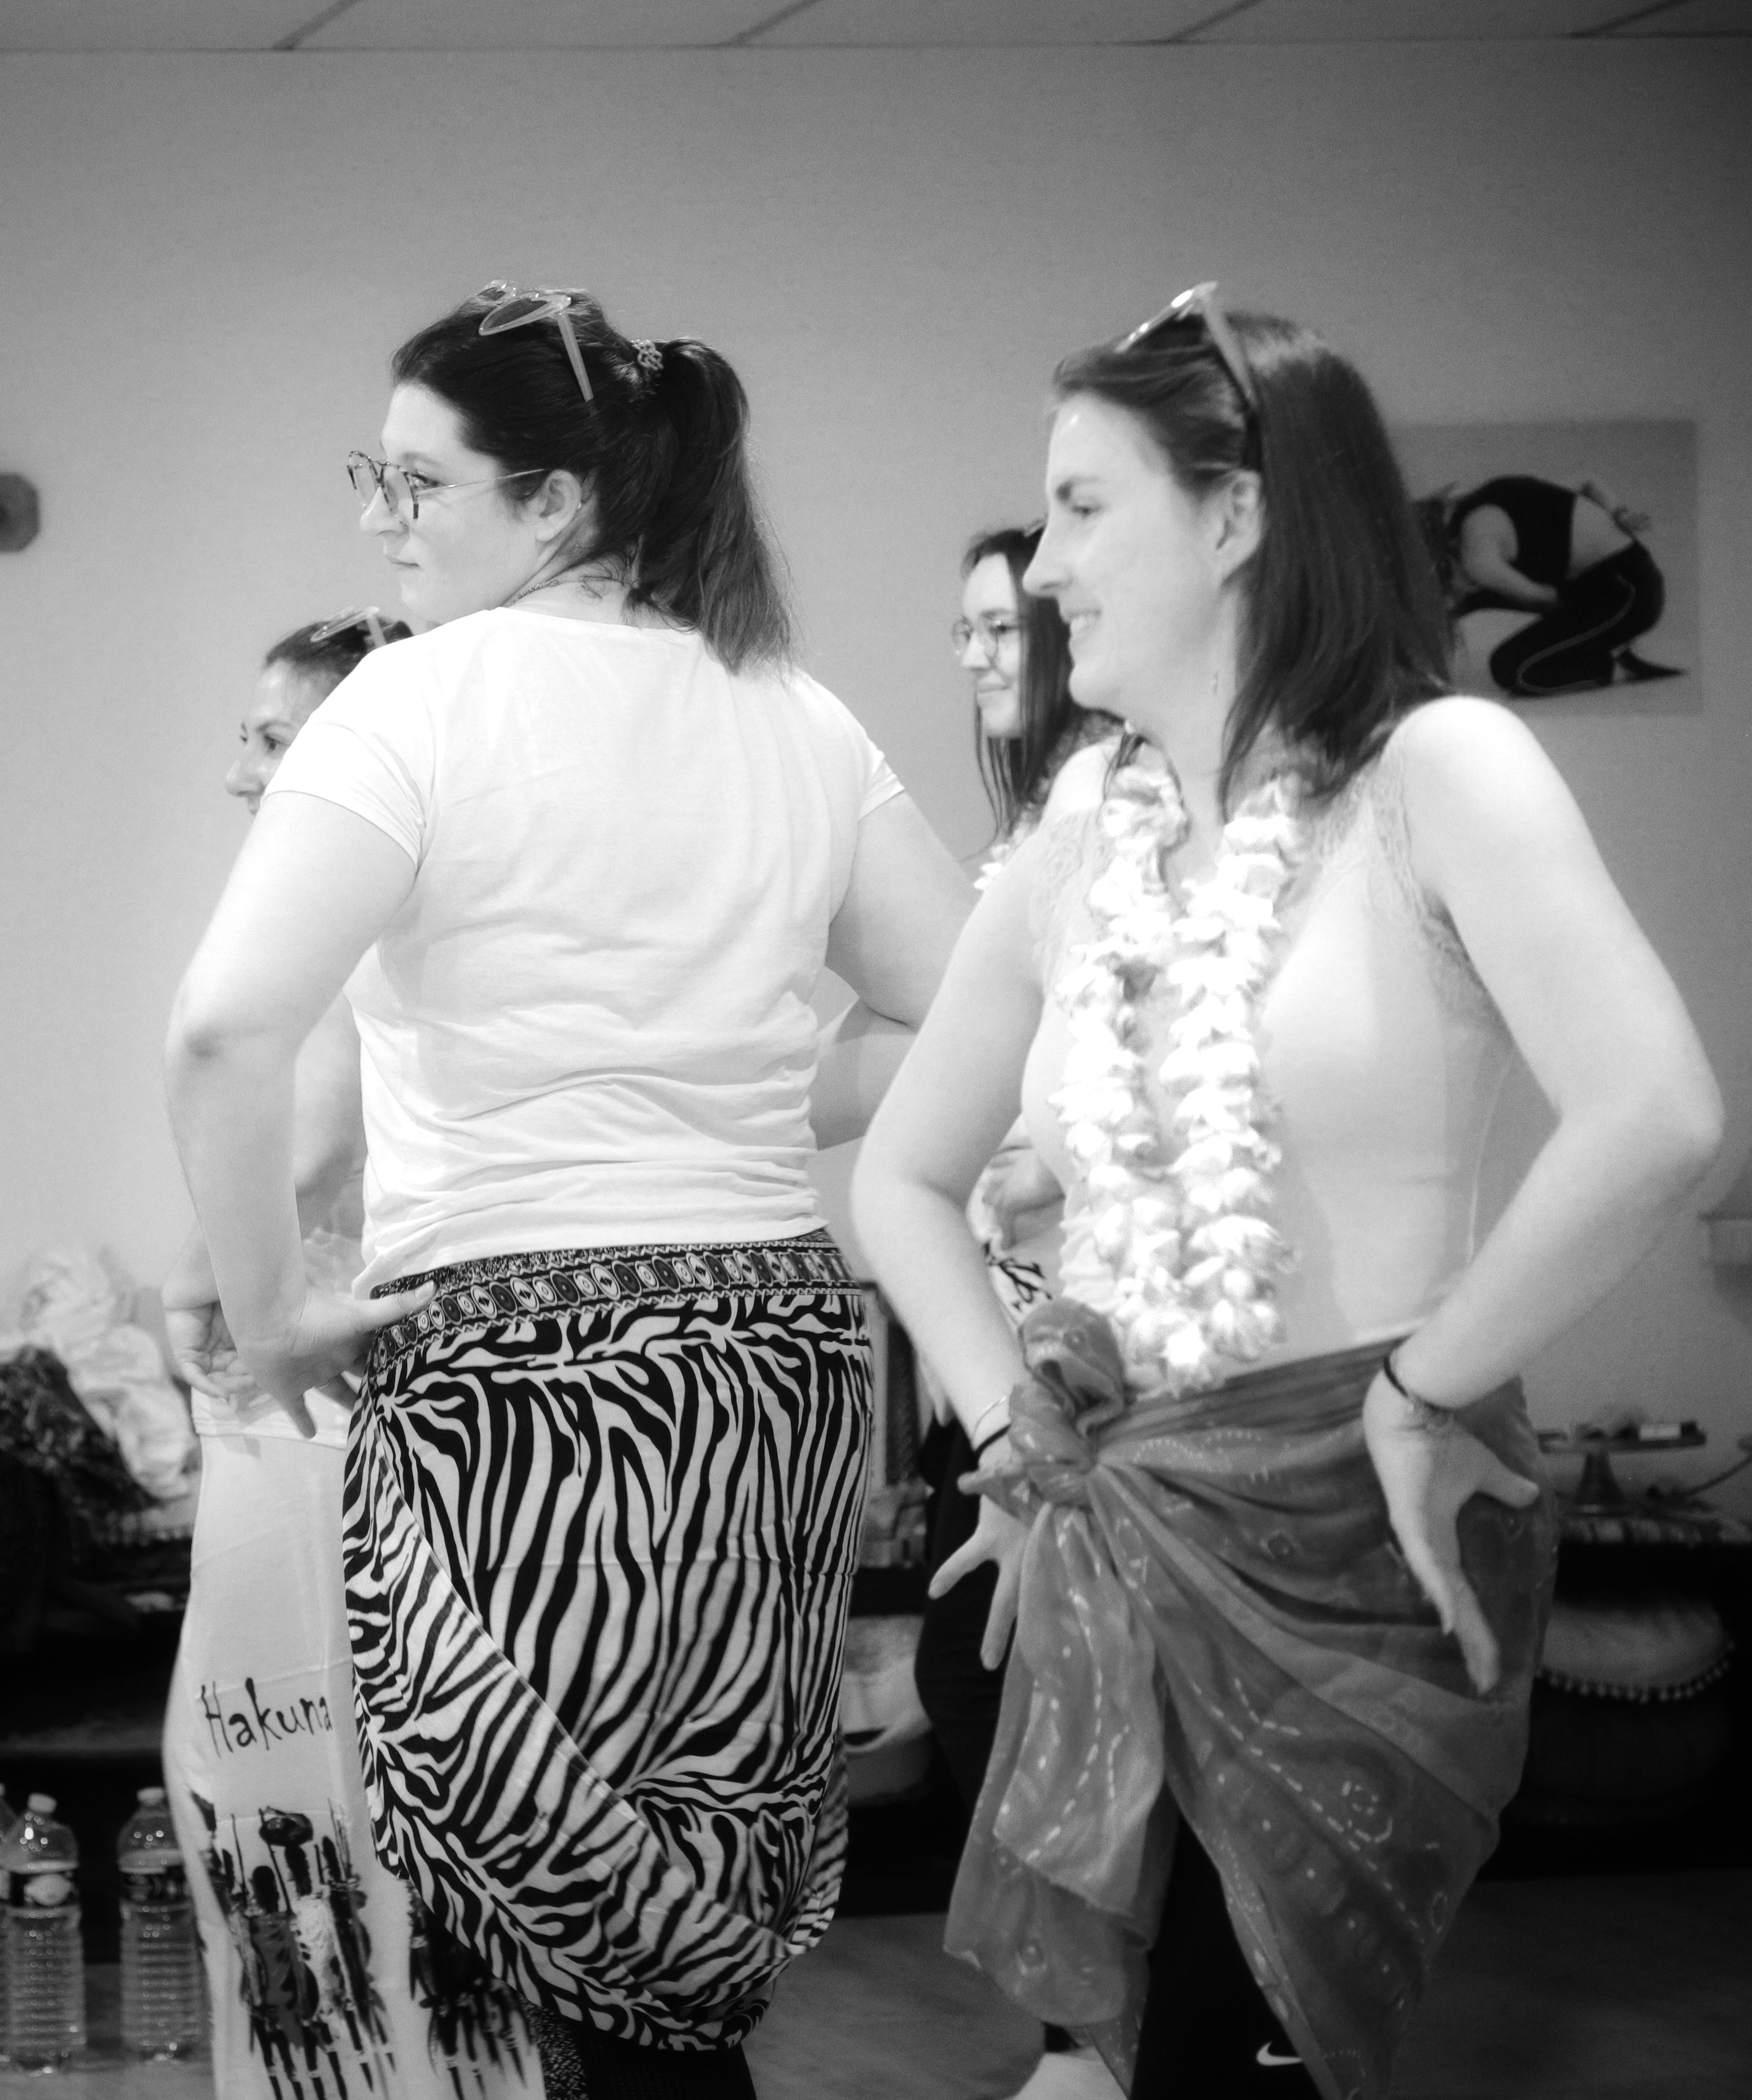
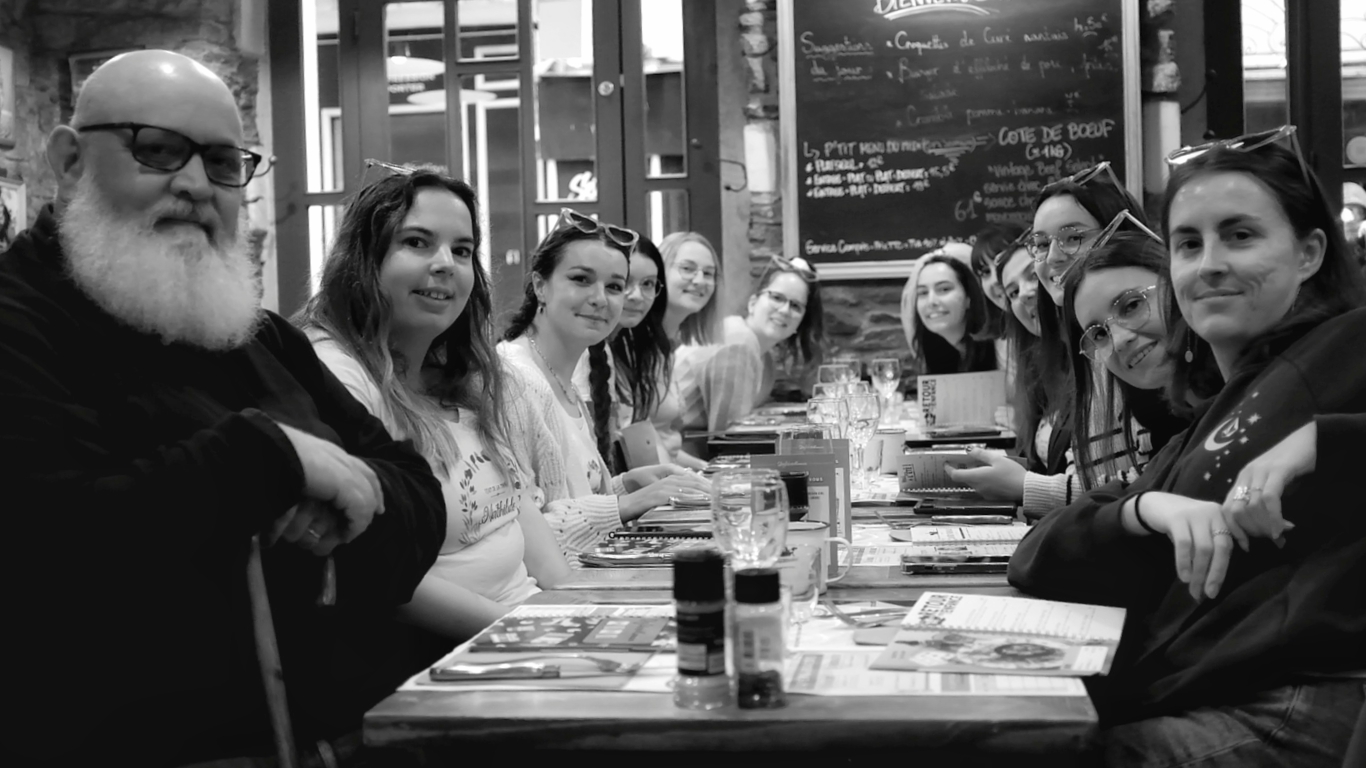
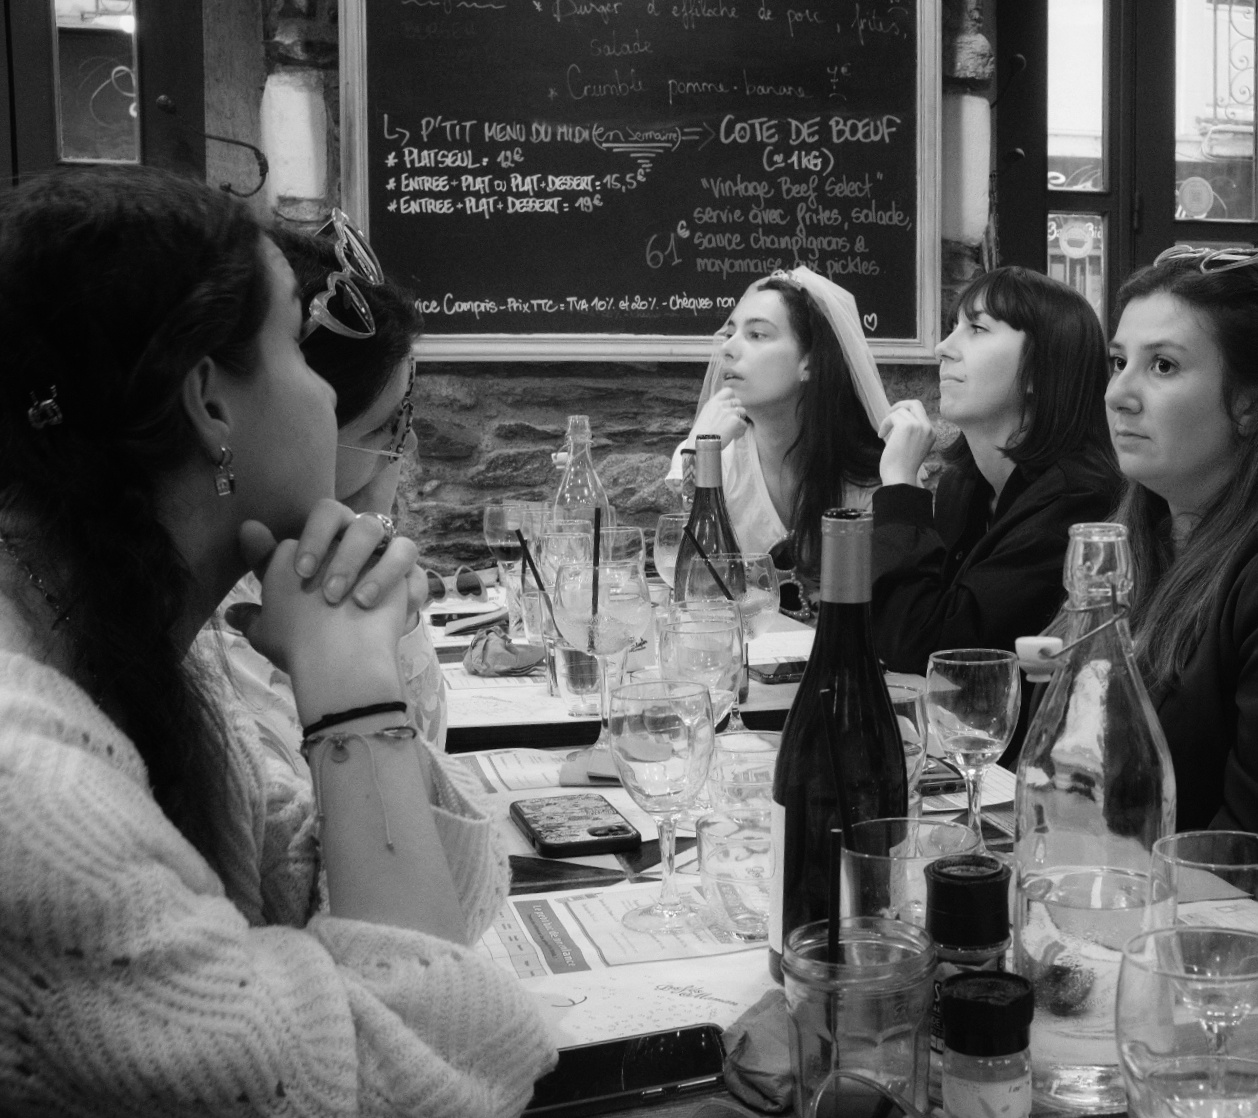
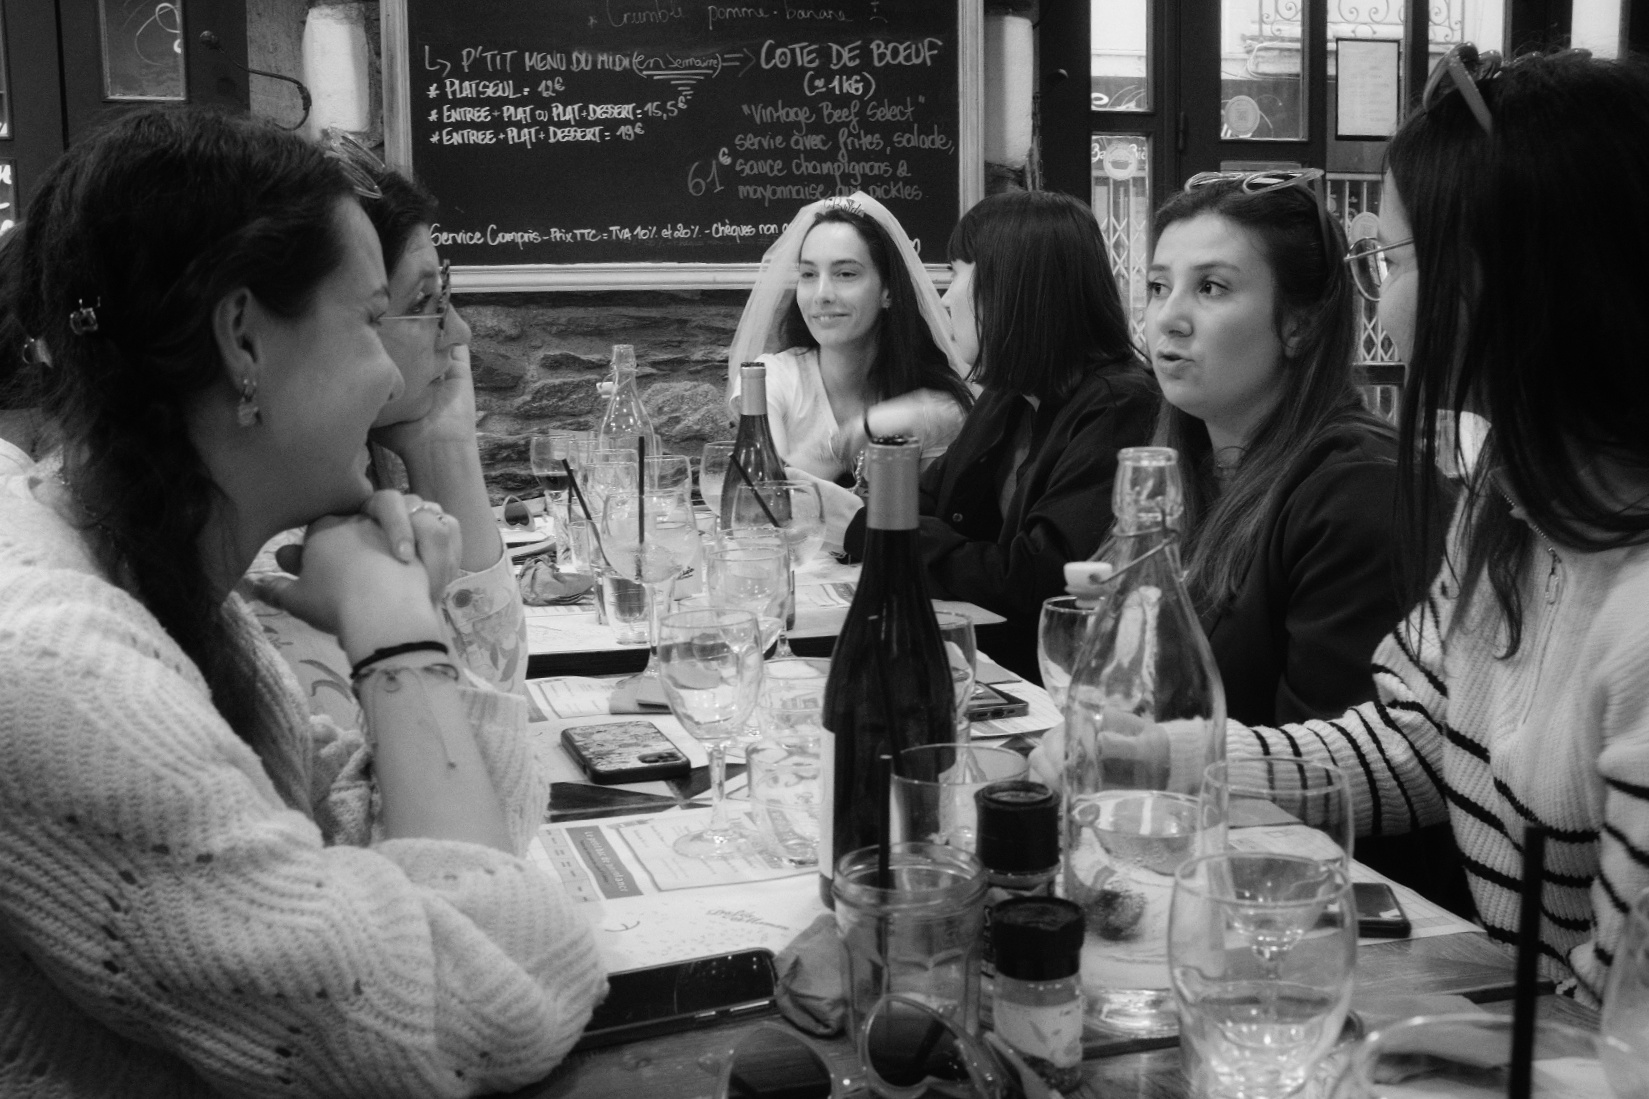
So, let’s do so much more. The black and white tool offers you some presets which might correspond to your taste. I tend to leave them alone and instead press on the circle that will give a series of colour filters to choose from. This is a direct link back to black and white film photography, and you know how much I love that. I love using the red filter, which, as in film photography, will make your blues darker. This is beautiful for those landscape photos where you want a dark sky to complement those fluffy white clouds. It’s also my default film simulation on the X100F that I use for all my street photography. It’s just a look that I fell in love with years ago.
The other common filters are all covered too.
- Orange: Orange filters give stronger effects than yellow filters but are not as bold and dramatic as a red. It is therefore an ideal choice to span the effects given by both these filters. Blue skies will be recorded in very dark tones on the print, giving bold contrast between the sky and clouds. An orange filter will also penetrate haze and fog. Most flowers will be recorded with a significant difference in tone from the surrounding foliage giving impact and effect.
- Yellow, the general purpose black and white filter,
- Green: When photographing foliage in black and white, a green filter is used almost exclusively. It lightens green foliage, which is particularly important with dark green leaves which can record very dark without a filter. It therefore gives a more natural, lighter feel to the photograph.
- Blue: A blue filter is not often associated with black & white photography however, it can really add “mood” to a photograph by increasing the effect of haze or fog. It also lightens blues and darkens yellows, oranges and reds which helps separation in scenes containing a mix of colours.
Export
You have two options. You can either press on “done” and Snapseed will record your image in the Snapseed folder and in your gallery in the Album neamed Snapseed, or you you can press “share “and you will be presented with various options on how to share your image, to Instagram, via gmail etc.
Before you do that you can press on settings where you can change the resolution of the image that will be exported. This can help if you need to reduce the image to take up less space on your phone, or if you’re loading the photo up to a website and you require a “lighter” image.
Conclusion
You now have an idea about how I edit my images on the go, and the more time goes on, the more I do it this way. Is it the same as Lightroom on my computer? No. I can’t have as much control as in Lightroom. I can’t batch edit, I can’t do this or that, but I can manage without, especially on the go. There are of course other options for photo editing on the go like Lightroom mobile,VSCO, your native photo editor app on your phone. As I said at the beginning of the article this is how “I” do things. It works for me. Try it out and it might just work for you too!
