The UK Chronicles, Part IV: Alnwick to Rothbury


The Scenic Drive: A Journey Through the Northumberland Moors

The road from Alnwick to Rothbury takes you over the Northumberland moors and through steep valleys, giving you real taste of the British countryside.  It is not only magnificent in the early morning light, but it has this way of taking your breath away at each bend in the road.

You might just have gathered by now that I was in the UK this summer, visiting my Parents in Northumberland.  You may also have gathered that I wasn’t having the best of sleeps and was thus up a little earlier than most.  You may also have gathered that I decided to go light on photography equipment this trip compared to last year, only taking my X100F with me to take photos.  You may also have gathered that this trip was not just about photography but spending some quality time with the children, especially my son, who hadn’t been to the UK for a while.  You may also have gathered that my son joined me on a couple of these photography jaunts. Right!  I think we may have set the scene.

Photography on the Go: Minimalist Gear and Techniques

We were both in the car by 6am, having breakfasted and taken our collagen in yorkshire tea to make it at least a little palatable.  This is an epic drive that I try to do at least once when I’m over.  When you see the photographs, you’ll understand why.  Like Bamburgh, I had to meter for the highlights knowing that I would be able to get back details in the shadows back home in Lightroom.  The 35mm F2.0 equivalent lens of the X100F was fine to capture enough of the scene, and if I wanted to zoom, then it would mean zooming with my feet. 

Capturing the Landscape: Heather in Bloom and Morning Light

Fortunately, there are plenty of places to stop by the side of the road on this route, which is a good job because at each turn everything changes.  The sun was coming up on our left and filling the valley with light, and the top of the hill cast a shadow that I would have to compensate for later.

The road continues with views of the heather, which was in bloom and the pink added a wonderful contrast to the warm colours of the morning reflected on the landscape.  It certainly felt a real privilege to be there and take it all in.  We passed Cragside but decided to continue on to Rothbury.

A Taste of Rothbury: Discovering the Local Flavours

We managed to find a space to park in Rothbury, and out of the corner of our eye, we saw a bakery.  An English bakery, but a proper bakery.  No pain au chocolat or croissants, but sausage rolls, meat pies, even a haggis pie.  We settled on sandwiches in proper bread cakes and millionaire’s shortbread as a sweet treat.  Next, we just had to find a bench to sit on and eat our picnic.  There’s just something about eating a sandwich in an English village in the sun.   I daren’t imagine what the winters are like!  Possibly a bit nippy…

Looking Ahead: Plans for Otterburn and Beyond

But there we sat, the two of us, munching away, deciding to go to Otterburn for more photos and possibly a rug, but that, Dear Reader, is a story for another day…

The UK Chronicles, Part II: Alnmouth


A Rare Visit to Alnmouth: Making the Most of It

Little did I know this would be my only visit to the beach and village of Alnmouth this year, so I decided to make the most of it. I had my X100F around my neck, as usual. I was up at the crack of dawn, chasing that perfect light once again.

The morning routine was pretty much the same as my first day in Lesbury: early rising, early breakfast, and an early cup of tea. The weather was gorgeous, and the light was amazing. What could go wrong?

Arriving in Alnmouth: The Beauty of Early Morning Light

I hopped in the car and headed to Alnmouth, just a short drive down the road. As I came around the roundabout in Hipsburn, Alnmouth and the River Aln came into view, bathed in golden light. The reflections on the water were breathtaking. It was early enough to find a parking space without any trouble. If you’d like to see more photos of Alnmouth, I can add a link for you.

Exploring Alnmouth: A Village with a Rich History

As the name suggests, Alnmouth is a village at the mouth of the River Aln. It was once a bustling port, playing a significant role in 17th-century Northumbrian trade. I’ll let you read up on that on Wikipedia, and I’ll be here when you’re done.

The village was still asleep as I made my way past the golf club and down to the beach. The only people around were a few dog walkers and me, enjoying the morning’s fresh air. The orange hues in the sky were perfectly reflected on the sand.

Discovering Color in Photography: A Shift in Perspective

For those interested in color theory, the use of complementary colors was striking—blue skies contrasted beautifully with the oranges in both the sky and the sand. I’m on a quest to explore my colorful side. While I still love black-and-white photography, this trip made me eager to embrace color.

My knee wasn’t even hurting; I felt fantastic. Maybe there’s something to be said about the sun’s healing powers. I made my way back to the car, carrying a lump of coal I’d found on the beach. It was too good a find to keep to myself. Surely, Killian would be up by now. Lesbury was only five minutes away. Oh, what the heck? I’ll go wake him up!

Father-Son Bonding: Revisiting Alnmouth Together

Killian was fine getting up and out with me. I only had to bribe him with a sandwich and some chocolate. We went back to Alnmouth together, and I took more pictures of the village. It was a very pleasant father-son bonding moment. He wanted to go to the post office or general store. They didn’t take cash, and for once, I was able to pay with my card for him.

Switching Editing Tools: From Snapseed to Mobile Lightroom

I recently talked about Snapseed and had been using it to edit my photos, but this time, I wasn’t happy with the results. The photos had so much potential, and I didn’t want to waste them. Some friends had recommended Lightroom Mobile, so I decided to give it a try. I already knew my way around Lightroom on the PC, and I felt right at home with the mobile version. It was very intuitive—almost as much as Snapseed. What a pleasant surprise!

So, I went back with Killian and took more pictures of the village. It turned into a wonderful father-son bonding moment. He wanted to visit the post office or the general store, but they didn’t accept cash. Luckily, I could pay with my card for him.

A Missed Opportunity: Scotts of Alnmouth

I was hoping to visit Scotts of Alnmouth, but they were closed. As we walked back to the car, I saw the owners heading to work and was invited to come back when they were open. Unfortunately, I never managed to return to taste their wonderful coffee and cakes. That was the only low point of the holiday. But as that Austrian strongman and actor famously said, “I’ll be back!” It’s good to be home.

Optimizing Images On-the-Go: Mobile Photography Editing Guide


Introduction

As the title suggests, I will describe my workflow when out and about. While there are surely other ways to do it, this is my method. It works and has stood the test of time. I usually wander around taking photos, then find a café to sit down and transfer my images to my phone. Everything is better with a nice cup of tea (or coffee) and a piece of cake.

Downloading Photos to Your Phone

Most cameras today can connect to phones via Bluetooth or Wi-Fi. My two Fujis (X100F and XT2) and my Canon (6D Mark II) certainly can. I enable Wi-Fi on my camera and connect it directly to my phone. Next, I open the corresponding app—Canon Camera Connect for my Canon and Fujifilm Camera Remote for my Fujis. Each manufacturer provides its own app for Android or Apple devices. Once the camera is connected to my phone, I can import my photographs, selecting the images I prefer.

Sorting Photos

Now comes the fun bit: sorting through all those wonderful shots you took and deciding which ones are worth working on and editing. When I transfer my images from my camera to my phone, the phone creates a folder for the imported photos. Different apps will put them in different places, so I’ll leave that to you to manage. As a rule of thumb, you will see them in the gallery app, which will show you your latest photos.

In the gallery app, you can sort your photos by date taken, favourite images, or the place where the photo was taken.

I will assume you have read my last few articles on Photography 101, composition, and the types of lenses available and how to use them, or at least how I use them. If you haven’t had that pleasure, then go and have a read…

Is the photo worthy of publication, and are you happy with it representing your talent as a photographer? Is the image in focus? Is the image well exposed? Does it fulfil its storytelling role? Will it add to your narrative? Or simply, do you like it enough to want to share it?

Let’s assume that you answered yes. You then get to share your image to Snapseed.

Editing in Snapseed

Starting with Styles:

I like to begin by using the “Portrait” style. It is a preset that gives the photo a subtle glow and some vignette. I just seem to like it, and when you have something you like that flatters your image, you are tempted to stick with it. Most times, this will work a treat on well-exposed images. But let’s imagine that you have exposed for the highlights and that your shadows are “too dark” and you want to bring them up a bit. Then I would go to the “Tools” section and use the Tune Image.

En aparté:

When exposing in digital photography, we expose for the highlights, as it is easy to lighten, or “bring up” the shadows, and we don’t want to “blow out” our highlights and just turn it into a mass of white. In film photography, it’s the opposite. We expose for the shadows, as film has more difficulties capturing details in the shadows especially in a photo with lots of light.

Using the Tools

As I inferred in the title, this is my workflow, and shows the way I use Snapseed. There’s a whole load of tools to stylise your image and to completely change the look of it, but I’m more of a “less is more” disciple when editing. Also most apps out there will have similar tools, so you can carry this knowledge with you across the board.

Crop Tool:

One thing I learnt early one is to KISS, i.e. Keep it simple stupid. Sometimes I will have an element in my photo that distracts from my subject. With the crop tool I can just crop the image and make it disappear. I can also use the crop tool to format the image to fit certain social media post settings. I’m thinking about you Instagram and Facebook. Try searching google for social medi formats and you will be inundated with results.

Healing Tool:

Sometimes the crop isn’t enough to take away distracting elements from our photo. You might have a beautiful shy and want to get rid of that Jumbo Jet in the sky. One way of doing that is to wait until the Jumbo Jet has flown away, but let’s say that it’s too late… Using the healing tool will clone part of the image and replace the Jumbo Jet that just wants to noticed and validated man! To get the best results it’s better to zoom into the image and have a smaller area to work on.

Tune Image:

This is where I do the basic edits, bringing up the shadows or bringing down the highlights. I usually keep it to that. At a push, I will bring up the brightness if the photo has been underexposed. Somtimes I will add a little contrast but I tend not to use the other tools. I don’t want to denautre the photograph.

Rotate Tool:

We should always try and keep our horizons straight, except when making the conscious decision not to. The rotation tool tries to straighten what it thinks should be straight. It generally works quite well, but you do have total control as well as a grid to check the lines in your photo.

Brush Tool:

This is where we can do our burning and dodging. You can choose to highlight a certain area and darken others to emphasise your subject. This brings the photo to life. There are tutorials galore on YouTube that go into more detail than I will in this “basics” article.

Black and White Tool:

Welcome to the world of black and white conversion. It’s a process that a majority of my photography goes through. You can, of course, just use the saturation tool in the “Tune Image” section, and you will get a monochrome image. But you can do so much more.

So, let’s do so much more. The black and white tool offers you some presets which might correspond to your taste. I tend to leave them alone and instead press on the circle that will give a series of colour filters to choose from. This is a direct link back to black and white film photography, and you know how much I love that. I love using the red filter, which, as in film photography, will make your blues darker. This is beautiful for those landscape photos where you want a dark sky to complement those fluffy white clouds.  It’s also my default film simulation on the X100F that I use for all my street photography.  It’s just a look that I fell in love with years ago.
The other common filters are all covered too.

  • Orange:  Orange filters give stronger effects than  yellow filters but are not as bold and dramatic as a red. It is therefore an ideal choice to span the effects given by both these filters.  Blue skies will be recorded in very dark tones on the print, giving bold contrast between the sky and clouds. An orange filter will also penetrate haze and fog. Most flowers will be recorded with a significant difference in tone from the surrounding foliage giving impact and effect.
  • Yellow, the general purpose black and white filter,
  • Green:  When photographing foliage in black and white, a green filter is used almost exclusively.  It lightens green foliage, which is particularly important with dark green leaves which can record very dark without a filter. It therefore gives a more natural, lighter feel to the photograph.
  • Blue: A blue filter is not often associated with black & white photography however, it can really add “mood” to a photograph by increasing the effect of haze or fog.  It also lightens blues and darkens yellows, oranges and reds which helps separation in scenes containing a mix of colours.

Export

You have two options.  You can either press on “done” and Snapseed will record your image in the Snapseed folder and in your gallery in the Album neamed Snapseed, or you you can press “share “and you will be presented with various options on how to share your image, to Instagram, via gmail etc.

Before you do that you can press on settings where you can change the resolution of the image that will be exported.  This can help if you need to reduce the image to take up less space on your phone, or if you’re loading the photo up to a website and you require a “lighter” image.

Conclusion

You now have an idea about how I edit my images on the go, and the more time goes on, the more I do it this way.  Is it the same as Lightroom on my computer?  No.  I can’t have as much control as in Lightroom. I can’t batch edit, I can’t do this or that, but I can manage without, especially on the go.  There are of course other options for photo editing on the go like Lightroom mobile,VSCO, your native photo editor app on your phone.  As I said at the beginning of the article this is how “I” do things.  It works for me.  Try it out and it might just work for you too!

Prime Lenses: Elevating Your Photography Beyond the Basics – Part I


Introduction

This article is a follow on from my last article discussing the various merits of zoom and prime lenses.  Today I’m going to try and give a more indepth look into this world of primes.  The lenses that I will be discussing are my own and I have experience with them.  I will be talking more about how “I” use them and how they affect “my” photography, be that the actual photos or the photographic experience.  All the really techy stuff is available on Google;  I’m trying to give you an idea of the sentiments that I have when using the various lenses.  That said, let’s get into the nitty gritty.  I will go through each lens giving you details on how I use it, how “they” say I should use it, and start from the widest to the longest focal length.  This was turning into a longer article than usual, but since there’s a lot to cover, it will become a two part article.  Again mother, I will be talking shop, so consider yourself warned again… Sounds fair?  Let’s go!

Fisheye lens (TT Artisans 7mm f2.0 manual focus lens)

My fisheye lens (7mm so a 11mm full frame equivalent) is the one I use with my Fujifilm XT2.  It is a super wide lens made by TT Artisans, and its main claim to be included in my collection is that it was affordable.  Or at least affordable compared to some of the lenses out there.  However it doesn’t feel cheap on the camera.  It’s manual focus, but I can focus very closely (minimum focus distance is 0.125 metres) and the whole shot will be sharp.  It’s ultra wide so it gives a great level of distortion, which I love, but others might not.  If you can manage to get your horizon level, then you might not get as much distortion as you could by just raising the view 10° higher than the horizon. I love the effect that I can get from it.  It’s definitely a niche lens, and the price I would have to pay for something similar for my DSLR would be silly money.

16mm f2.0 (Fujifilm brand lens with autofocus 24mm equivalent for full frame lenses)

This was the first lens I bought for my Fujifilm XT2.  This 16mm lens’ full frame equivalent would be 24mm.  Why did I buy it?  Well, I already had a 35mm equivalent lens on my X100F, and thought that the difference between 24mm and 35mm would allow me to go wider and get more into my scene whilst avoiding the distortion of the fisheye lens. A particular outing sticks in my mind and was when I used the lens to take photos of the modern architecture on the Île de Nantes.  The wide angle of view (hence the name wide angle lens) was perfect for this kind of street landscape photography.  Would I use it for close-up portraits?  Only if I want to elongate people when taking a shot from low down on the ground looking up.  Would it be good for classic street photography?  Possibly as a compliment lens to my 35mm equivalent lens on my X100F.  Do I regret acquiring it?  Not at all and I particularly like its wide angle of view.

28mm f2.0 M42 mount lens for the Praktica MTL 3 film camera

I started my photographic journey with this film camera and only bought this lens much later.  I had my 50mm f1.8 (nifty fifty) and this was my first venture into a wider lens.  Could I see a massive difference straight away?  No.  But I no longer felt the need to move further back to get the view I wanted into frame.  Moving back with  a camera on your eye and banging into a building and saying sorry to the building is not the way to go, however British you may be.  The Leica Q (a very sexy little thing) uses this 28mm lens and is aimed at street photographers who have enough money to buy a Leica.  The same goes for the Richo GR II but without the need to sell a kidney.  There is a great debate on the Internet talking about the difference between the 28mm and 35mm lens for street photography, which tries to polarise everyone.  I try to stay as neutral as possible in these kinds of controversies but I do use my 35mm lens more.  Do I still like the 28mm format?  Yes.  Is it very different from the 24mm format?  Not hugely, but I tend to worry less about distortion .  I should probably go out and run a roll of film and see how I feel afterwards.  I remember the need to go in close to avoid capturing too much in the frame with this lens, but that is not a factor that could deter me from using it.

23mm f2.0 (X100F lens equivalent to the 35mm for a full frame camera)

The 35mm lens is the classic for street and documentary photography.  It was the lens used by a majority of newspaper photojournalists in the 1970’s, 1980’s and 1990’s.  This might explain its influence on my own photography.  I remember when the Independent first came out and the high quality of photojournalism.  I think that if Fujifilm decided on the 35mm equivalent for their fixed lens cameras then there’s probably a very good reason for it.  Through my use of the X100F for street and documentary photography I have become very accustomed to the view it gives me of the world.  It’s not just for the street though.  Even as a sole travel lens it allows me to capture details of a trip, as well as wider views to tell my story in more detail. It’s brilliant as a lens for environmental portraits and is wide enough to always give contect in the frame to the main subject.  If you try to do close up photography with portraits you might notice some distortion but if that happens just move ever so slightly backwards, reframe, and the problem should no longer be one.

In my next article, we will go higher up the focal lengths and discuss the narrowing field of view that they offer and explore how they bring the background forwards. As for this article, all the information laid out is equally as valid for film or digital photgraphy.

The X100F, again!


It seems that I’m not the only one who raves about this powerhouse of a camera. This just proves that size truly doesn’t matter. I’ve mentioned it on numerous occasions and I stand completely justified in doing so!

Here’s a selection of articles that I have written showcasing phtoography from this amazing little camera in no particular order:

The idea behind using a camera is not just about capturing moments, it’s also about the experience it grants you. This camera has the ability to inspire and motivate its users to explore and create, which is a testament to its design and functionality. The joy and enthusiasm that comes with using this camera is contagious, and it’s evident in the way it empowers photographers to unleash their creativity. It’s not just a tool, but a companion that fuels the passion for photography, encouraging individuals to embrace the world around them through its lens.

A Day at Château de la Preuille: A Tale of Heritage, Friendship, and Unexpected Adventures


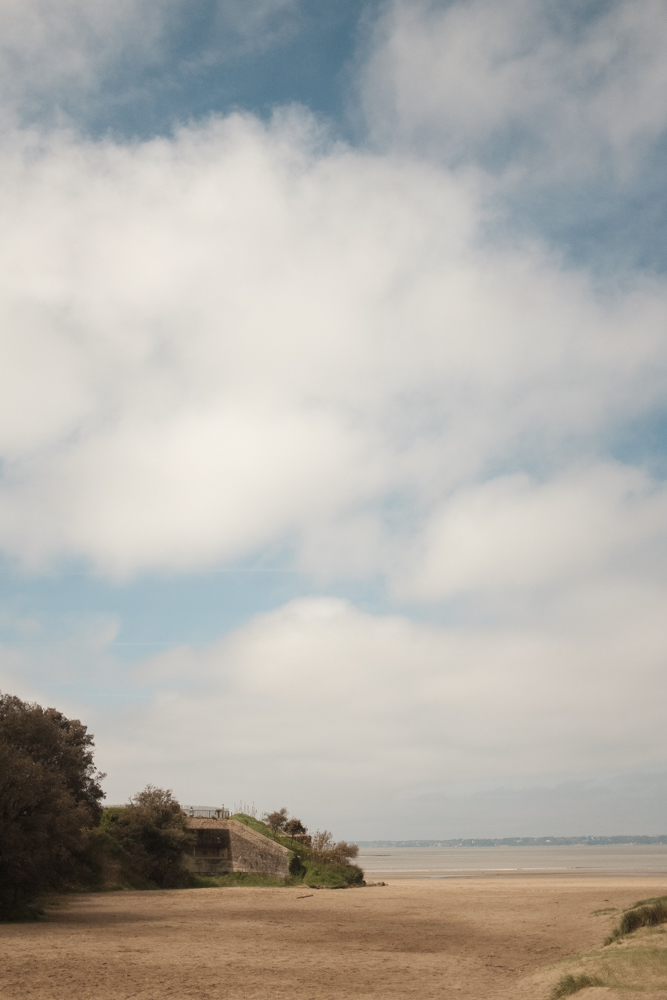
Hello Dear Reader! Today, I want to share a story with you, a story that unfolded under the skies of Saint Hilaire de Loulay. It’s a tale of heritage, friendship, and a day filled with unexpected adventures at Château de la Preuille. This picturesque château, which I’ve been photographing since my arrival in Saint Hilaire in 2001, holds a special place in my heart. This year, it unveiled a new chapter in its history, one that I had the privilege to document.

The Château and Its New Custodians

As the warm September sun bathed the château’s iconic towers, I couldn’t help but wonder at how time had woven our lives together. What began as a photographer’s fascination with this beautiful place morphosed into something deeper when I had the chance to meet Sandra and Paul, the château’s new owners from the Netherlands. Our paths crossed through my frequent visits to the castle with my camera, our mutual following on Instagram. Little did I know that this connection would lead to an extraordinary invitation — to document the Journées de Patrimoine 2023.

Journées de Patrimoine: A Glimpse Behind Closed Doors

The Journées de Patrimoine, or Heritage Days, are an important tradition in France, and a tradition that I embrace wholeheartedly. It’s the time when historic sites and monuments, normally closed to the public, throw open their doors and reveal their secrets to curious visitors. And Château de la Preuille was no exception. On Sunday, the 17th of September, 2023, the château took part in this tradition offering a rare glimpse into its storied past.

The Old Kitchens and a Giant Rubber Duckie

Inside the château, the only area accessible to the public was the old kitchens, overlooking the moat. It is someones home after all. From here, you have a captivating view of the moat itself, one of the majestic towers, and a rather amusing resident – a giant yellow rubber duckie! The water level in the moat was a lot lower than it should be. It is leaking water and needs repairing, but it still allows those lovely reflection photographs that everybdy seems to like.

Inside the kitchens, I discovered Louis Georges my old neighbour, who was exhibiting his wooden models of monuments and buildings, including meticulous replicas of the château itself. The intricacy and attention to detail were nothing short of remarkable, making it easy to recognize these iconic structures. He used to make them out of matches, and still referred to himself the whole day as Monsieur Alumette!

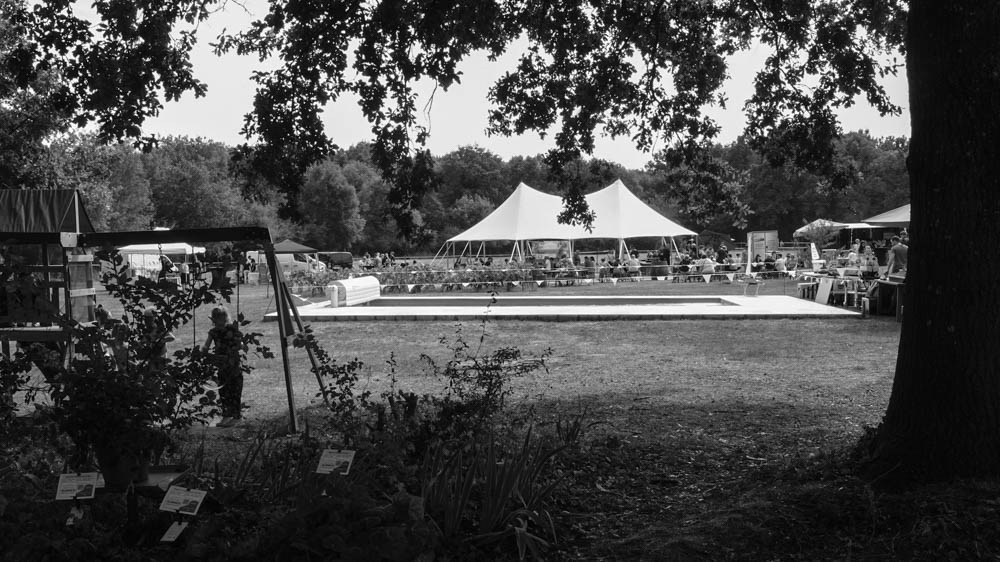
An Array of Delights in the Grounds

The rest of the day’s festivities took place in the château’s picturesque grounds, where an eclectic array of stalls and activities awaited. From jewelry crafted from delicate petals and leaves in resin to a herbologist sharing the secrets of plants, there was something to grab everyone’s interests.

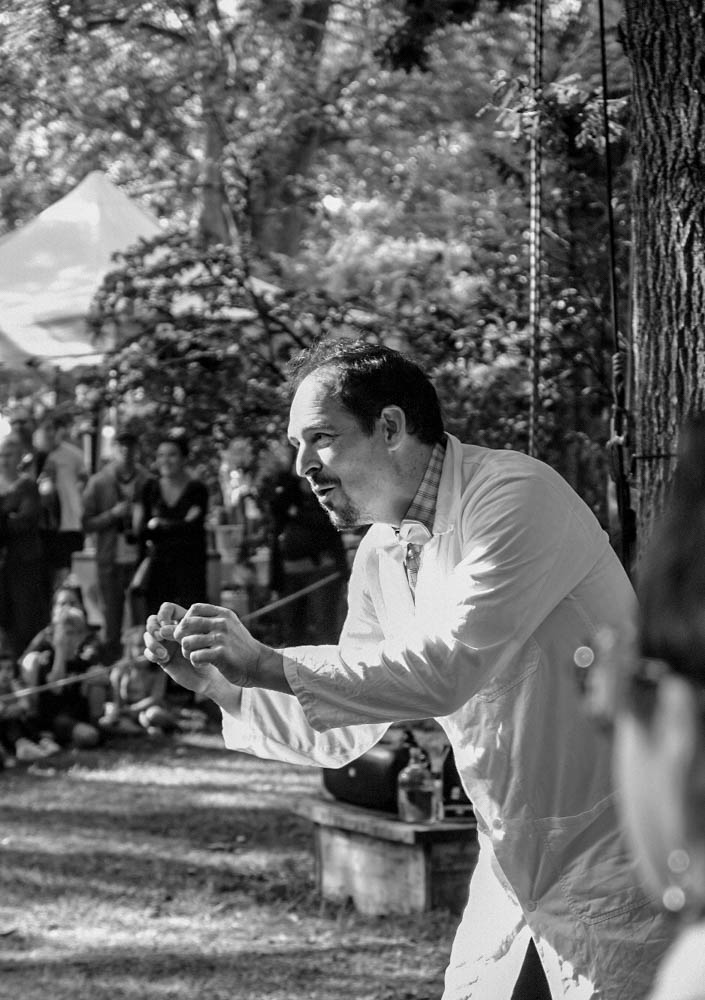
As I wandered through this tapestry, I encountered a sophrologist promoting relaxation techniques, a candlemaker, an artist who used vegetables and fruits in her art workshops, a plant vendor, Vinnochio, a local wine merchant, a model boat club “navigat”sailing” their vessels in the swimming pool, fire eaters, magicians, two mad scientists in trees (or as my wife called them, les deux zozos en blouse blanche) telling us how trees breathe, eat and drink, and so much more.

Reunions and Rediscoveries:

During the day, I was pleasantly surprised to see a large number of familiar faces and old friends whom I hadn’t seen for such a long time. The château, with its rich history and vibrant present, became a meeting point for cherished reunions and heartwarming rediscoveries.

These encounters were like snapshots of the past (which is very useful because my memory seems to be slowly going on strike, and I can hear the comedy duo Al and Heimer at the door, rekindling old connections and fostering a sense of community. The smiles and embraces were a testament to the power of such events in bringing people together. It was a reminder that in this world, where the pace of life often feels relentless, its good to be good to people and maintaining meaningful connections truly matters.

The simple act of reaching out, whether through shared interests, mutual acquaintances, or the universal language of photography, allowed for these meaningful reunions. It underscored the importance of nurturing friendships and how small seemingly ordinary gestures can lead to extraordinary moments.

As the day unfolded, and amidst the laughter, music, it became clear that the Journées de Patrimoine at Château de la Preuille extended beyond heritage and history; it was about celebrating the warmth of personal connections. In a world that sometimes feels divided, this day served as a poignant reminder that kindness, friendship, and the willingness to engage in the beauty of heritage and community are treasures that bring out the best in us all.

A Day of Discovery

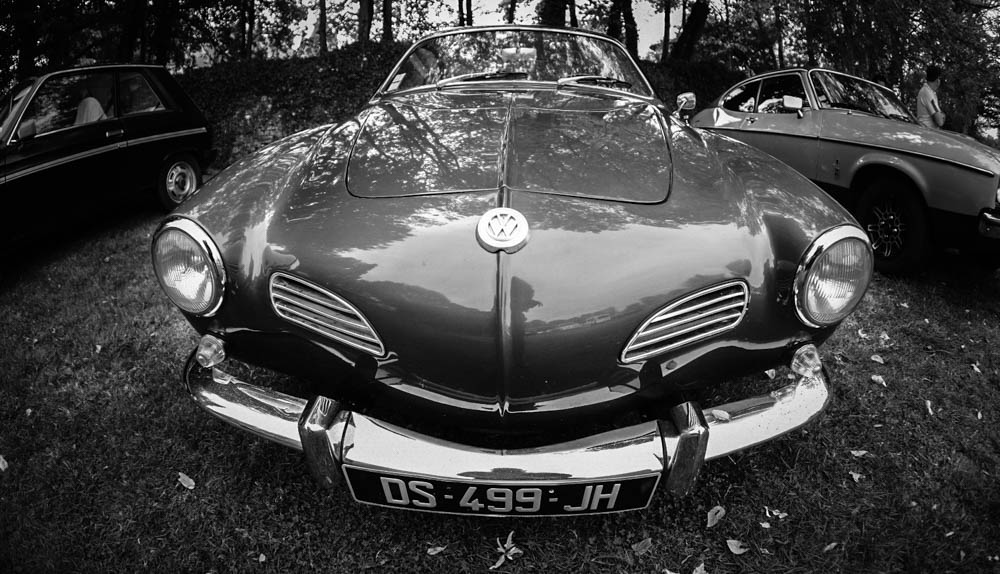
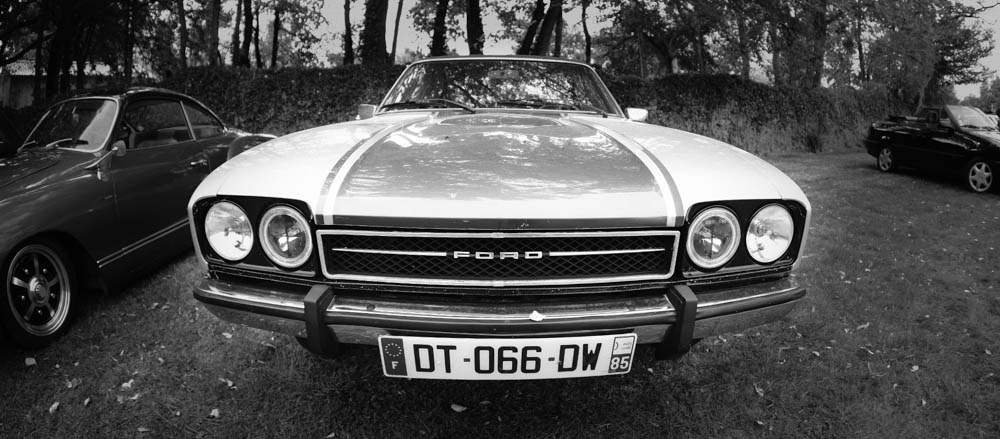
Food trucks catered to the gastronomic cravings of the large crowd. The French may be the French, but their food is excellent! And a bar run by the Comité de fêtes (yes, we have a party committee!) kept spirits high as well as raising money for repairing the moat. A DJ from “Angleterre” provided the soundtrack, vintage car enthusiasts proudly displayed their cars, and a specialist showcased games crafted from wood.

As the day unfolded, live music filled the air, and I, yours truly, had the incredible privilege of documenting every moment. But it didn’t end there. The château played host to a cycling outing, with participants in cycling helmets and lycra looking sportier than ever. The château, now in Dutch hands, even offered a dedicated parking area for bikes. How very Dutch!

Conclusion: A Day of Heritage, Friendship, and New Beginnings

As the sun dipped below the horizon, casting a golden glow over Château de la Preuille, I couldn’t help but feel a deep sense of gratitude. This day was not just about documenting history; it was about forging new connections, celebrating friendship, and cherishing the adventure that life brings.

So, Dear Reader, remember that life has a way of intertwining our passions and paths, leading us to places and people we never could have imagined. Château de la Preuille, with its rich history, artistic wonders, warm-hearted owners, and the embrace of old friends, showed me that heritage is not just about the past but also the vibrant present and the promising future.

Now, if you like the photographs in this article, I would suggest that you book a stay in the Castle. You can contact Sandra and Paul through their website, and Instagram. They can cater for range of events and the venue is popular for weddings. Can you imagine getting married and then staying in the very Castle where you had the reception. Yes you, you romantic little Reader, treat your spouse like the King or Queen that they are, and appreciate the magic. There may be a supplement for the massive rubber duckie. I’ll let you check with them….