Balancing Film and Digital: A Photographer’s Journey


Introduction

Have you ever had to make a difficult decision that you really had to think long and hard about, one that would have real-world consequences for you and your creative process? I have, and I’m going to share this first-world problem with you. Now, I know first-world problems are a joke, but this problem became very real to me during the run-up to the China Orchestra Tour: film or digital?

You all know about my fondness for the analogue process and the results I’ve been able to acquire. Judging by my recent stats and pages visited, this might just interest you.

The Allure of Film Photography

I’m not saying this was causing me the traditional anxiety that I have been known to suffer from in the past. But… I had to decide how I was going to record my trip and, therefore, what to take with me. I’ll give you a list of my ideal kit, and it might help you to understand my dilemma.

  • Camera 1
    A recently acquired Nikon FE (my first ever Nikon) and black-and-white film, ranging from Fomapan 100 ASA right through to Ilford HP5 Plus, whose box speed is 400 ASA but can be pushed up to 1600 ASA and still provide great images.
  • Camera 2
    A Mamiya C220, which is a beautiful piece of kit with various 120 format black-and-white films, HP5 Plus, Portra 400, with the addition of Kodak Tri-X.
  • Camera 3 (maybe 4)
    My Olympus Trip or even the Olympus Pen EE S half-frame camera, for those informal colour shots with some Kodak Ultra and even a roll of Portra 160 for that gorgeous vintage style.

So, you have my film cameras with the film that goes with them. They provide a photographic experience unlike any other. The slowing down of the process, the reflection on each shot taken, the satisfying sound they make when you press the shutter release button. And so much more. They also look pretty damned sexy just hanging there around your neck, and people will think you are a “real” photographer, and that old-school vibe just adds tonnes to your sartorial elegance. Yes, you become a real poser, but do I care? Absolutely not!

The Practicality of Digital
  • Camera 5
    My much-loved Canon 6D Mark II, with a couple of zoom lenses – 24-70mm F4.0, and my 16-35mm F4.0 lens, and maybe even my nifty 50.
  • Camera 6
    Fujifilm X100F, the travel photographer’s ideal camera with the 35mm equivalent F2.0 lens for that sexy bokeh. It’s the Internet that said it, not me.

Now moving into the digital world. Convenience, convenience, and in case you hadn’t realised, convenience. I love them both for the variety of shots they allow me to take, and as I learnt photography “back in the day,” I have still conserved the same approach that I had in analogue photography, i.e., not spraying and praying like I have seen some colleagues do.

It is easier to use a flash, and you have an image that can be transferred to your phone, edited in Lightroom CC, and rapidly shared in the China Orchestra Tour WhatsApp group. And people can see what a great photographer you are. Couple the Canon colours and the Fuji film simulations, and you can have all the creativity fixes you might need at your fingertips.

The film cameras were there to satisfy my love of the analogue process and the nostalgic film look that only film can give. The digital cameras for their practicality, lens effects of going really wide, and having the possibility of going right up to 70mm. Choices, choices, choices.

Reality Check

Now let’s get back to reality and look at the ever-growing list of constraints. First of all, I am going on tour as a musician and not as a photographer. One really has to make this important distinction, as it gives a sense of purpose to the trip as well as the implication of priorities.

I would be flying across half the world, and therefore have to follow the demands of the air travel industry and airline rules. That meant no more than two lithium batteries, and one in the camera, and not in your suitcase but in your hand luggage, or on your person. They don’t like the idea of these batteries exploding or causing fires mid-flight. And because we are respecting the zero BS rule here, I don’t fancy that either. I would be limited by weight for my suitcase: 23kg and 20kg for flights inside China. My priority was to be a musician first and not a photographer, if ever I needed reminding…

If I were going to the UK, I would just have to annoy my family in the car with it being loaded up with camera gear, but this is China we’re talking about. Not a jaunt across the Channel.

In my suitcase, I will need my clothes for two weeks, my suit for concerts, shoes for concerts, wash bag with all my toiletries, as well as my CPAP machine for my sleep apnoea (I have to think about my quality of sleep as well as not snoring for my unsuspecting roommate Corentin). My hand luggage would be my instrument, and as we didn’t need mutes, I might be able to get away with stuffing things up the end of my horn’s bell. Please note that I didn’t try to get a cheap laugh by using the word bell-end…

So here I am back at the beginning of this article, and yet now you might better understand my dilemma.

Tell us what you decided then!

Alright then, I will.  Welcome inside my mind and my thought processes. The sheer weight of all the kit would have made tking everything completely impractical.  I knew this and had come to terms with it.  I really wanted to analogical, but then had to come to terms with the fact that airport scanners can damage undeveloped film.  Also the Mamiya weighs a tonne and would have been impractical to lug around China, despite the wonderful images it provides.  Carmer 2 out!  Now for security check I had bought a metal film box for my films so that those charming people at airport security could check my films, making sure that I would not blow up the plane.  Not really my style…

That would leave me with Camera1, 3, and 4.  Cameras 3 and 4 are particularly sexy and Carmera 4 being a half frame camera, gives you double the amount of shots for your film.  However it uses zone focussing, and the ISO setting only go up to 200ASA so you need lots of light.  Camera 3 is similar in the fact that it goes only up to 400ASA so not good for lowlight shooting.  Cameras 3 and 4 out.

That leaves me with Camera 2.  Which is of course uber sexy and Aperture priotity, which I like, and has a larger ISO range, and one that I can focus accurately with.  I had black and white film for it which I enjoy using and know how it reacts and what kind of shots I can get out of it.  Very satisfying shots.  It also doesn’t need lithium batteries to work, so that helps rule that danger out.  But I would still have to contend with the possibility of annoying security staff, and annoying Chinese security staff, and as I speak no Chinese, that would be challenging. And yet it still had a chance of staying in the race.

Now lets explore the digital realm. Camera 5: The Canon 6D Mark II is a beast of a camera and one I enjoy using.  It’s lenses are beyond compare, and it would offer me lots of choice in choosing my subjects.  However it would be heavy, especially with those lenses, and despite being able to have my images straight away, would it really be worth that added weight.  Camera 5 out.

Camera 6.  The Fujifilm X100F.  Probably my favourite digital camera, and the one I took to the UK this summer as a test for this Chinese trip.  It’s small.  Compact and silent.  And yet despite being a digital camera, it has an analogue feel to it, and is also very sexy, so I can still pose with it and it will give that serious photographer look, and make make people wonder is he using digital of analogue…  Hmmm.  Sounds like a good choice.  It’s downfall lies in its power consumption. I would need three batteries in total.  Which would mean that I would have to entrust a battery to a friend..

The two cameras left in the race are the Nikon FE analogue camera with it’s 50mm F1.8 lens which doesn’t need batteries.  50mm was the lens I learnt photography on and would allow me to get some decent portrait shots.  However with the Fujifilm, I could change ISO setting without the hassle of changing my film, create scenic shots, as well as environmental portraits, and I could transfer the photos directly to my phone and share them straight after editing.  

The X100F: Why It Was the Right Choice

The X100F became the clear winner for several reasons. It’s compact and lightweight, which was essential for travel, yet it produces sharp, detailed images. The 35mm equivalent F2.0 lens allowed me to shoot wide-open for beautiful bokeh in portraiture and environmental shots. The range of film simulations, from classic Chrome to Acros, allowed me to quickly achieve the look I desired without extra post-processing.

Its hybrid viewfinder provided both optical and electronic options, letting me choose the right method depending on the shooting conditions. The controls are direct, giving me full control over exposure and depth of field, without the need to dig through menus. And though it’s a digital camera, it retains that analogue charm that makes shooting feel personal and intentional.

The only downside was battery life, but I managed to bring a few extra batteries, which wasn’t too much of an issue for the flexibility the X100F offered.

Conclusion

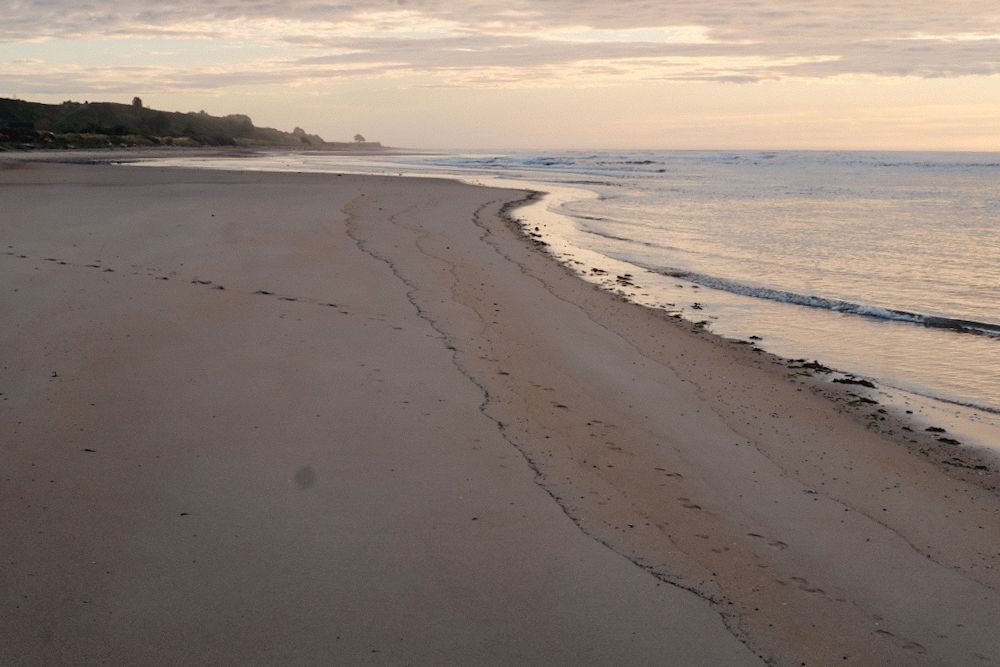
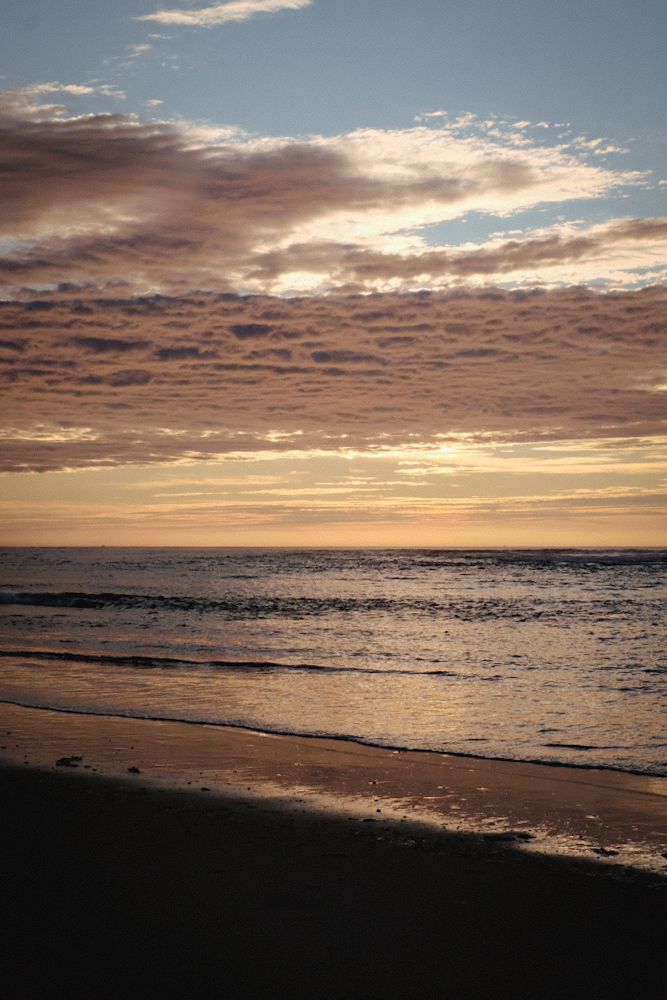
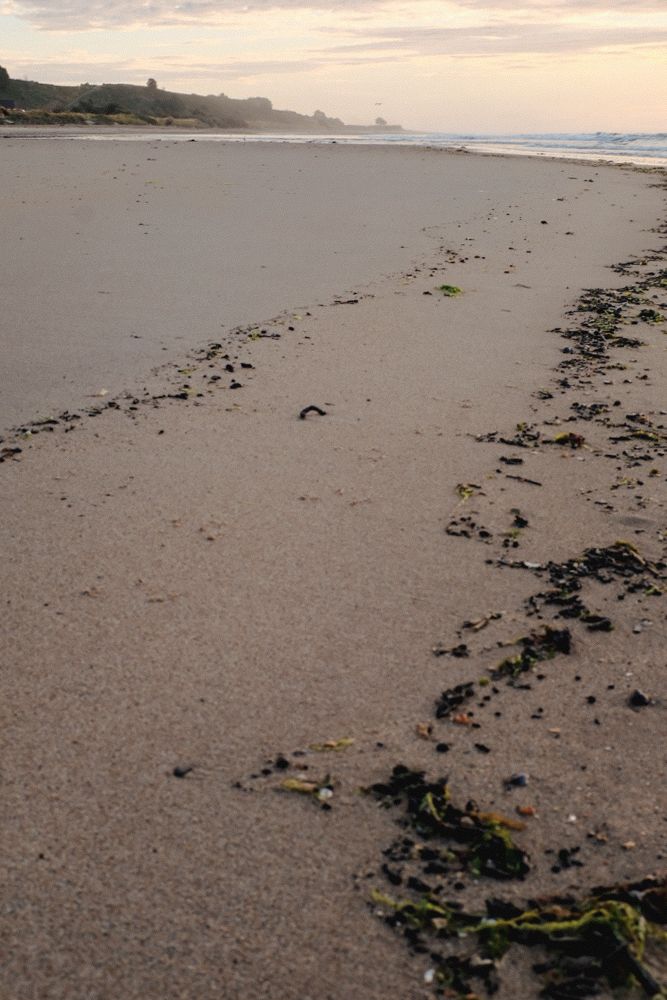
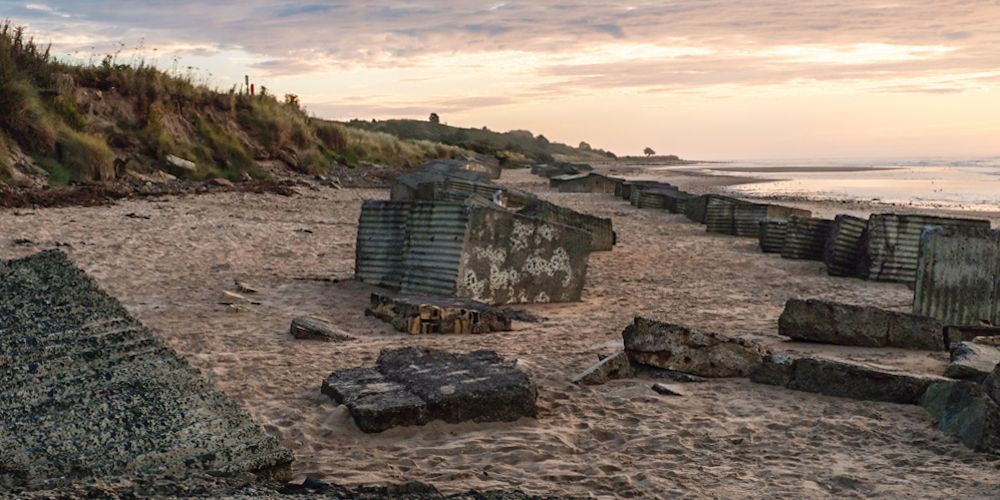
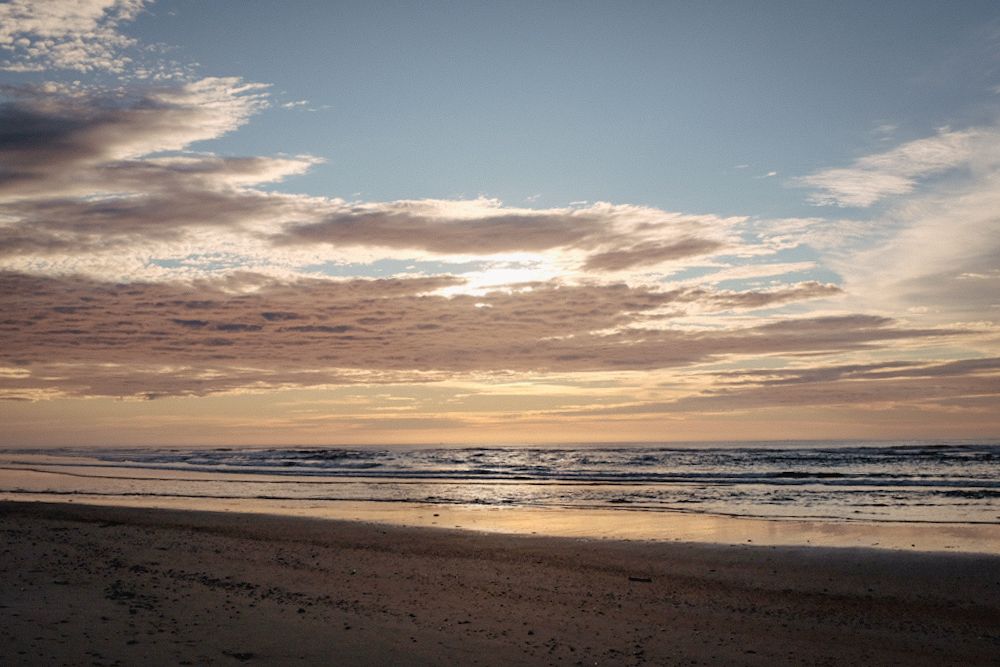
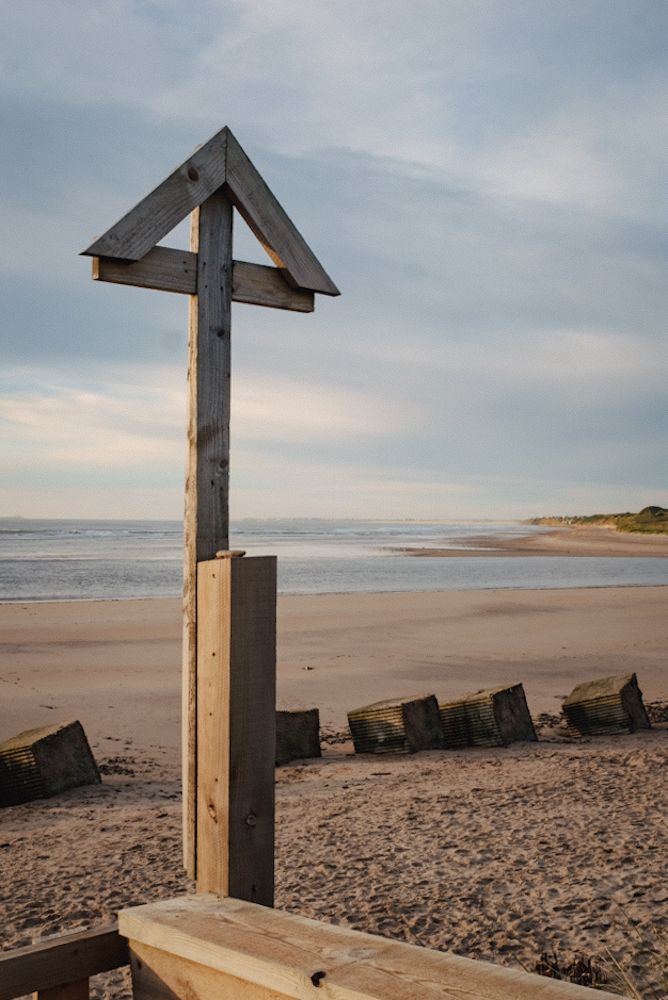
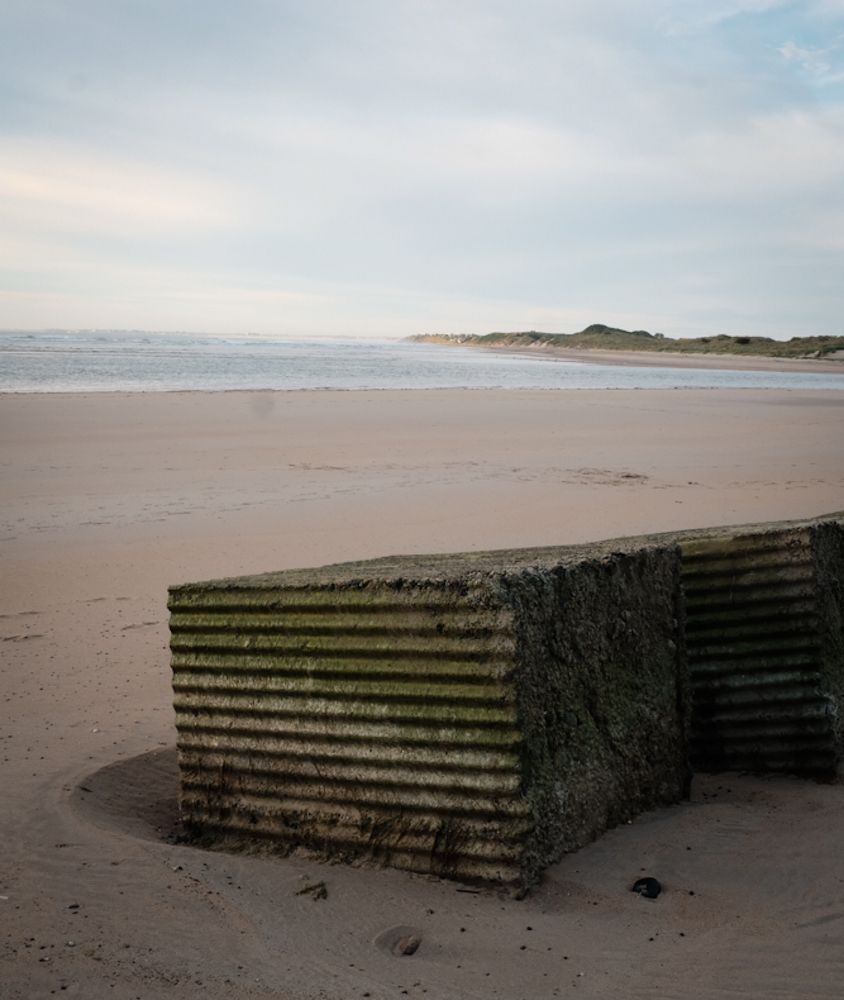
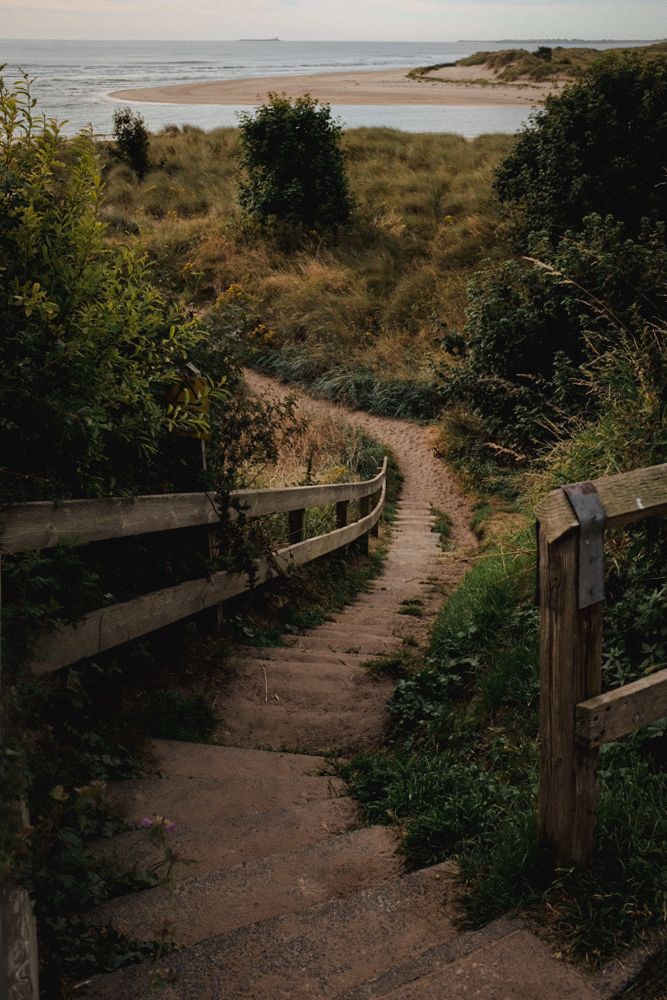
In the end, the Fujifilm X100F was the perfect balance between practicality and creativity. Its digital conveniences, combined with its classic photographic feel, made it the ideal camera for the China Orchestra Tour. The images you’ve seen in my latest China Series article were all taken with the X100F, and I’m happy with the decision I made and I hope you might be too…

The UK Chronicles, Part II: Alnmouth


A Rare Visit to Alnmouth: Making the Most of It

Little did I know this would be my only visit to the beach and village of Alnmouth this year, so I decided to make the most of it. I had my X100F around my neck, as usual. I was up at the crack of dawn, chasing that perfect light once again.

The morning routine was pretty much the same as my first day in Lesbury: early rising, early breakfast, and an early cup of tea. The weather was gorgeous, and the light was amazing. What could go wrong?

Arriving in Alnmouth: The Beauty of Early Morning Light

I hopped in the car and headed to Alnmouth, just a short drive down the road. As I came around the roundabout in Hipsburn, Alnmouth and the River Aln came into view, bathed in golden light. The reflections on the water were breathtaking. It was early enough to find a parking space without any trouble. If you’d like to see more photos of Alnmouth, I can add a link for you.

Exploring Alnmouth: A Village with a Rich History

As the name suggests, Alnmouth is a village at the mouth of the River Aln. It was once a bustling port, playing a significant role in 17th-century Northumbrian trade. I’ll let you read up on that on Wikipedia, and I’ll be here when you’re done.

The village was still asleep as I made my way past the golf club and down to the beach. The only people around were a few dog walkers and me, enjoying the morning’s fresh air. The orange hues in the sky were perfectly reflected on the sand.

Discovering Color in Photography: A Shift in Perspective

For those interested in color theory, the use of complementary colors was striking—blue skies contrasted beautifully with the oranges in both the sky and the sand. I’m on a quest to explore my colorful side. While I still love black-and-white photography, this trip made me eager to embrace color.

My knee wasn’t even hurting; I felt fantastic. Maybe there’s something to be said about the sun’s healing powers. I made my way back to the car, carrying a lump of coal I’d found on the beach. It was too good a find to keep to myself. Surely, Killian would be up by now. Lesbury was only five minutes away. Oh, what the heck? I’ll go wake him up!

Father-Son Bonding: Revisiting Alnmouth Together

Killian was fine getting up and out with me. I only had to bribe him with a sandwich and some chocolate. We went back to Alnmouth together, and I took more pictures of the village. It was a very pleasant father-son bonding moment. He wanted to go to the post office or general store. They didn’t take cash, and for once, I was able to pay with my card for him.

Switching Editing Tools: From Snapseed to Mobile Lightroom

I recently talked about Snapseed and had been using it to edit my photos, but this time, I wasn’t happy with the results. The photos had so much potential, and I didn’t want to waste them. Some friends had recommended Lightroom Mobile, so I decided to give it a try. I already knew my way around Lightroom on the PC, and I felt right at home with the mobile version. It was very intuitive—almost as much as Snapseed. What a pleasant surprise!

So, I went back with Killian and took more pictures of the village. It turned into a wonderful father-son bonding moment. He wanted to visit the post office or the general store, but they didn’t accept cash. Luckily, I could pay with my card for him.

A Missed Opportunity: Scotts of Alnmouth

I was hoping to visit Scotts of Alnmouth, but they were closed. As we walked back to the car, I saw the owners heading to work and was invited to come back when they were open. Unfortunately, I never managed to return to taste their wonderful coffee and cakes. That was the only low point of the holiday. But as that Austrian strongman and actor famously said, “I’ll be back!” It’s good to be home.

Optimizing Images On-the-Go: Mobile Photography Editing Guide


Introduction

As the title suggests, I will describe my workflow when out and about. While there are surely other ways to do it, this is my method. It works and has stood the test of time. I usually wander around taking photos, then find a café to sit down and transfer my images to my phone. Everything is better with a nice cup of tea (or coffee) and a piece of cake.

Downloading Photos to Your Phone

Most cameras today can connect to phones via Bluetooth or Wi-Fi. My two Fujis (X100F and XT2) and my Canon (6D Mark II) certainly can. I enable Wi-Fi on my camera and connect it directly to my phone. Next, I open the corresponding app—Canon Camera Connect for my Canon and Fujifilm Camera Remote for my Fujis. Each manufacturer provides its own app for Android or Apple devices. Once the camera is connected to my phone, I can import my photographs, selecting the images I prefer.

Sorting Photos

Now comes the fun bit: sorting through all those wonderful shots you took and deciding which ones are worth working on and editing. When I transfer my images from my camera to my phone, the phone creates a folder for the imported photos. Different apps will put them in different places, so I’ll leave that to you to manage. As a rule of thumb, you will see them in the gallery app, which will show you your latest photos.

In the gallery app, you can sort your photos by date taken, favourite images, or the place where the photo was taken.

I will assume you have read my last few articles on Photography 101, composition, and the types of lenses available and how to use them, or at least how I use them. If you haven’t had that pleasure, then go and have a read…

Is the photo worthy of publication, and are you happy with it representing your talent as a photographer? Is the image in focus? Is the image well exposed? Does it fulfil its storytelling role? Will it add to your narrative? Or simply, do you like it enough to want to share it?

Let’s assume that you answered yes. You then get to share your image to Snapseed.

Editing in Snapseed

Starting with Styles:

I like to begin by using the “Portrait” style. It is a preset that gives the photo a subtle glow and some vignette. I just seem to like it, and when you have something you like that flatters your image, you are tempted to stick with it. Most times, this will work a treat on well-exposed images. But let’s imagine that you have exposed for the highlights and that your shadows are “too dark” and you want to bring them up a bit. Then I would go to the “Tools” section and use the Tune Image.

En aparté:

When exposing in digital photography, we expose for the highlights, as it is easy to lighten, or “bring up” the shadows, and we don’t want to “blow out” our highlights and just turn it into a mass of white. In film photography, it’s the opposite. We expose for the shadows, as film has more difficulties capturing details in the shadows especially in a photo with lots of light.

Using the Tools

As I inferred in the title, this is my workflow, and shows the way I use Snapseed. There’s a whole load of tools to stylise your image and to completely change the look of it, but I’m more of a “less is more” disciple when editing. Also most apps out there will have similar tools, so you can carry this knowledge with you across the board.

Crop Tool:

One thing I learnt early one is to KISS, i.e. Keep it simple stupid. Sometimes I will have an element in my photo that distracts from my subject. With the crop tool I can just crop the image and make it disappear. I can also use the crop tool to format the image to fit certain social media post settings. I’m thinking about you Instagram and Facebook. Try searching google for social medi formats and you will be inundated with results.

Healing Tool:

Sometimes the crop isn’t enough to take away distracting elements from our photo. You might have a beautiful shy and want to get rid of that Jumbo Jet in the sky. One way of doing that is to wait until the Jumbo Jet has flown away, but let’s say that it’s too late… Using the healing tool will clone part of the image and replace the Jumbo Jet that just wants to noticed and validated man! To get the best results it’s better to zoom into the image and have a smaller area to work on.

Tune Image:

This is where I do the basic edits, bringing up the shadows or bringing down the highlights. I usually keep it to that. At a push, I will bring up the brightness if the photo has been underexposed. Somtimes I will add a little contrast but I tend not to use the other tools. I don’t want to denautre the photograph.

Rotate Tool:

We should always try and keep our horizons straight, except when making the conscious decision not to. The rotation tool tries to straighten what it thinks should be straight. It generally works quite well, but you do have total control as well as a grid to check the lines in your photo.

Brush Tool:

This is where we can do our burning and dodging. You can choose to highlight a certain area and darken others to emphasise your subject. This brings the photo to life. There are tutorials galore on YouTube that go into more detail than I will in this “basics” article.

Black and White Tool:

Welcome to the world of black and white conversion. It’s a process that a majority of my photography goes through. You can, of course, just use the saturation tool in the “Tune Image” section, and you will get a monochrome image. But you can do so much more.

So, let’s do so much more. The black and white tool offers you some presets which might correspond to your taste. I tend to leave them alone and instead press on the circle that will give a series of colour filters to choose from. This is a direct link back to black and white film photography, and you know how much I love that. I love using the red filter, which, as in film photography, will make your blues darker. This is beautiful for those landscape photos where you want a dark sky to complement those fluffy white clouds.  It’s also my default film simulation on the X100F that I use for all my street photography.  It’s just a look that I fell in love with years ago.
The other common filters are all covered too.

  • Orange:  Orange filters give stronger effects than  yellow filters but are not as bold and dramatic as a red. It is therefore an ideal choice to span the effects given by both these filters.  Blue skies will be recorded in very dark tones on the print, giving bold contrast between the sky and clouds. An orange filter will also penetrate haze and fog. Most flowers will be recorded with a significant difference in tone from the surrounding foliage giving impact and effect.
  • Yellow, the general purpose black and white filter,
  • Green:  When photographing foliage in black and white, a green filter is used almost exclusively.  It lightens green foliage, which is particularly important with dark green leaves which can record very dark without a filter. It therefore gives a more natural, lighter feel to the photograph.
  • Blue: A blue filter is not often associated with black & white photography however, it can really add “mood” to a photograph by increasing the effect of haze or fog.  It also lightens blues and darkens yellows, oranges and reds which helps separation in scenes containing a mix of colours.

Export

You have two options.  You can either press on “done” and Snapseed will record your image in the Snapseed folder and in your gallery in the Album neamed Snapseed, or you you can press “share “and you will be presented with various options on how to share your image, to Instagram, via gmail etc.

Before you do that you can press on settings where you can change the resolution of the image that will be exported.  This can help if you need to reduce the image to take up less space on your phone, or if you’re loading the photo up to a website and you require a “lighter” image.

Conclusion

You now have an idea about how I edit my images on the go, and the more time goes on, the more I do it this way.  Is it the same as Lightroom on my computer?  No.  I can’t have as much control as in Lightroom. I can’t batch edit, I can’t do this or that, but I can manage without, especially on the go.  There are of course other options for photo editing on the go like Lightroom mobile,VSCO, your native photo editor app on your phone.  As I said at the beginning of the article this is how “I” do things.  It works for me.  Try it out and it might just work for you too!