Why the Olympus Pen EE-S Is the Best Budget Film Camera for Beginners (Even in 2025)
Pentax 17 fever is sweeping the film photography world, and I’ll admit, I was tempted. Half-frame cameras, with their promise of double the shots per roll, sound pretty amazing. But with a price tag of 500€, the Pentax 17 isn’t exactly within my budget. That’s when I rediscovered a little gem tucked away in my camera collection: the Olympus Pen EE S.
This Japanese-made half-frame beauty hails from the 1960s, the same era as the beloved Olympus Trip 35. Like its sibling, the Pen EE S features zone focusing and a selenium cell meter for fuss-free shooting. The lens is an F2.8 22.5mm Zuiko lens. The ISO settings go up to 200 ASA, unlike the Olympus Trip which goes up to 400 ASA. So, despite everything else, it needs light. The half-frame format means you get a whopping 48 exposures on a standard 24-exposure roll. That’s double the shots for your buck, folks!
Now, the idea of twice as many photos for the same developing cost is pretty appealing. But does the Olympus Pen EE S deliver the goods in practice? Stay tuned as I put this vintage camera through its paces and share my findings. Could this be the perfect half-frame hero for those of us who can’t quite swing a Pentax 17? Let’s find out!
Well, for starters, it felt very much like using the Olympus Trip 35. It’s very slightly smaller and weighs next to nothing. The shutter button is almost identical as well. Instead of having four zones for focusing, you have three, but it’s fine, and when you turn the dial, you feel a click as you enter a new zone. You point, and then press. Simple!
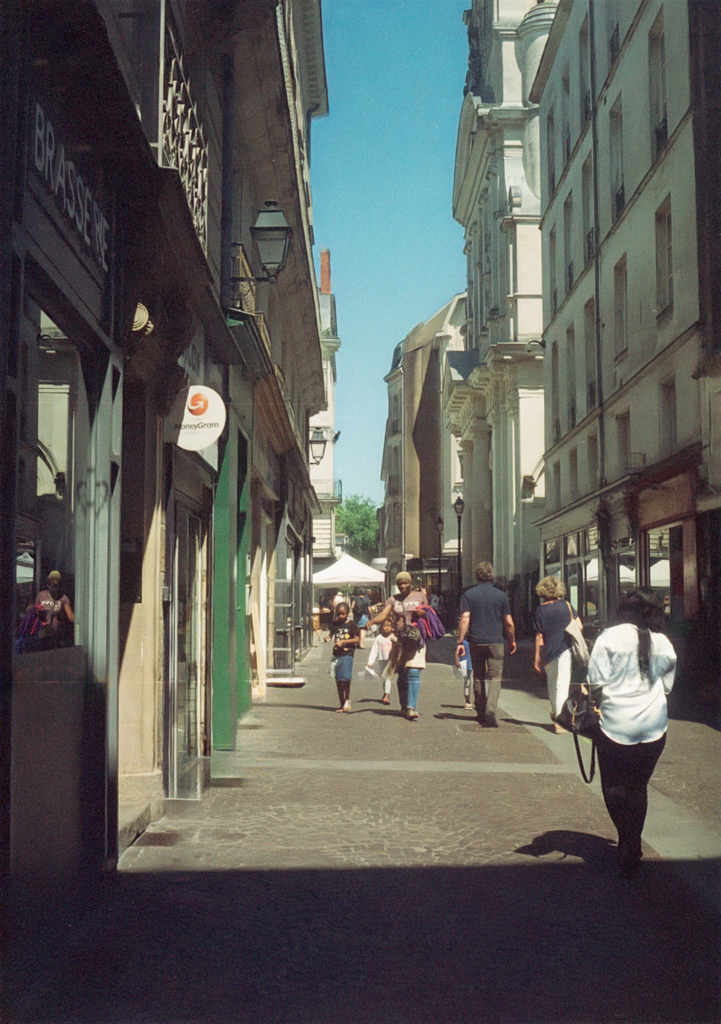
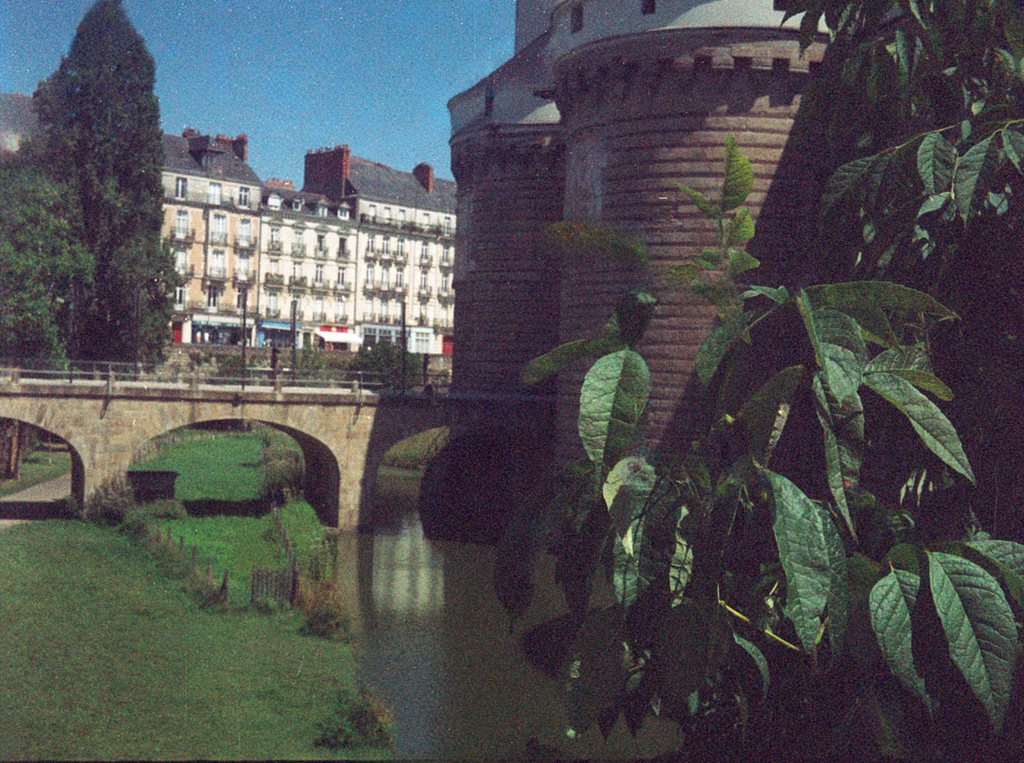
Let’s talk about this half-frame shooting experience. When talking about the Pentax 17, “they” talk about how the images are great for sharing on social media. A little like using your phone… This is the mindset that I had when putting in my Kodak Gold 200 to capture those famous Kodak moments in Nantes.
I found it a challenge to get used to the half-frame. “They” say that you have to take your photos as diptychs and remember that the two photos in your full frames are related, not just simple images. The idea is that when the two half frames are put together, you create a story and a suite of ideas, instead of two separate photos. I tried, and the results will show you if I succeeded. I felt that “they” were pulling my leg!
I’ll be honest with you. The idea behind the outing was to test the camera, see how I felt using it, and have a look at the results. It took me out of my comfort zone, which is something rare in photography for me. I was thinking about taking it to the UK with me to record the trip. It takes up next to no space in a camera bag and would allow me to shoot some film while back home. The idea of getting twice as many shots by using just half the frame is attractive. I’m just getting used to the reduced coverage that you get with just using half the frame.
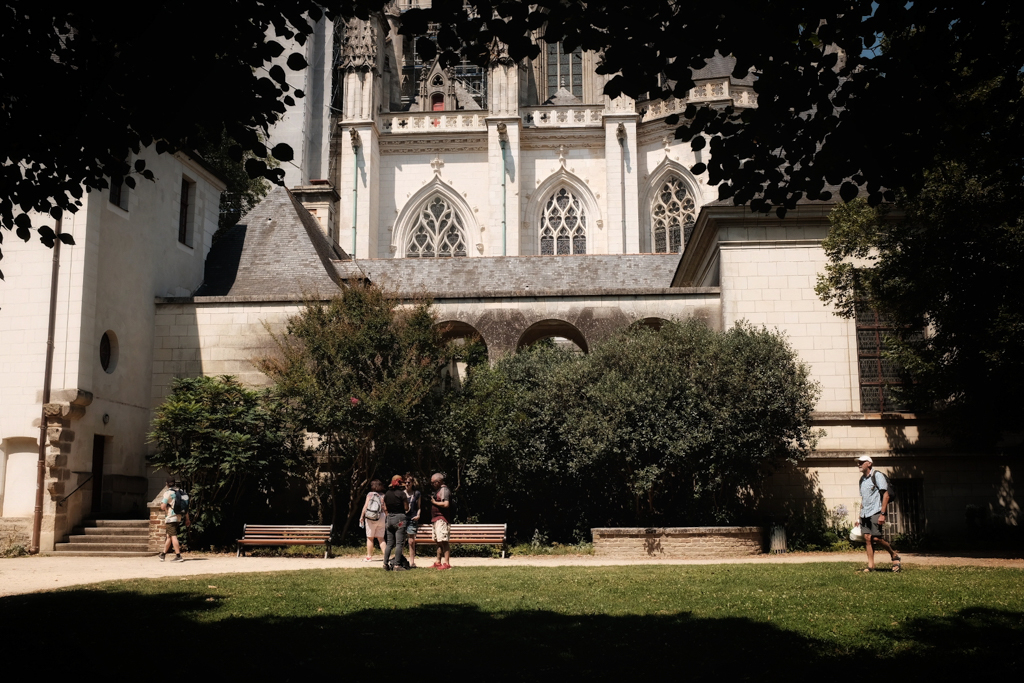
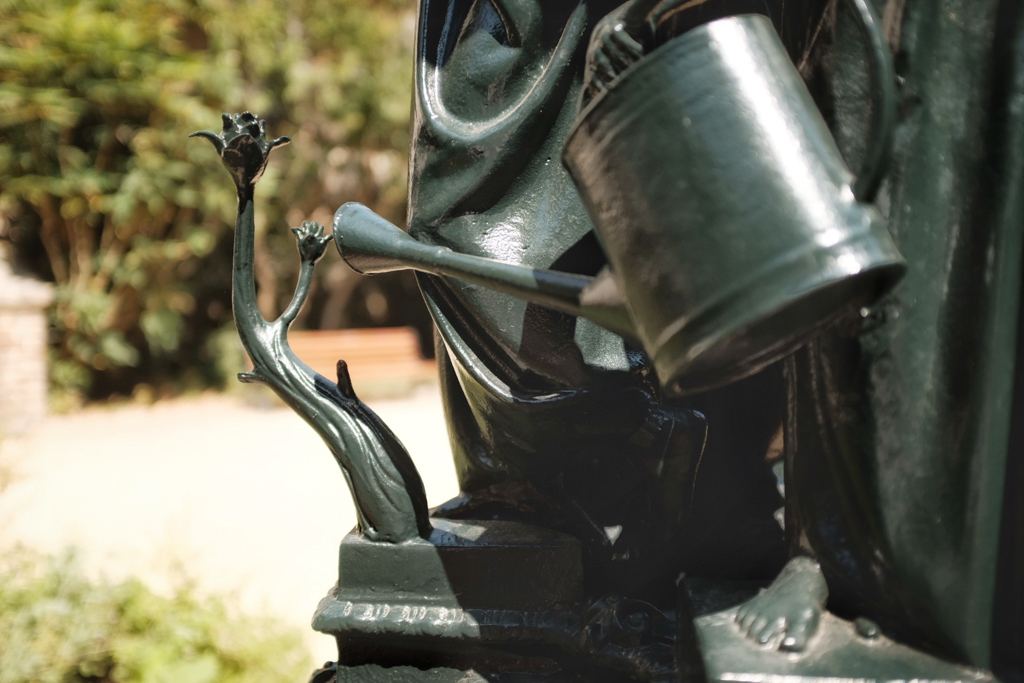
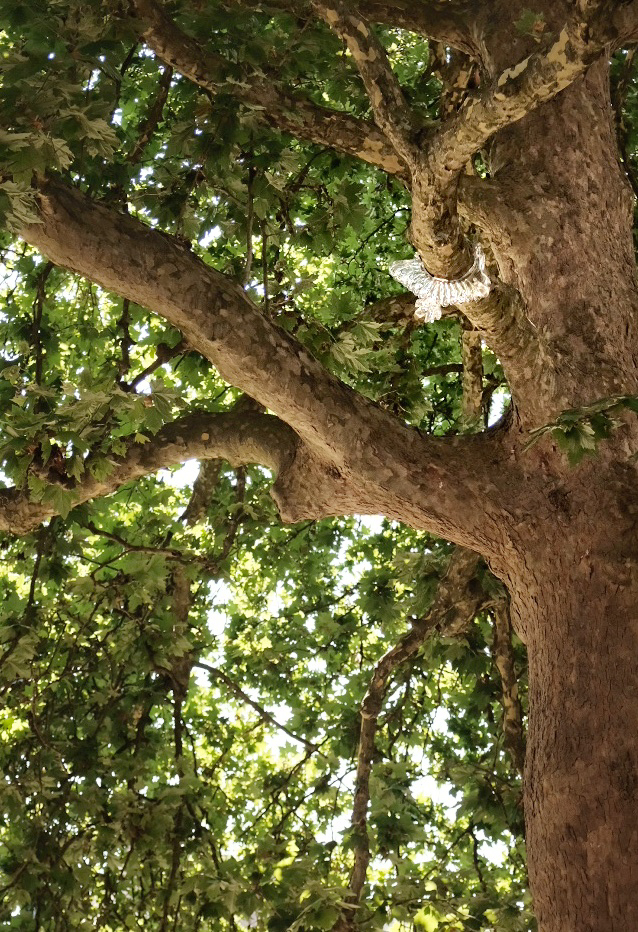
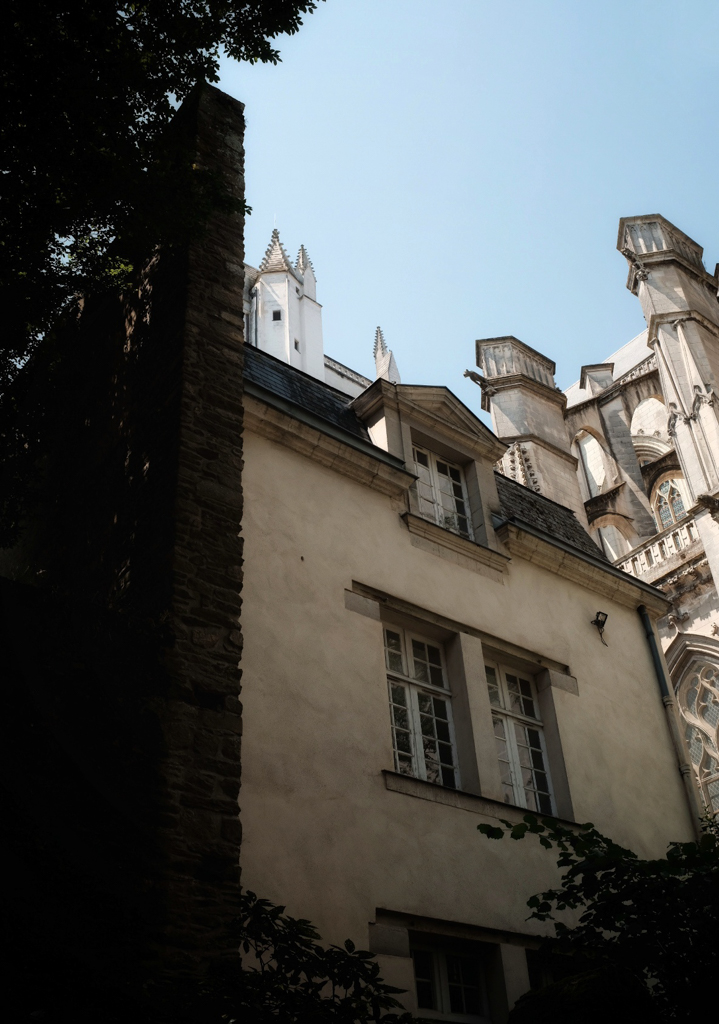
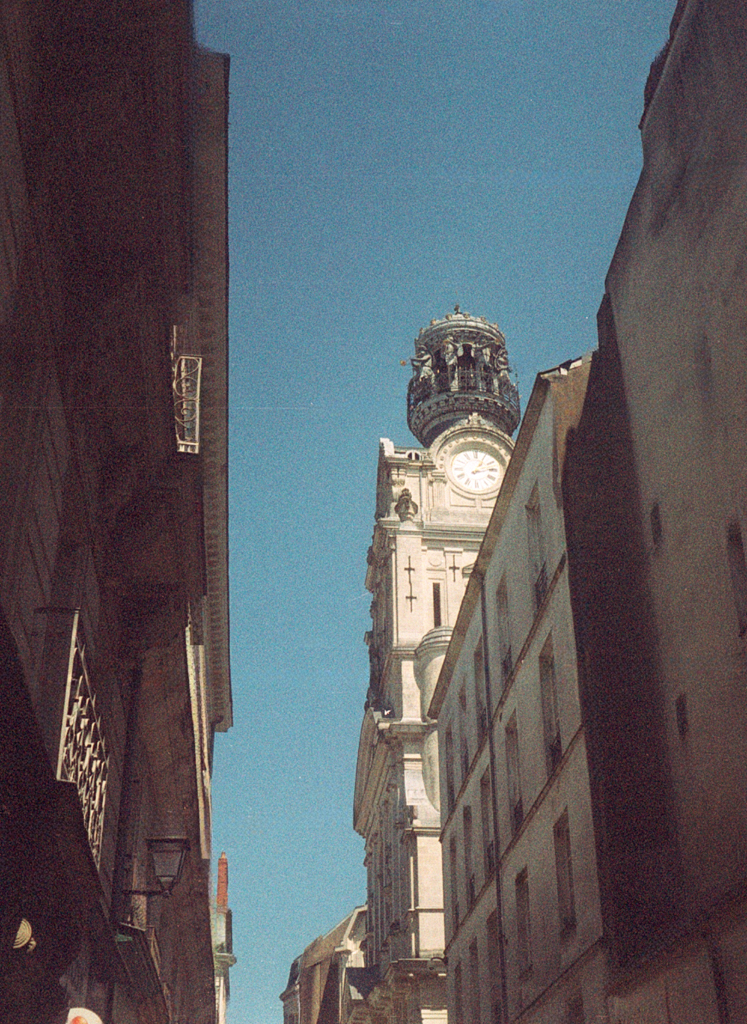
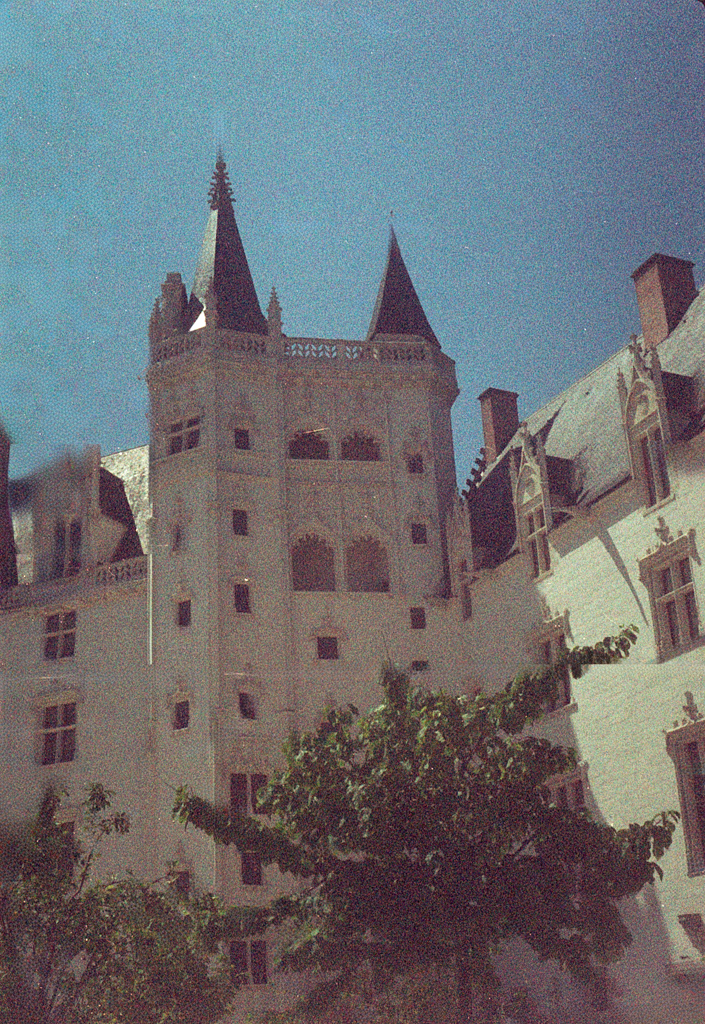
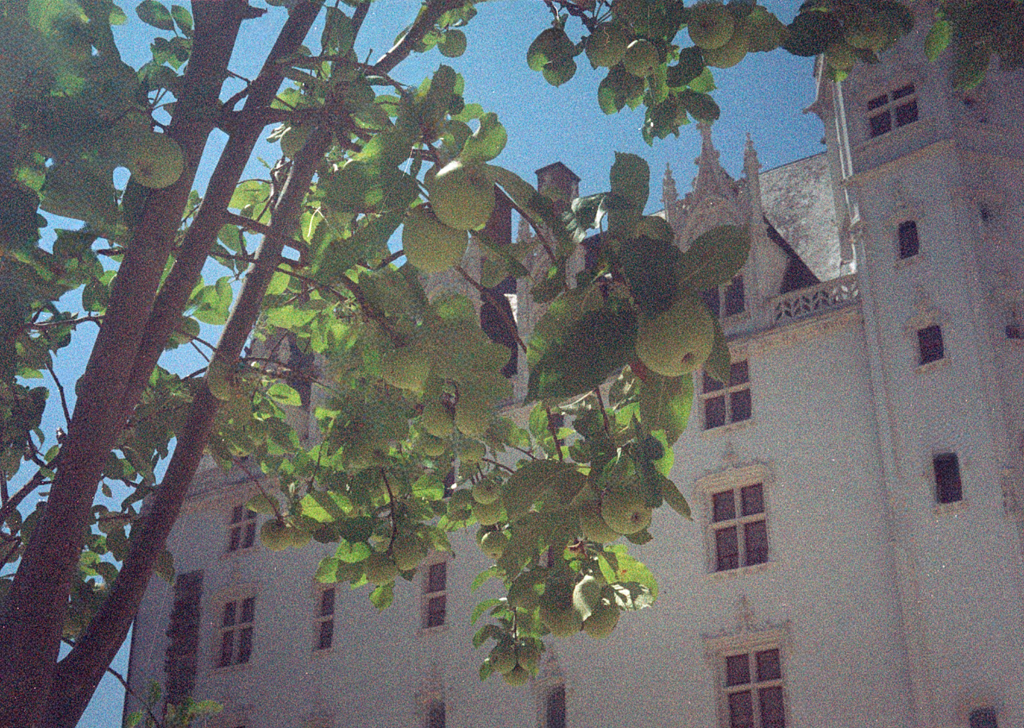
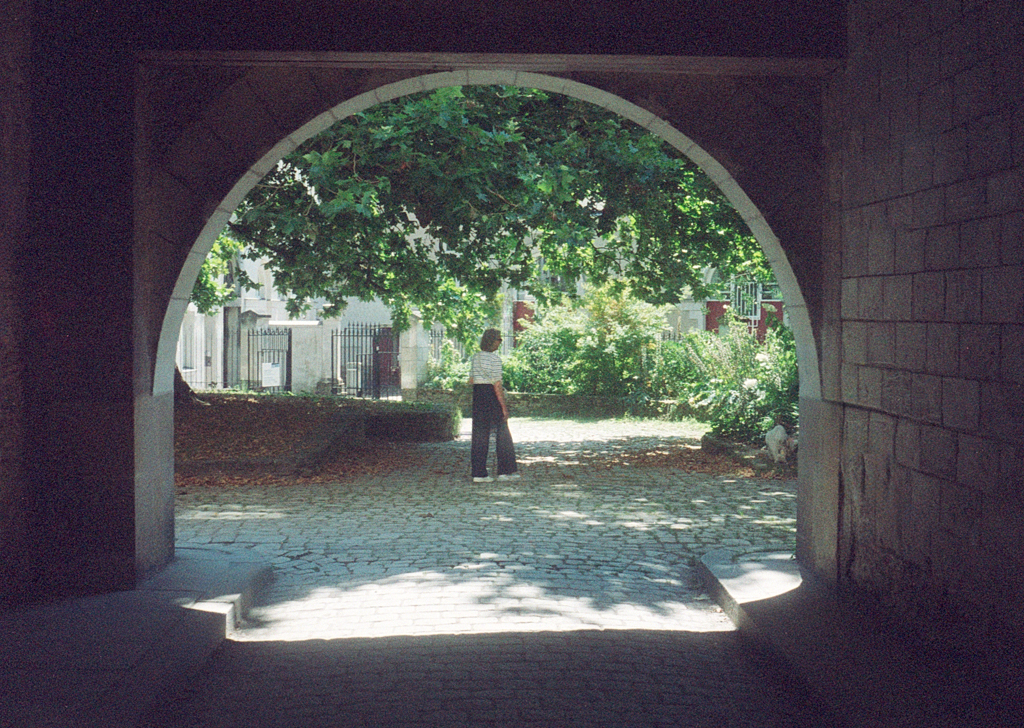
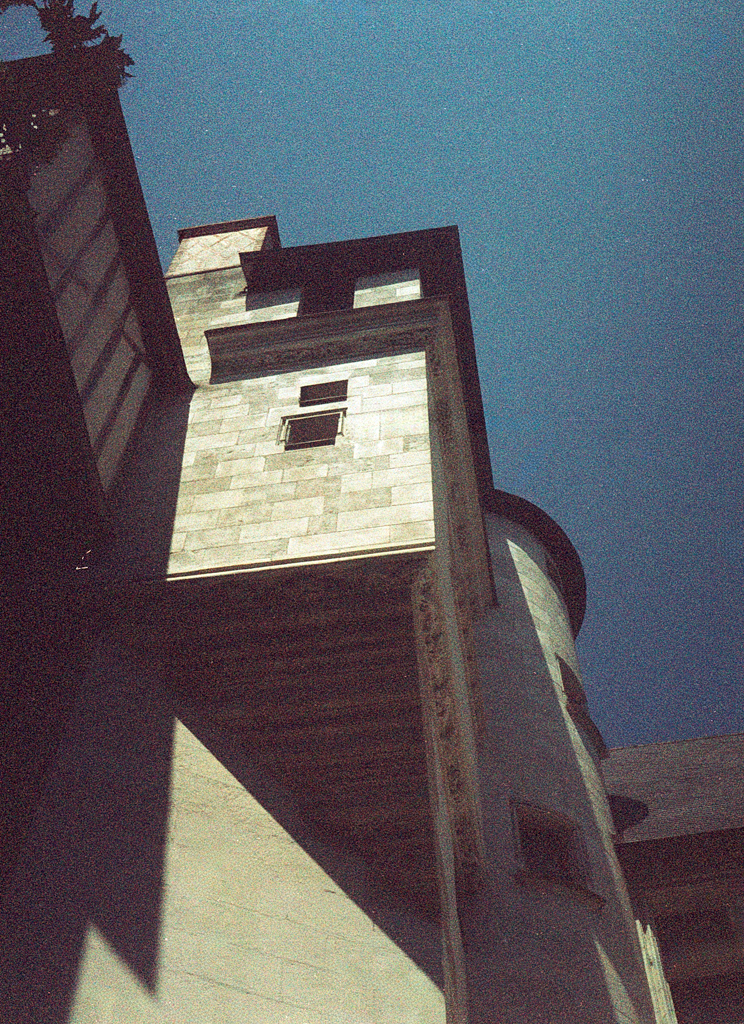
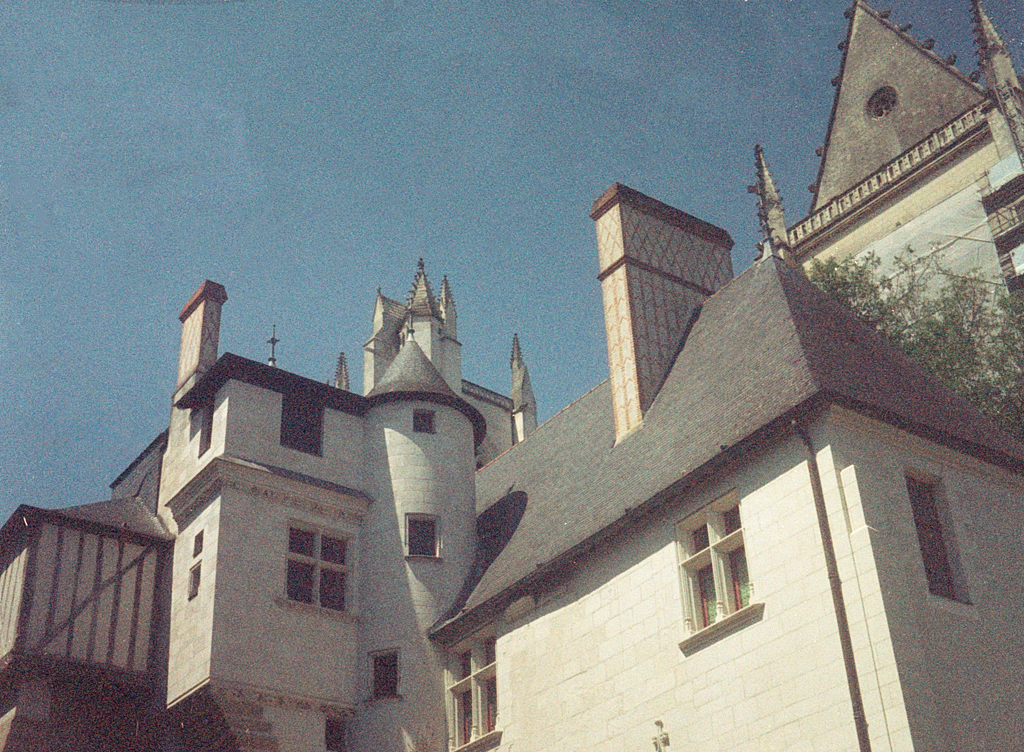
For this outing, I decided to head out towards the Cathedral, and takes some shots of the Voyage à Nantes.
I found myself thinking differently about framing my shots and using my phone as a mental template. As for the resolution of my images, they will be half as much as using my full frame, but were I to print my photos, then I would definitely see a difference. But if they’re just for sharing on social media, then the resolution will be perfectly satisfactory.
The million-dollar question is, will I take it on my trip, and will I use it? Yes, I will. Will it be my main camera? Possibly not. Will it be more like using a new toy? Possibly, even if the toy in question is a vintage 1966 toy…
Here’s what I’ll do. I’ll put some images taken on the X100F, my more modern toy, and let you see how they compare. You’ll see the diptychs and see how the different shooting styles change the outlook and how they change the framing.
These are the X100F photos with editing in Snapseed…


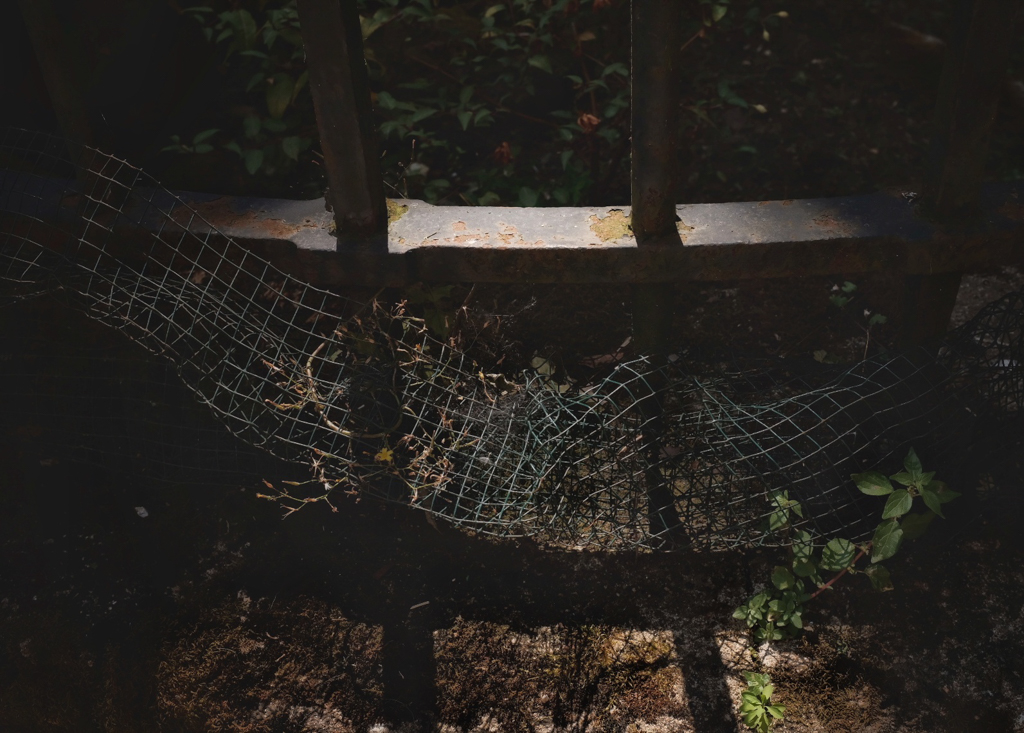

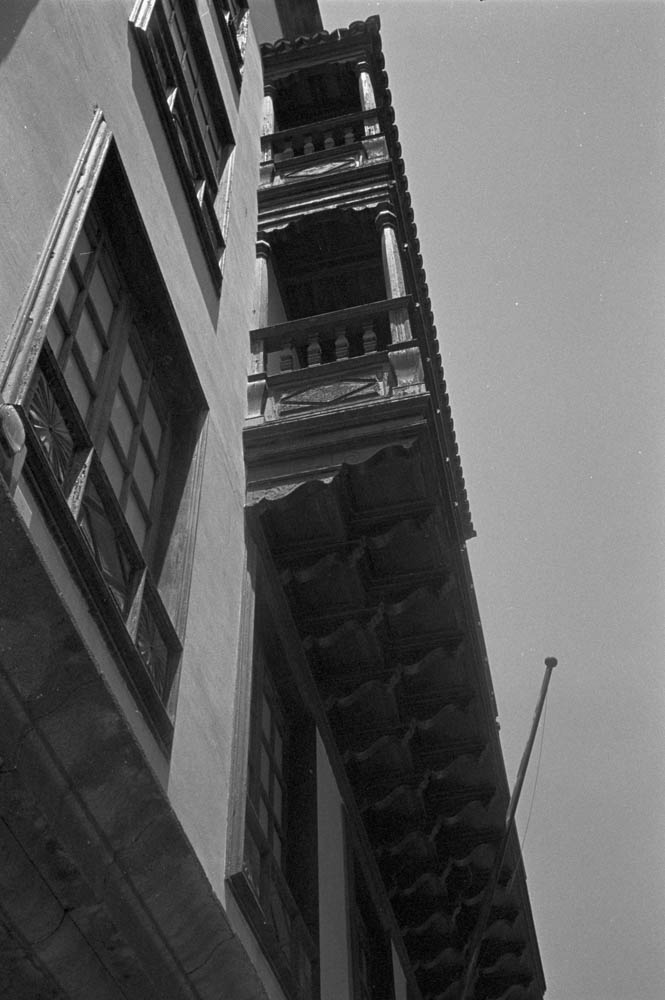
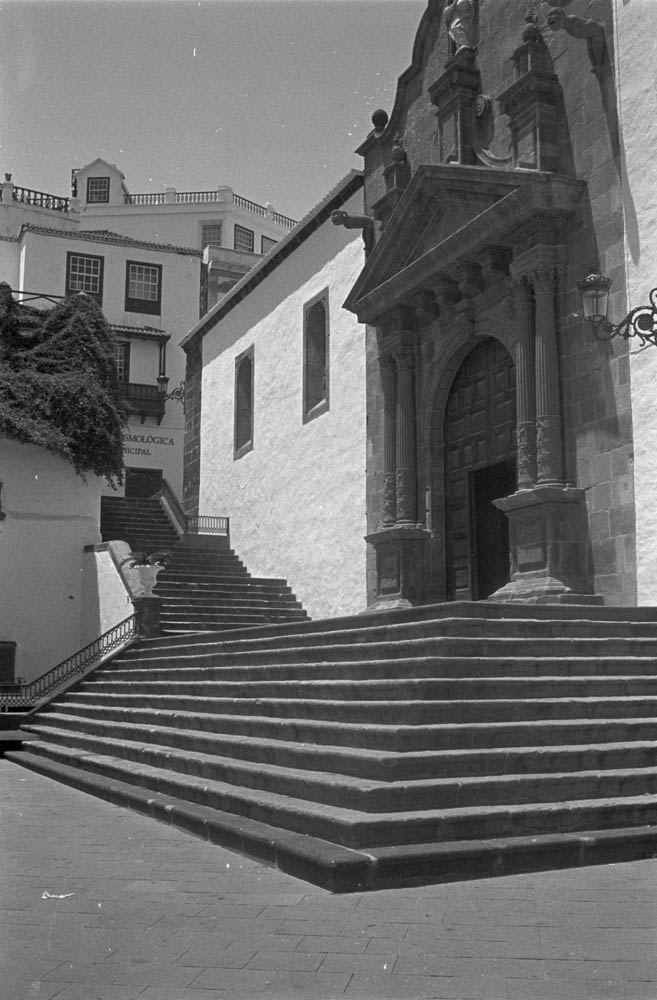
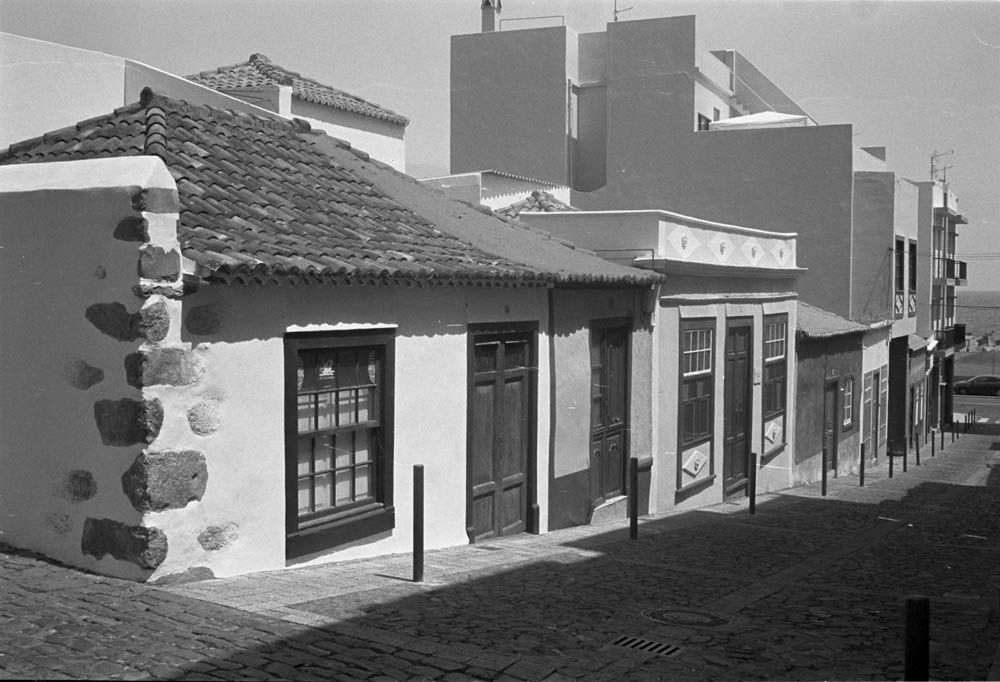
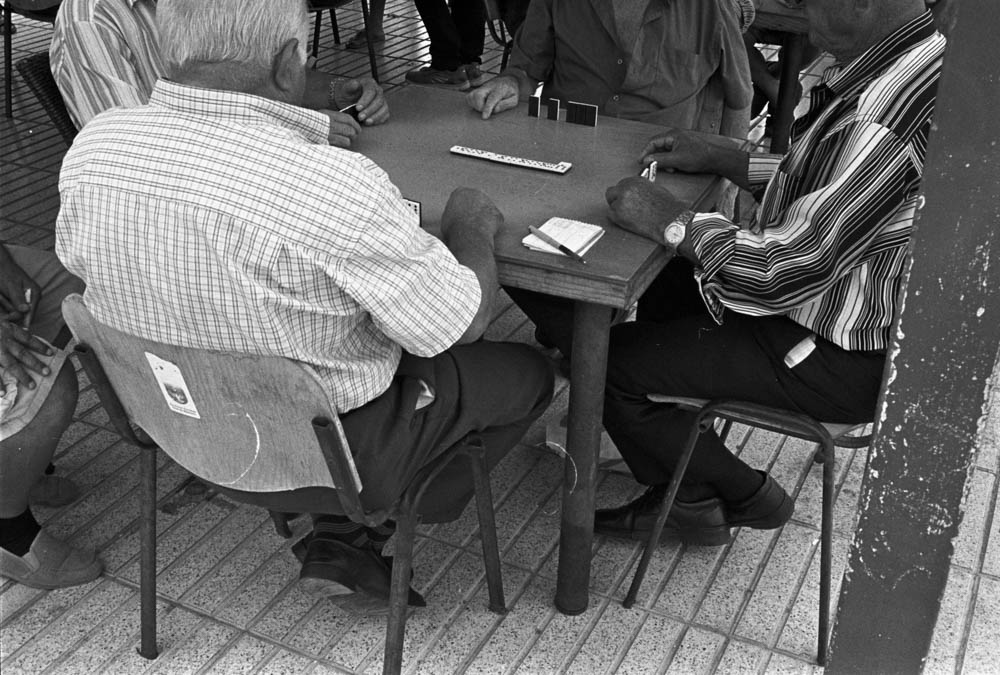
And these are the half frame images from the Pen EE S… with the editing done in Photoshop using the neural filters to get rid of the scratches on the film.


So what do you think? Worth taking?