The UK Chronicles, Part II: Alnmouth


A Rare Visit to Alnmouth: Making the Most of It

Little did I know this would be my only visit to the beach and village of Alnmouth this year, so I decided to make the most of it. I had my X100F around my neck, as usual. I was up at the crack of dawn, chasing that perfect light once again.

The morning routine was pretty much the same as my first day in Lesbury: early rising, early breakfast, and an early cup of tea. The weather was gorgeous, and the light was amazing. What could go wrong?

Arriving in Alnmouth: The Beauty of Early Morning Light

I hopped in the car and headed to Alnmouth, just a short drive down the road. As I came around the roundabout in Hipsburn, Alnmouth and the River Aln came into view, bathed in golden light. The reflections on the water were breathtaking. It was early enough to find a parking space without any trouble. If you’d like to see more photos of Alnmouth, I can add a link for you.

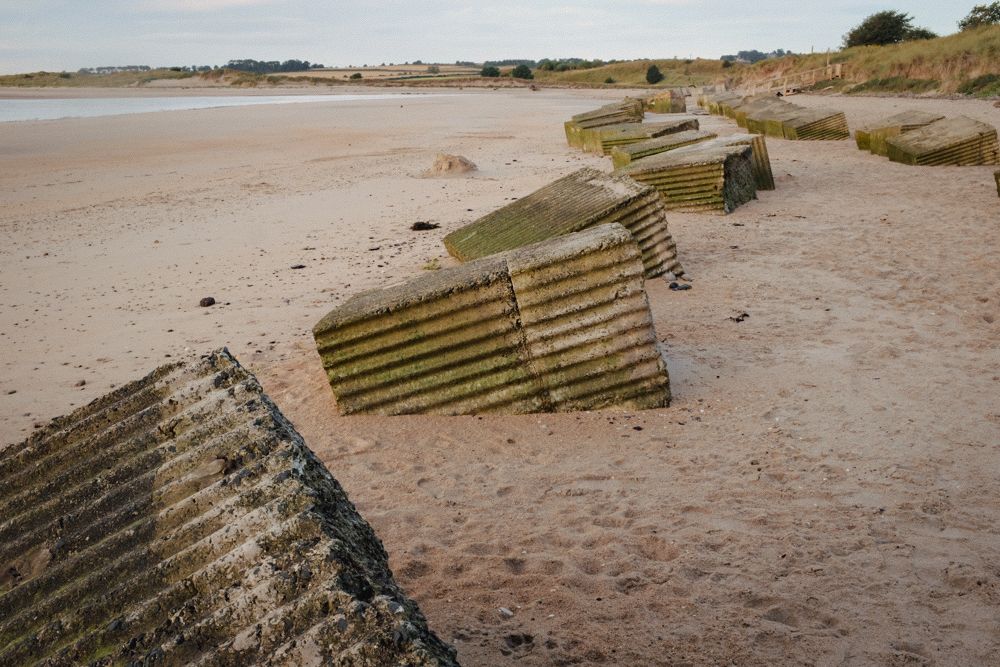
Exploring Alnmouth: A Village with a Rich History

As the name suggests, Alnmouth is a village at the mouth of the River Aln. It was once a bustling port, playing a significant role in 17th-century Northumbrian trade. I’ll let you read up on that on Wikipedia, and I’ll be here when you’re done.

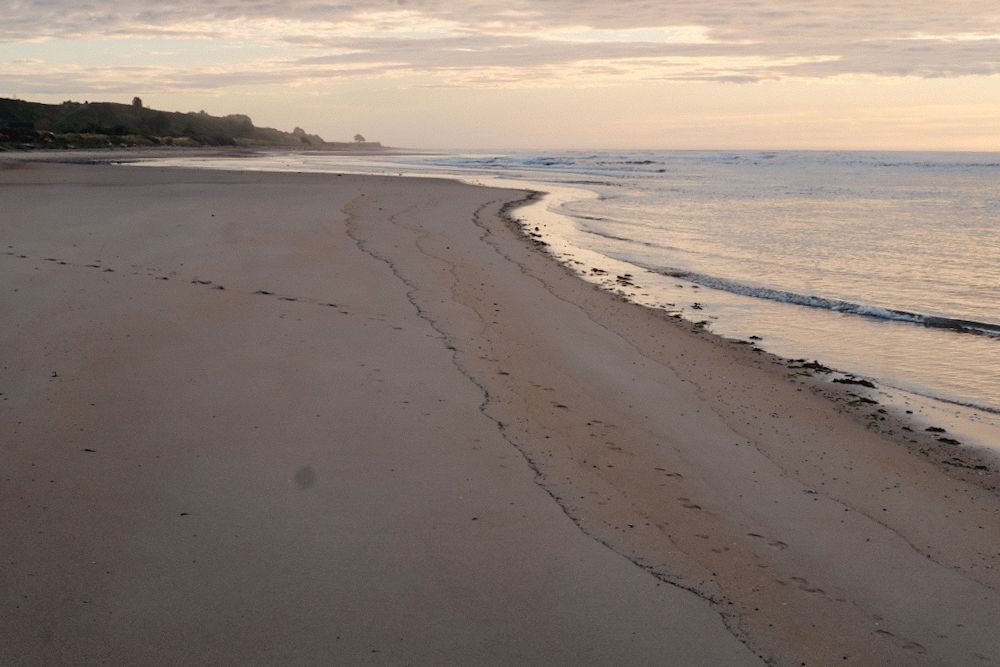
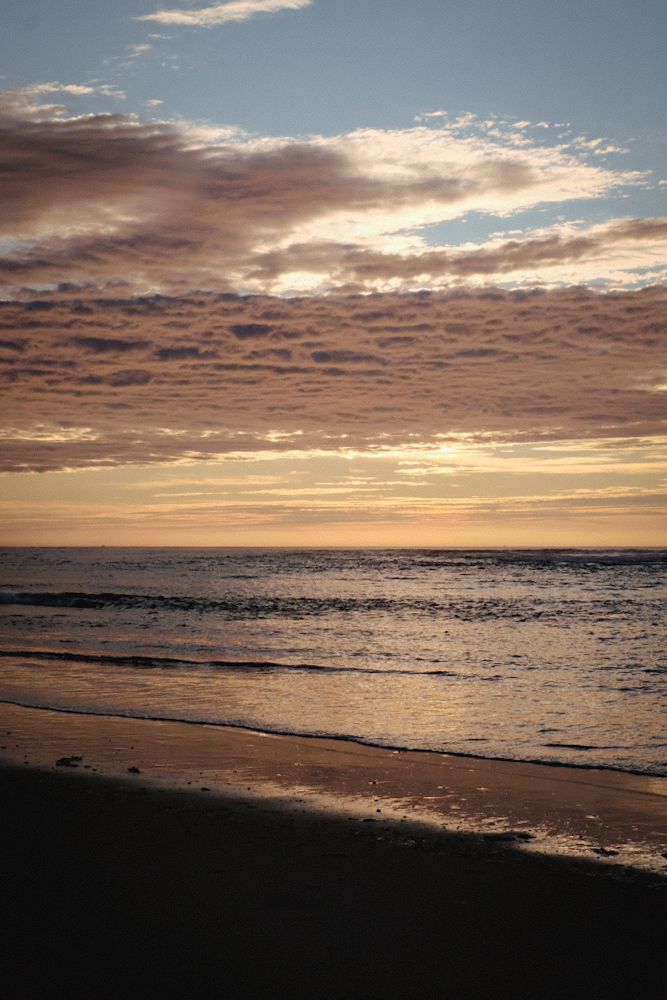
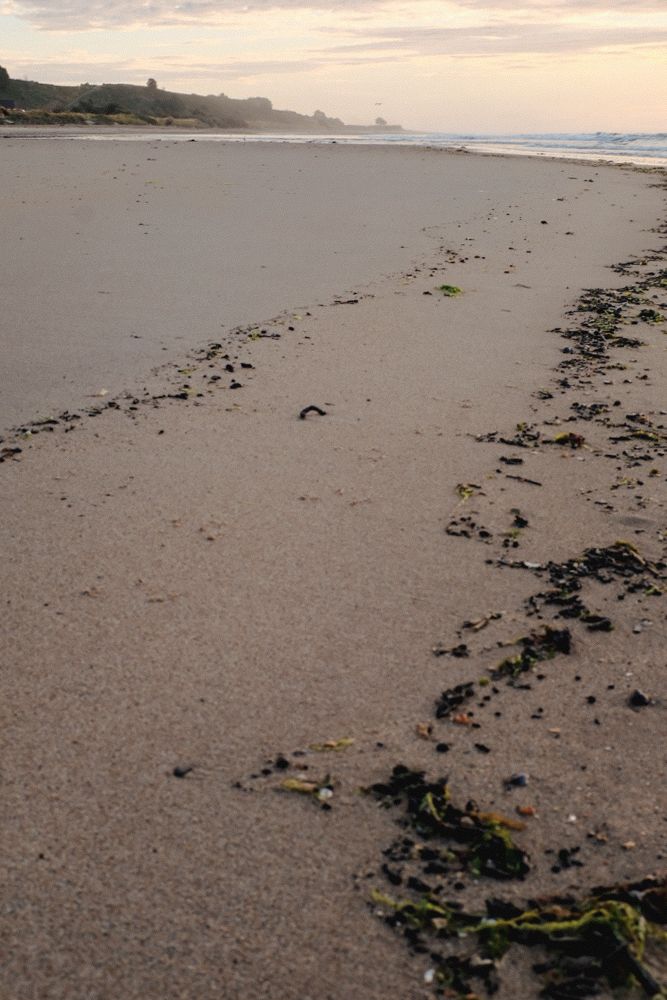
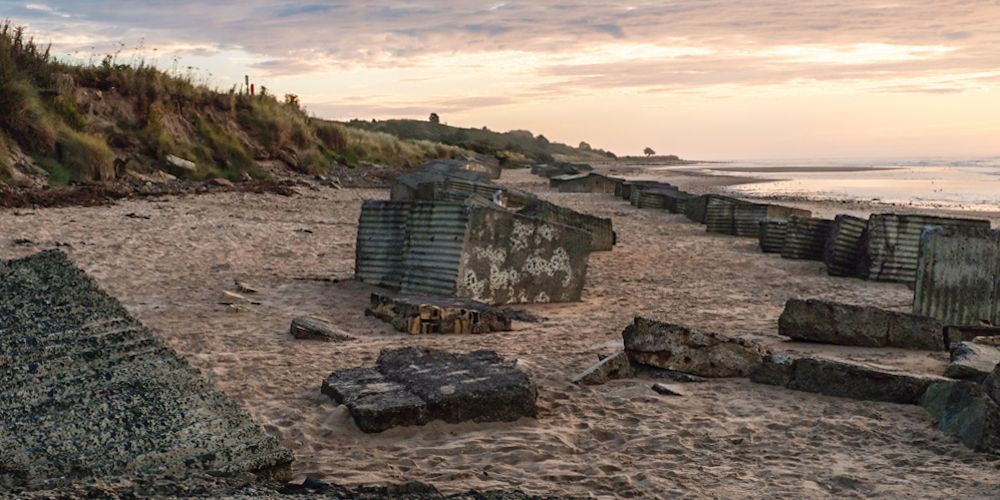
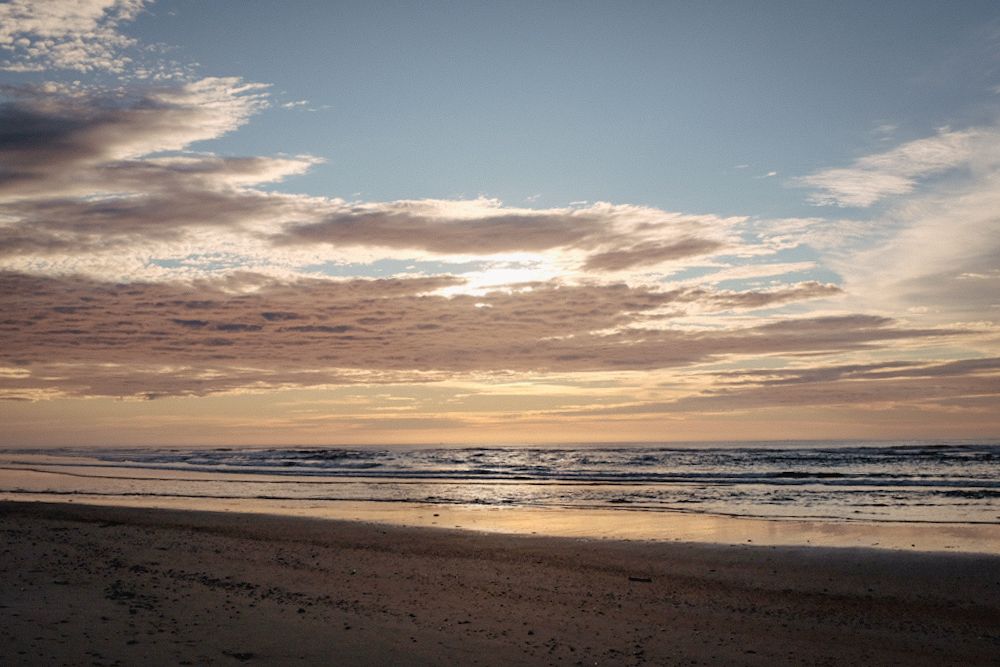
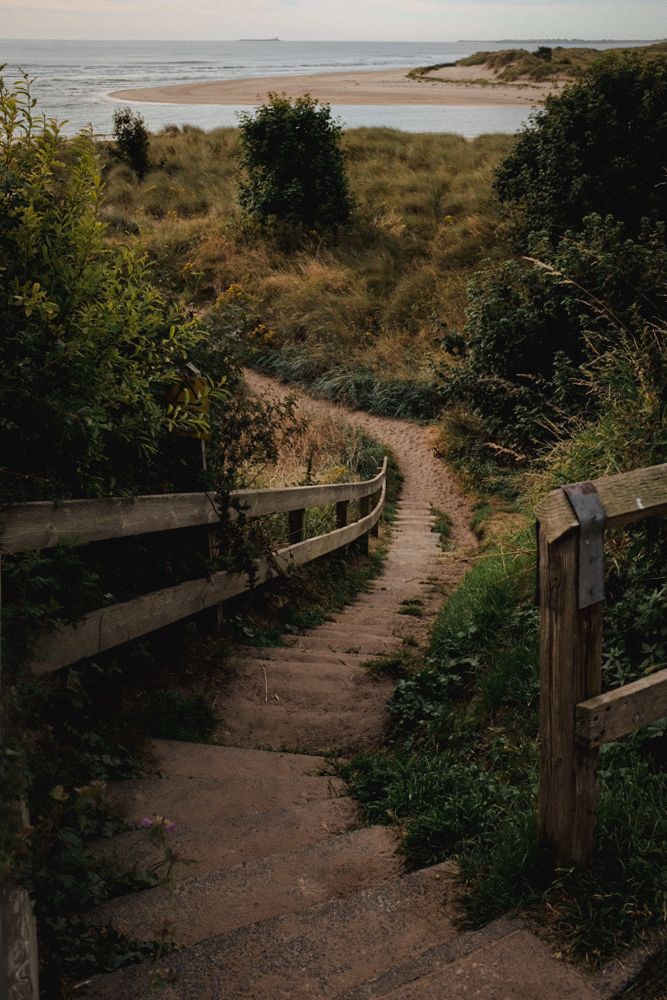
The village was still asleep as I made my way past the golf club and down to the beach. The only people around were a few dog walkers and me, enjoying the morning’s fresh air. The orange hues in the sky were perfectly reflected on the sand.

Discovering Color in Photography: A Shift in Perspective

For those interested in color theory, the use of complementary colors was striking—blue skies contrasted beautifully with the oranges in both the sky and the sand. I’m on a quest to explore my colorful side. While I still love black-and-white photography, this trip made me eager to embrace color.

My knee wasn’t even hurting; I felt fantastic. Maybe there’s something to be said about the sun’s healing powers. I made my way back to the car, carrying a lump of coal I’d found on the beach. It was too good a find to keep to myself. Surely, Killian would be up by now. Lesbury was only five minutes away. Oh, what the heck? I’ll go wake him up!

Father-Son Bonding: Revisiting Alnmouth Together

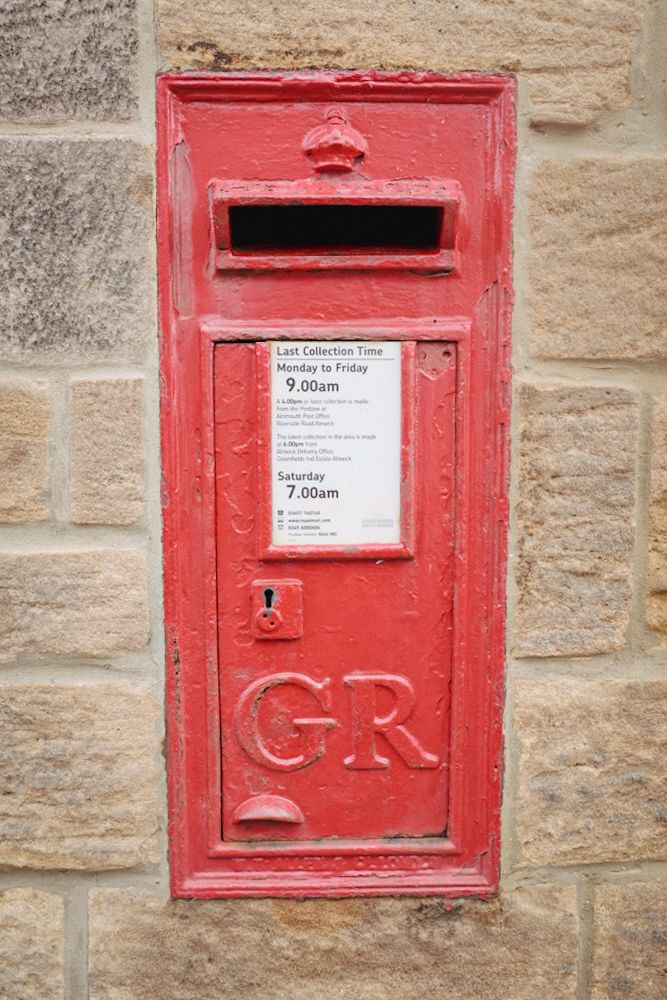
Killian was fine getting up and out with me. I only had to bribe him with a sandwich and some chocolate. We went back to Alnmouth together, and I took more pictures of the village. It was a very pleasant father-son bonding moment. He wanted to go to the post office or general store. They didn’t take cash, and for once, I was able to pay with my card for him.

Switching Editing Tools: From Snapseed to Mobile Lightroom

I recently talked about Snapseed and had been using it to edit my photos, but this time, I wasn’t happy with the results. The photos had so much potential, and I didn’t want to waste them. Some friends had recommended Lightroom Mobile, so I decided to give it a try. I already knew my way around Lightroom on the PC, and I felt right at home with the mobile version. It was very intuitive—almost as much as Snapseed. What a pleasant surprise!

So, I went back with Killian and took more pictures of the village. It turned into a wonderful father-son bonding moment. He wanted to visit the post office or the general store, but they didn’t accept cash. Luckily, I could pay with my card for him.

A Missed Opportunity: Scotts of Alnmouth

I was hoping to visit Scotts of Alnmouth, but they were closed. As we walked back to the car, I saw the owners heading to work and was invited to come back when they were open. Unfortunately, I never managed to return to taste their wonderful coffee and cakes. That was the only low point of the holiday. But as that Austrian strongman and actor famously said, “I’ll be back!” It’s good to be home.

Frame It Right: The Art of Composition in Photography Part II


In my last article, we talked about three of the rules of composition, rule of thirds, leading lines, and symmetry.  We talked about the origins in classical art, as well of how to use them in our photography.  We also explored the implementation of these rules “or guides” and how we should practice each one, master it, and then move on to the next one.  You will still have your photos for the “Gram,” but more importantly, you will be growing as a photographer, gaining experience, and building a body of work.  You will, by definition start becoming more deliberate in capturing your shots, and will be more mindful than somebody just shooting blindly and praying that they get at least on shot!

In this article we will continue to explore certain concepts that be used to make our photographs even more engaging and interesting.  We will explore framing, i.e. using frames with in frames, and the use of negative space, used to isolate of emphasize our subject, and go minimalist.

Framing

When I say the word framing, I’m not talking about the gilded golden frame that you will use to frame your photography to give as gifts to your mother-in-law, but using visual frames inside your image to “frame” your subject…

These examples illustrate how framing can be a powerful tool in photography, guiding the viewer into the image and providing depth and context to the subject or scene being captured. A technique that can make your photos more engaging and immersive.  You can use trees, windows, element on the ground, buildings.  Go out and explore the world around you and try and “frame” your shots.

Negative space

Negative space is the space that surrounds our subject, this empty space or unoccupied space is almost as important as the subject itself.  It’s role is to create balance in the image and adds to the importance of the subject.

Key points

This negative “space” around the subject gives the subject room to breath, and takes away the clutter so we can concentrate on our subject.  It emphasizes the subject and leaves no doubt where the subject is to be found.  For those of you who want a “minimalist” approach to photography, it is one of the best ways to do this.  Less is more after all.  Think of simplicity, tranquillity, and elegance.  It can be used to create mood and atmosphere, and in landscape photography can portray ideas of solitude or freedom.  Think of a vast empty sky and rolling hills.  Negative space doesn’t have to be completely devoid of detail. It can be an area of uniform colour or texture that complements the subject and adds visual interest, or we can use depth of field to emphasize our subject

When using negative space, it’s essential to pay attention to the balance between the subject and the surrounding empty areas. The goal is to create a harmonious composition where the negative space complements and enhances the subject, rather than overpowering it. This technique can lead to powerful and emotionally resonant photographs, adding depth and impact to your work.

When you look at my photos of the girl against the colourful walls in Trentemoult in Nantes, think about how placing the model on the left or right of the frame makes you feel.  Looking forwards or looking backwords… 

Colour Theory

Colour theory is not just for those trendy designers in those advertising agencies.  If you go onto my Instagram feed, you will see that most of my work is predominantly black and white.  “So no colour,” I hear you say.  Well, yes and no.  Black and white photography concentrates on tones, but we can look at colour in the same way and seek balance in our colours.  So what’s this colour wheel then?  Well, it’s a way of looking at colours that go together, like green and red (think of Christmas cards), blue and orange, yellow and purple, all these colour are opposite on the colour wheel. Also, think about complimentary colours that are next to each other on the wheel, such as yellow, light green and dark green.  You will find yourself becoming aware of colours in nature and how they complement each other.  There will be some photographs that depend on this colour for their artistic value, and that won’t work in black and white photography.

Think about the portraits in the previous section and the natural colour in the photos in the country side.

Conclusion

We’ve continued our journey into composition by exploring how to use elements in our photos to frame our subjects. We’ve delved into the concept of negative space, emphasizing our subjects in our images. To conclude, we’ve begun to consider how colour can add harmony to our compositions. My advice is to incorporate these elements into your photography one step at a time. Don’t rush; there’s no need to feel overwhelmed. It’s a lot of information to take in, but as you explore each aspect mindfully, you’ll witness an evolution in your approach. Keep up the excellent work, and I look forward to our next session where we will talk about pattern and repetition, scale and proportion, and depth and layering.